Assembling a Nerdy Gurdy
Behold Gráinne! My freshly built Nerdy Gurdy Basic!
What's a Nerdy Gurdy?
While I was looking for DIY instruments to make for my nephews a few years ago, I landed on the thingiverse page of the nerdy gurdy. I had heard of the Hurdy Gurdy (mostly from OST of Black sails, and from François Hadji Lazaro) but that was it. It sounded like a cool instrument though and the possibility of building a simple version was quite interesting, not for the kids but for me!
I left the idea in some part of my mind for a while, and made some ocarinas instead for my nephews. But it came back. And with the long winters in Luleå, well, I had to find something to do.
So when I saw there was a kit available to order on their website, I jumped on the opportunity!
The building process
It arrives like an Ikea furniture (but of great quality), all the pieces I needed were in there but all the assembly was ahead of me. Before rushing into it for real, I started by using painter tape to make a temporary assembly. Once that was done, and I was confident I would manage the real job with the glue and all that, well I started. Little by little, doing a bit each day, I managed to get the whole body assembled.
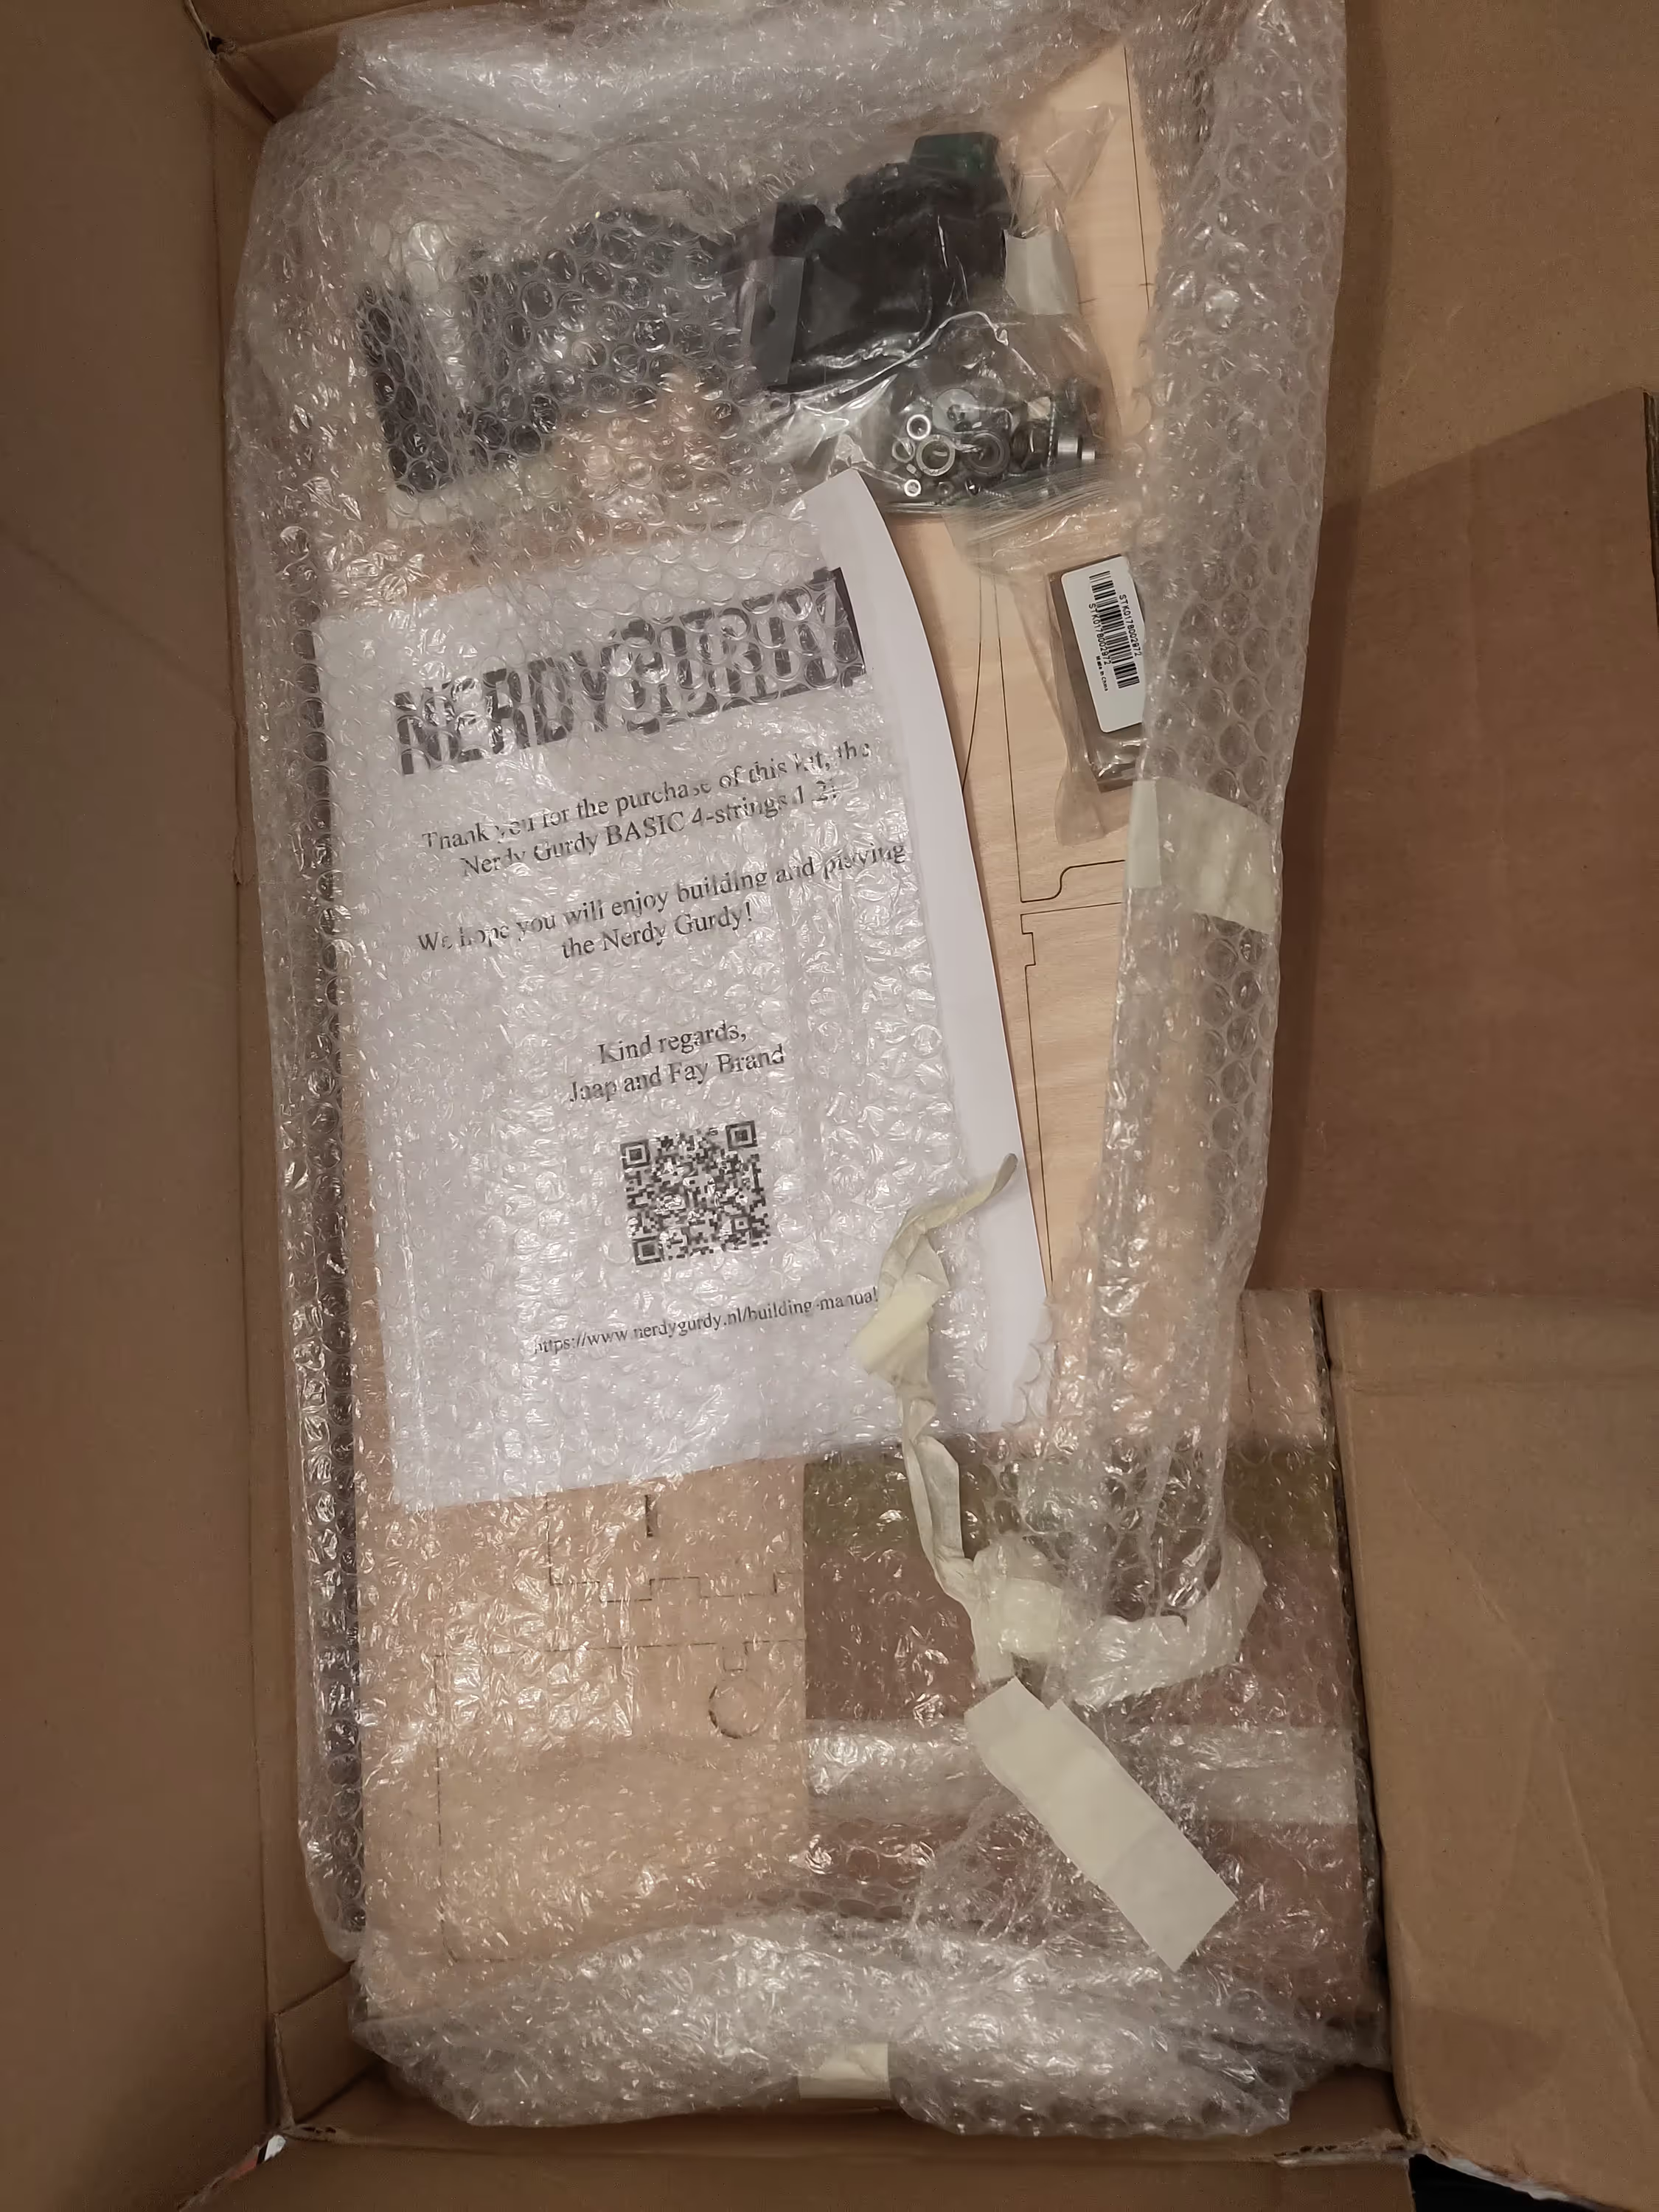
Unpacking
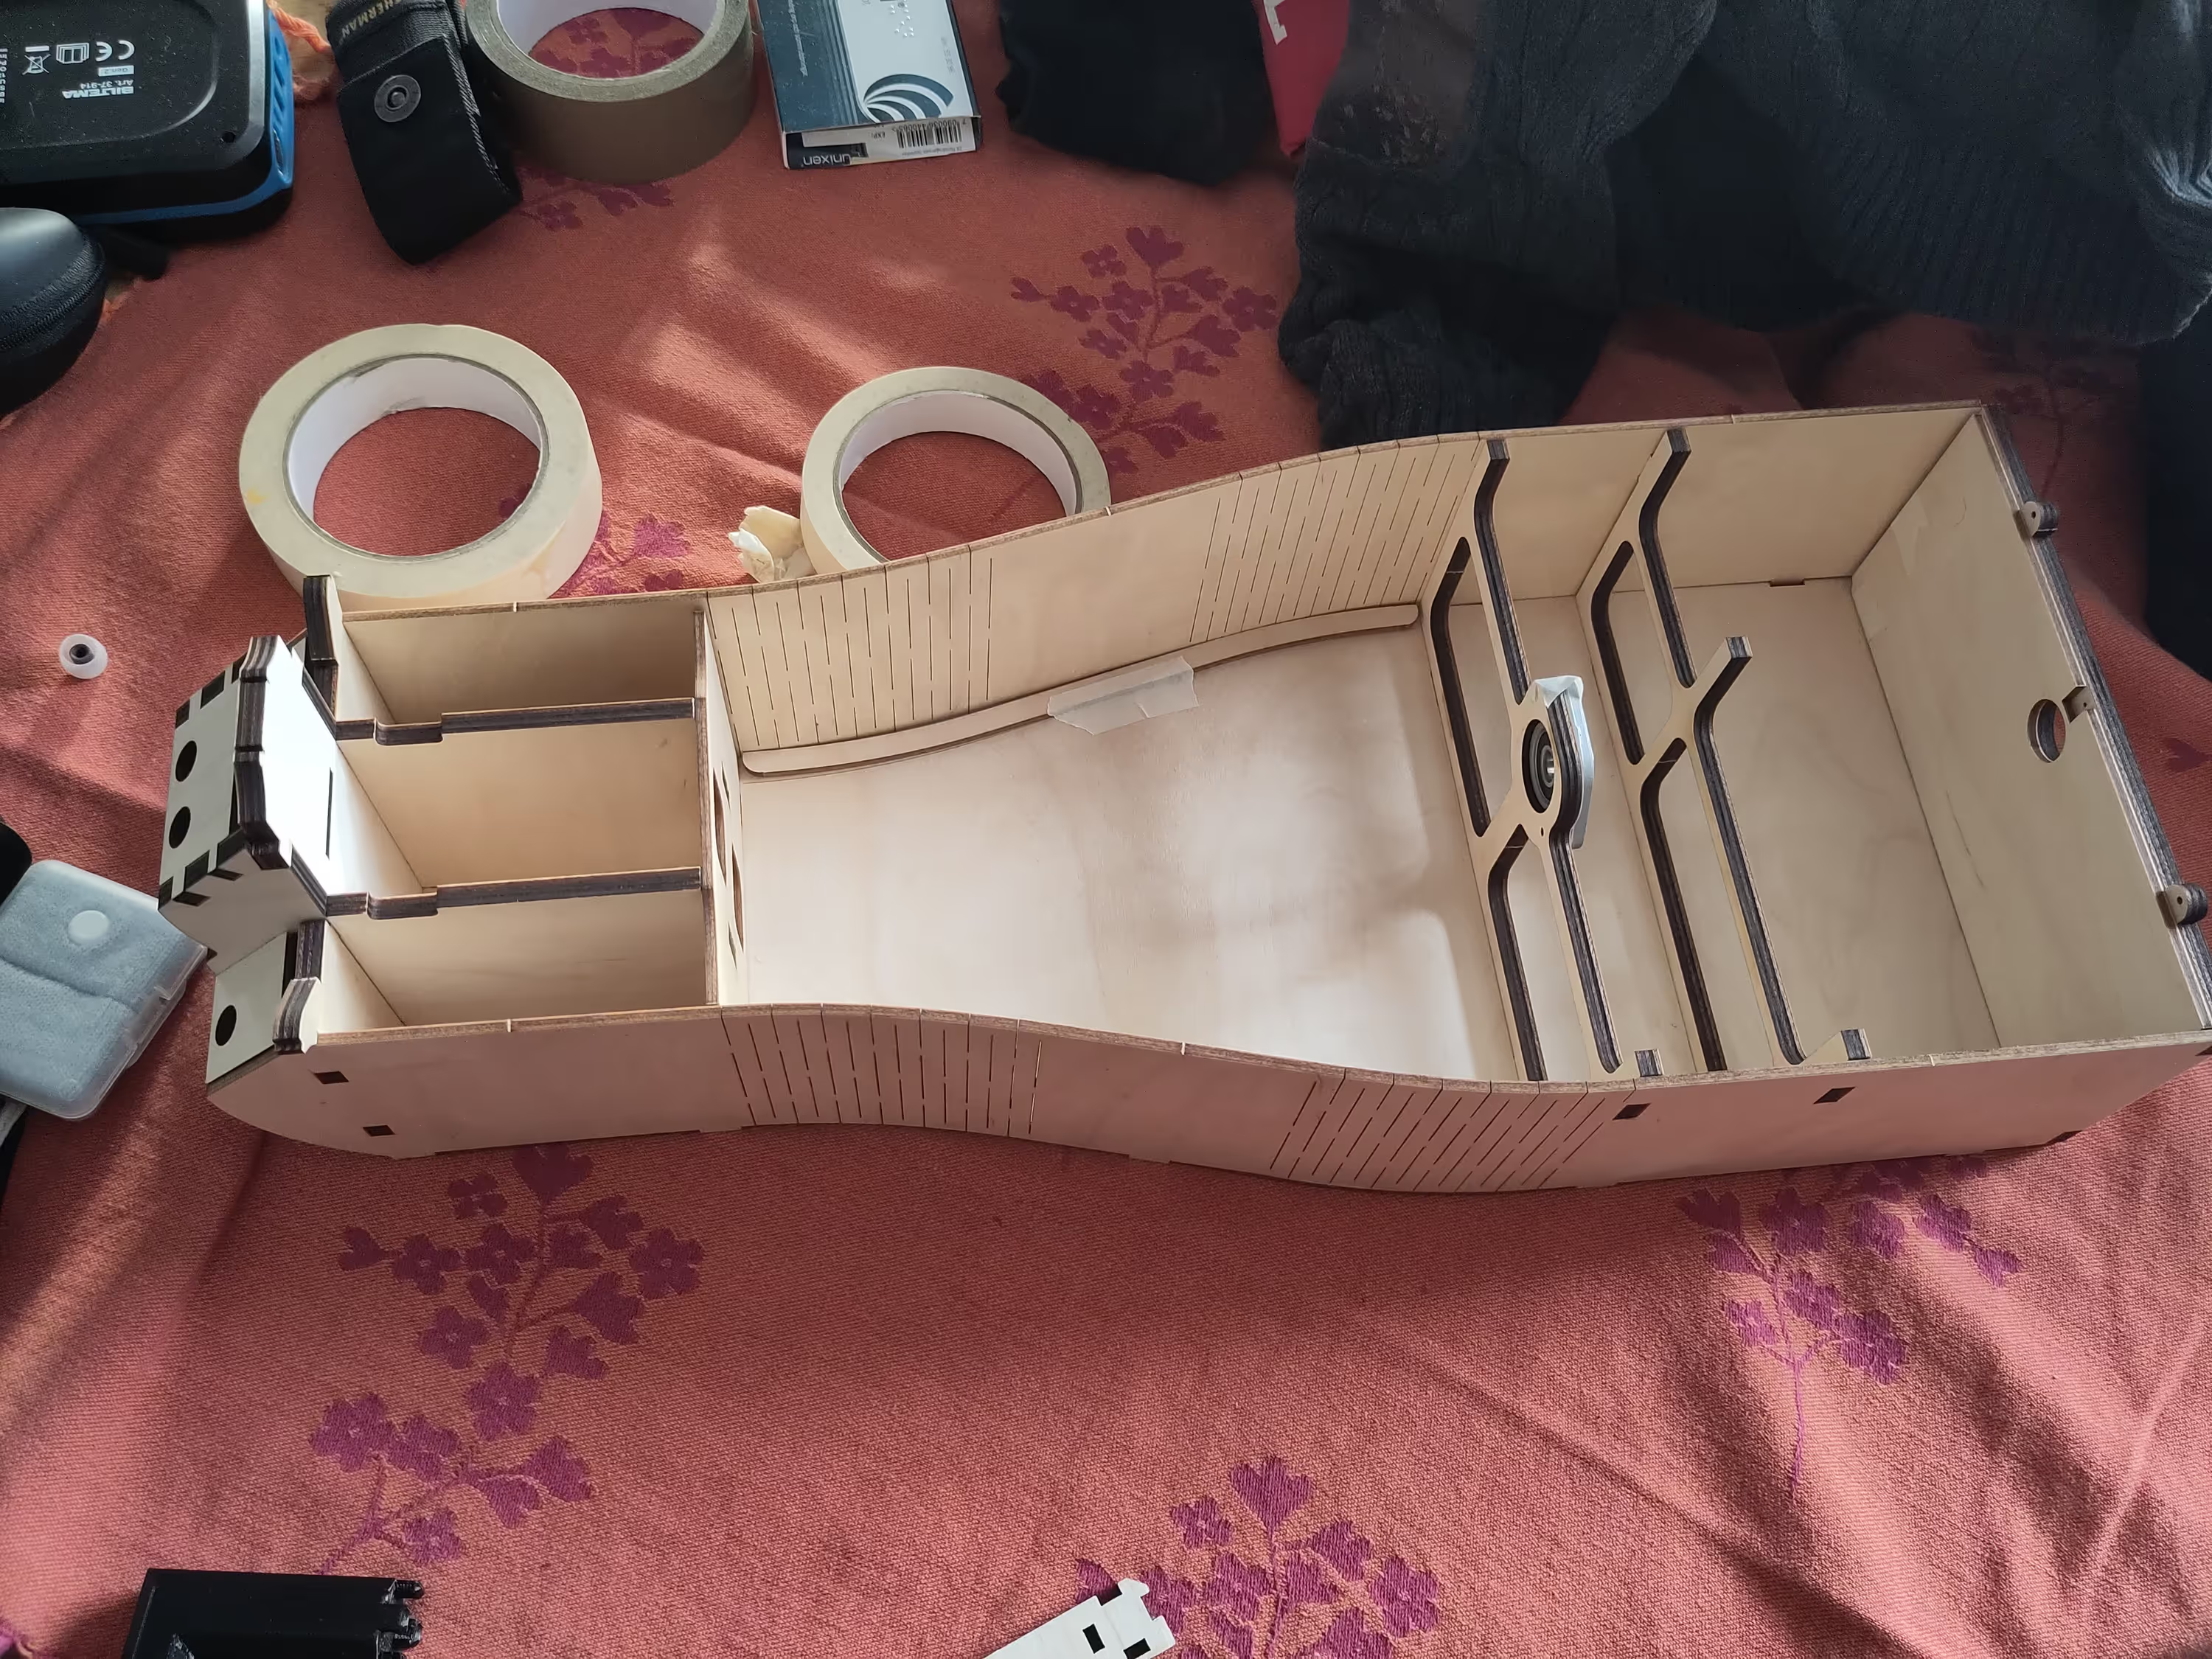
Starting to tape-build
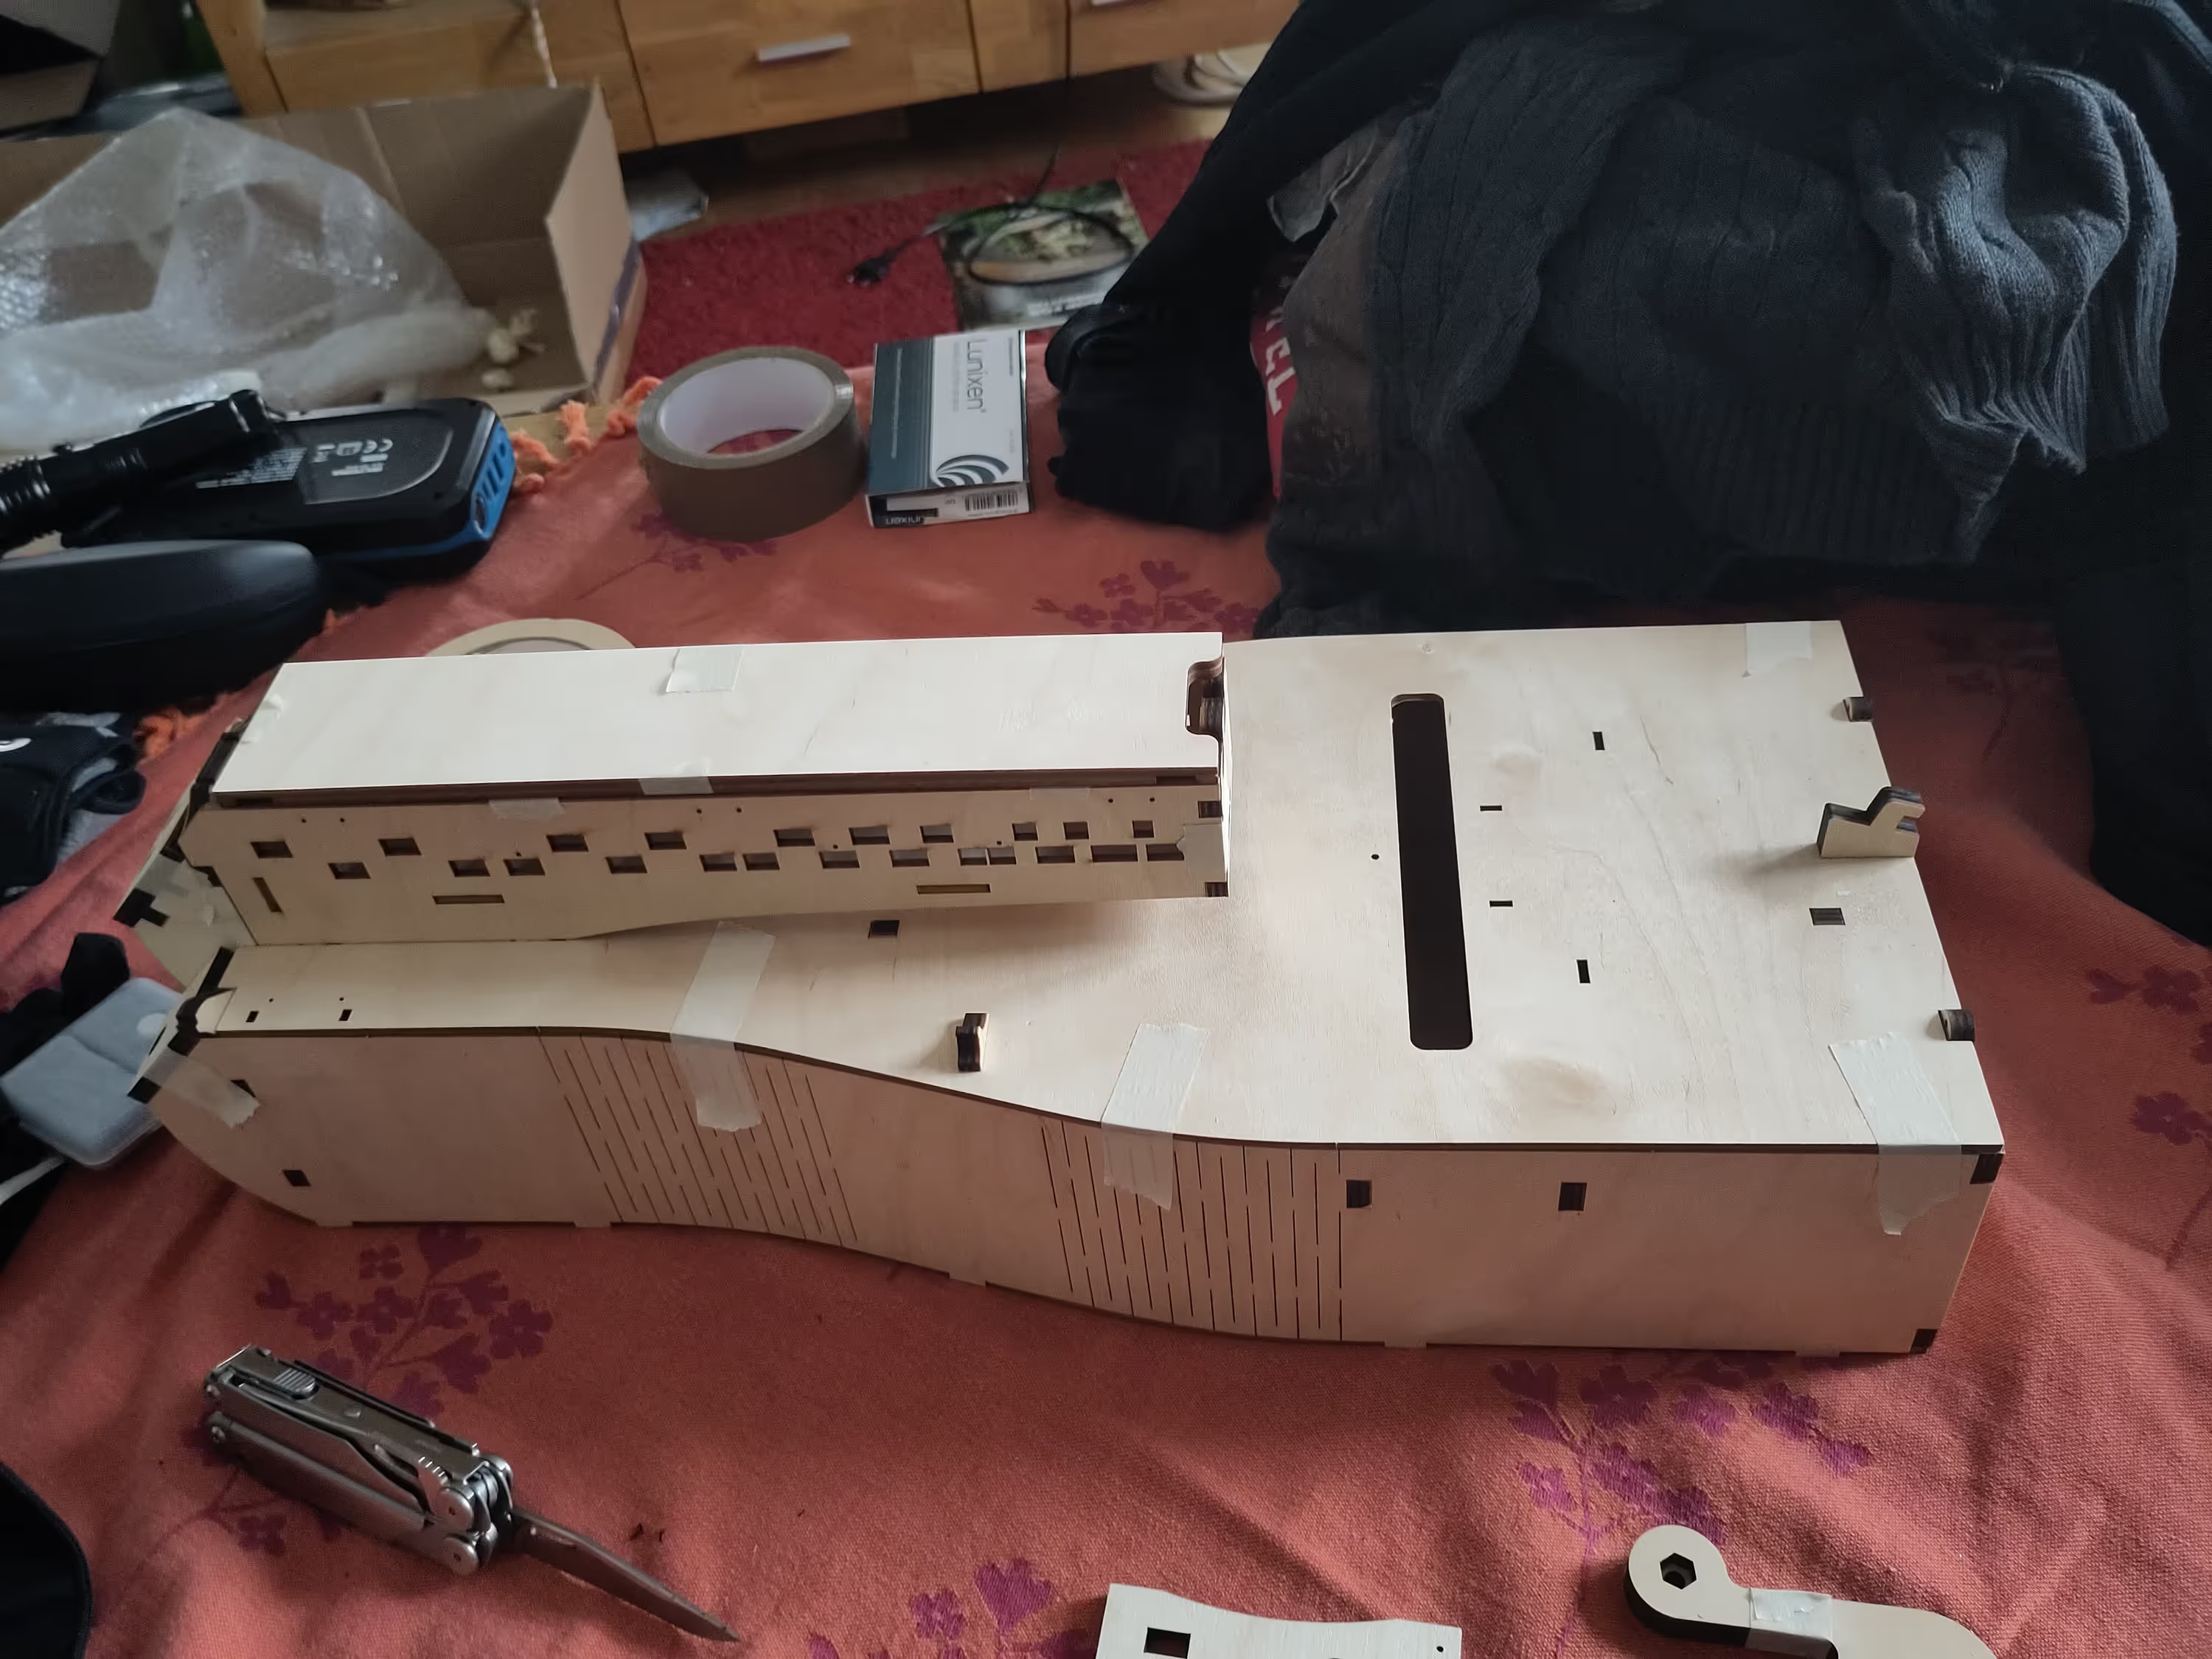
That's about as far as I could go just using painter-tape
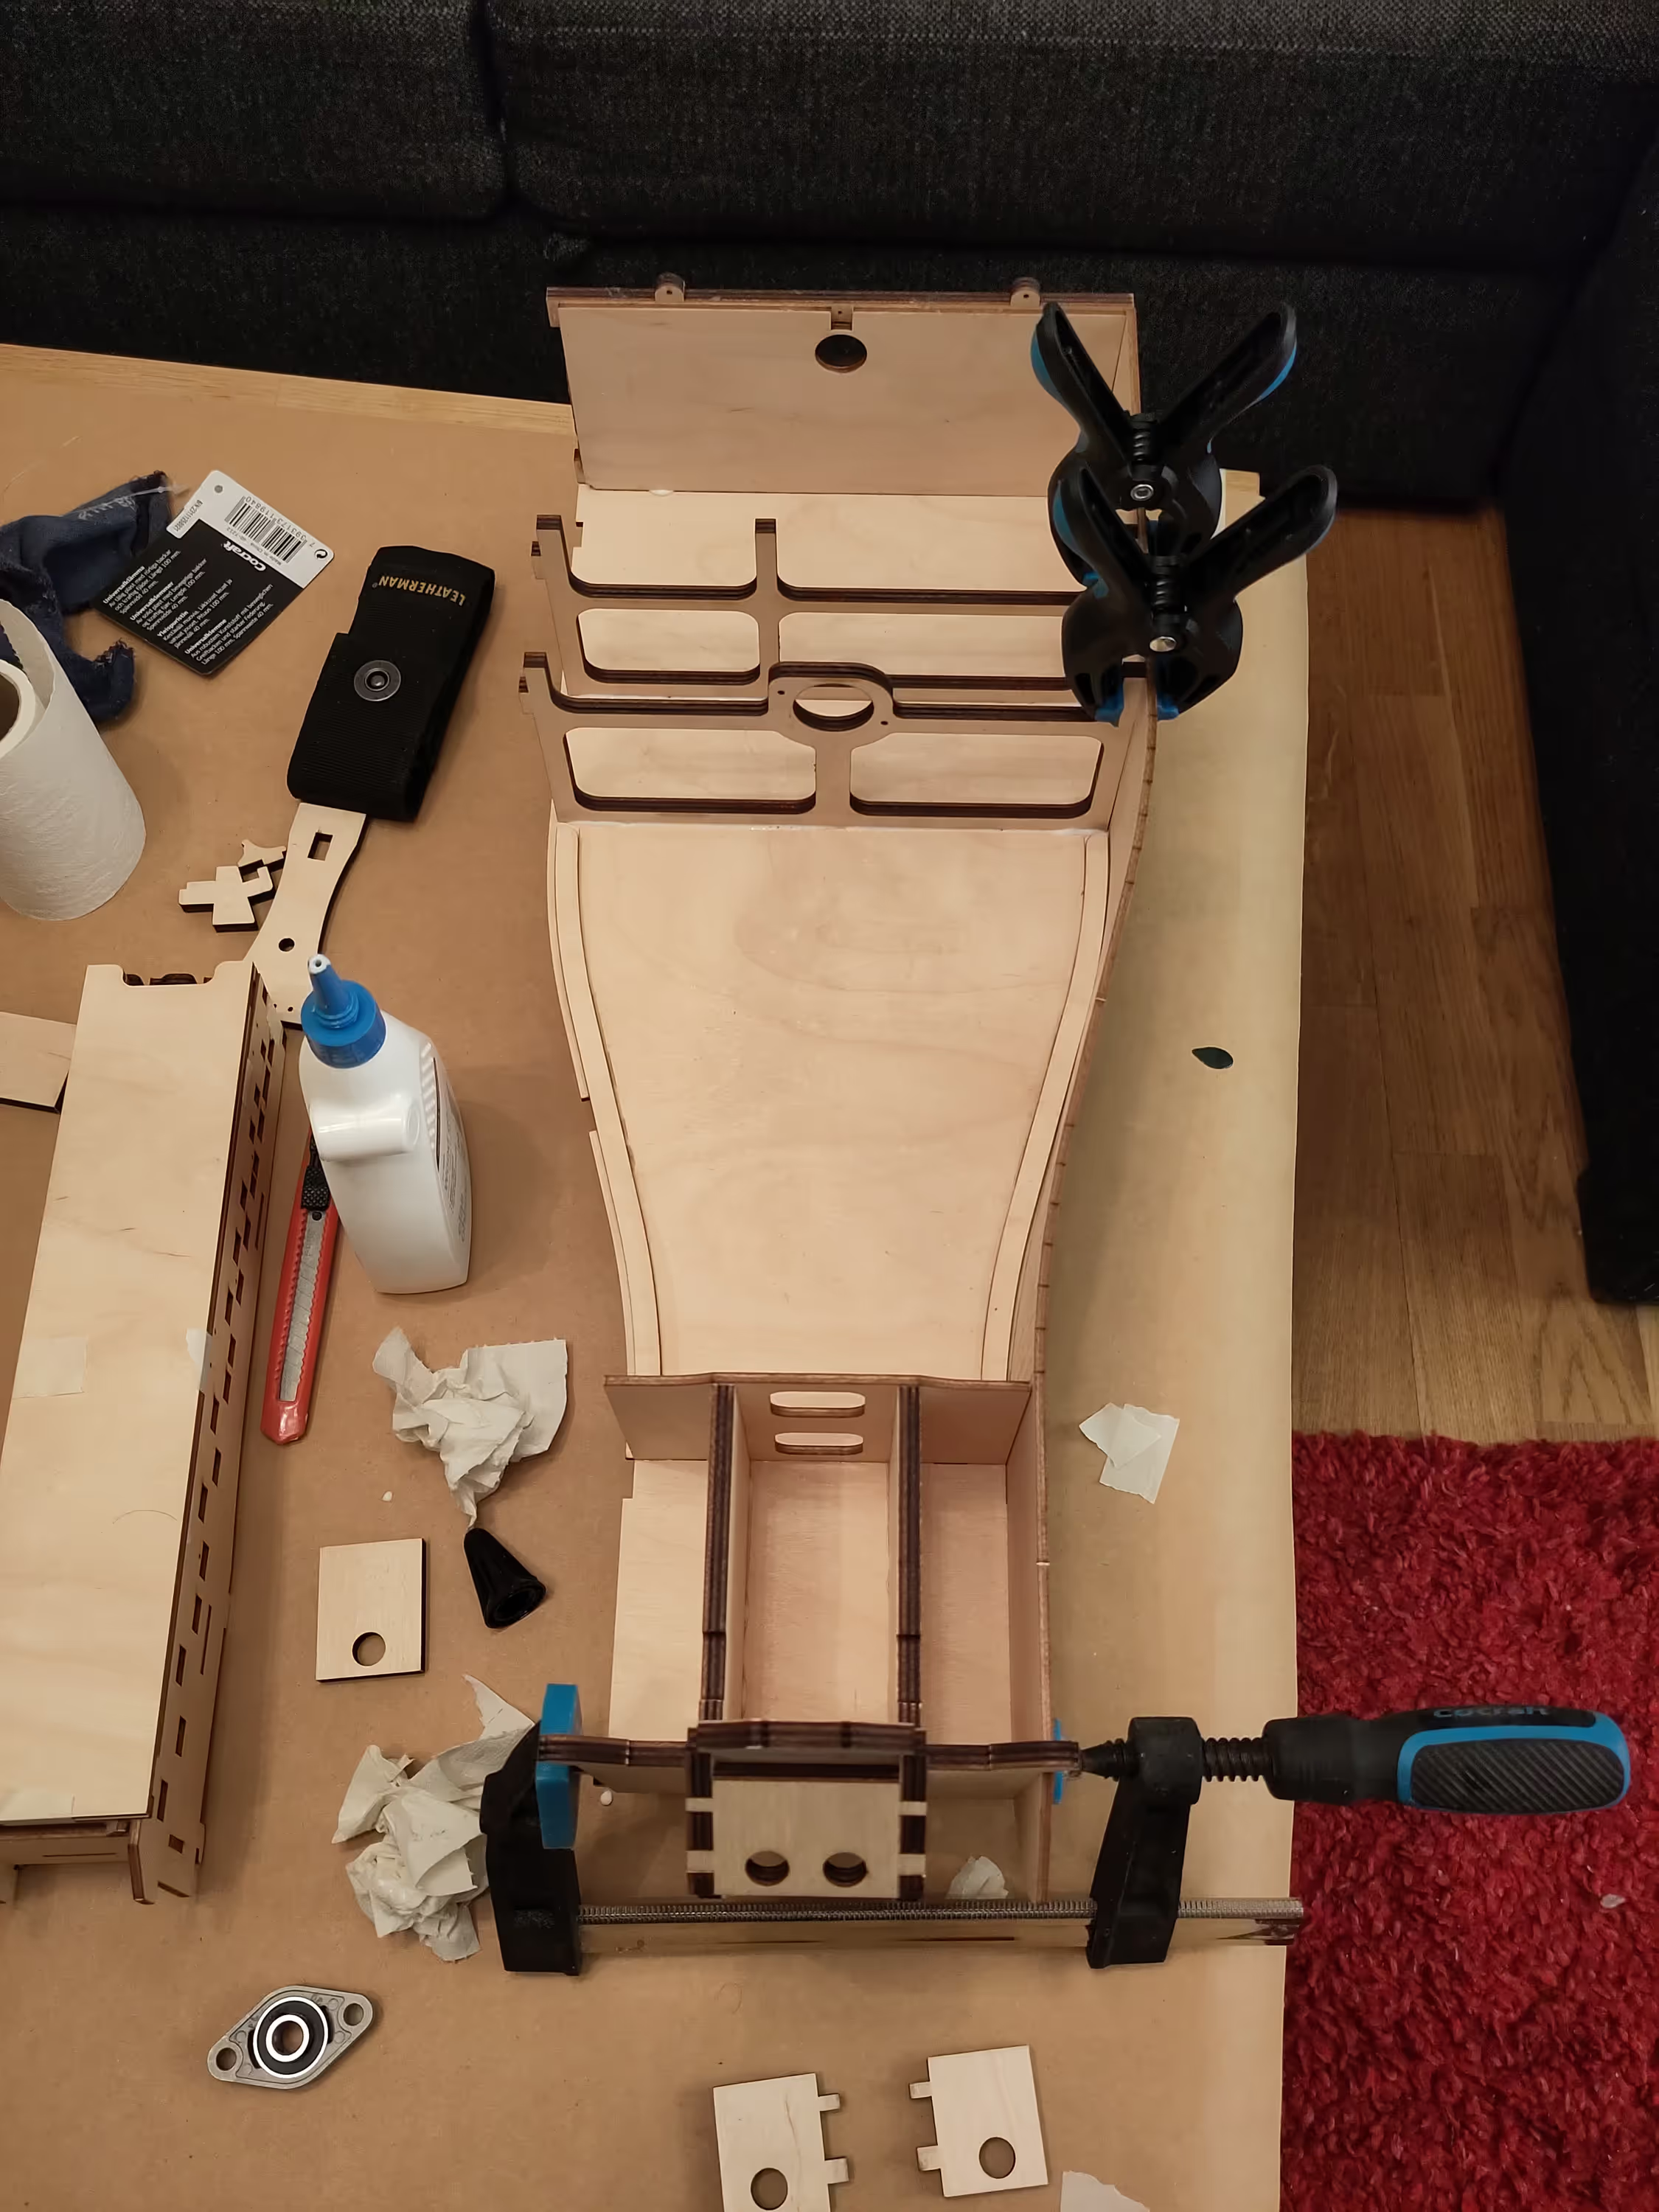
Here comes the glue
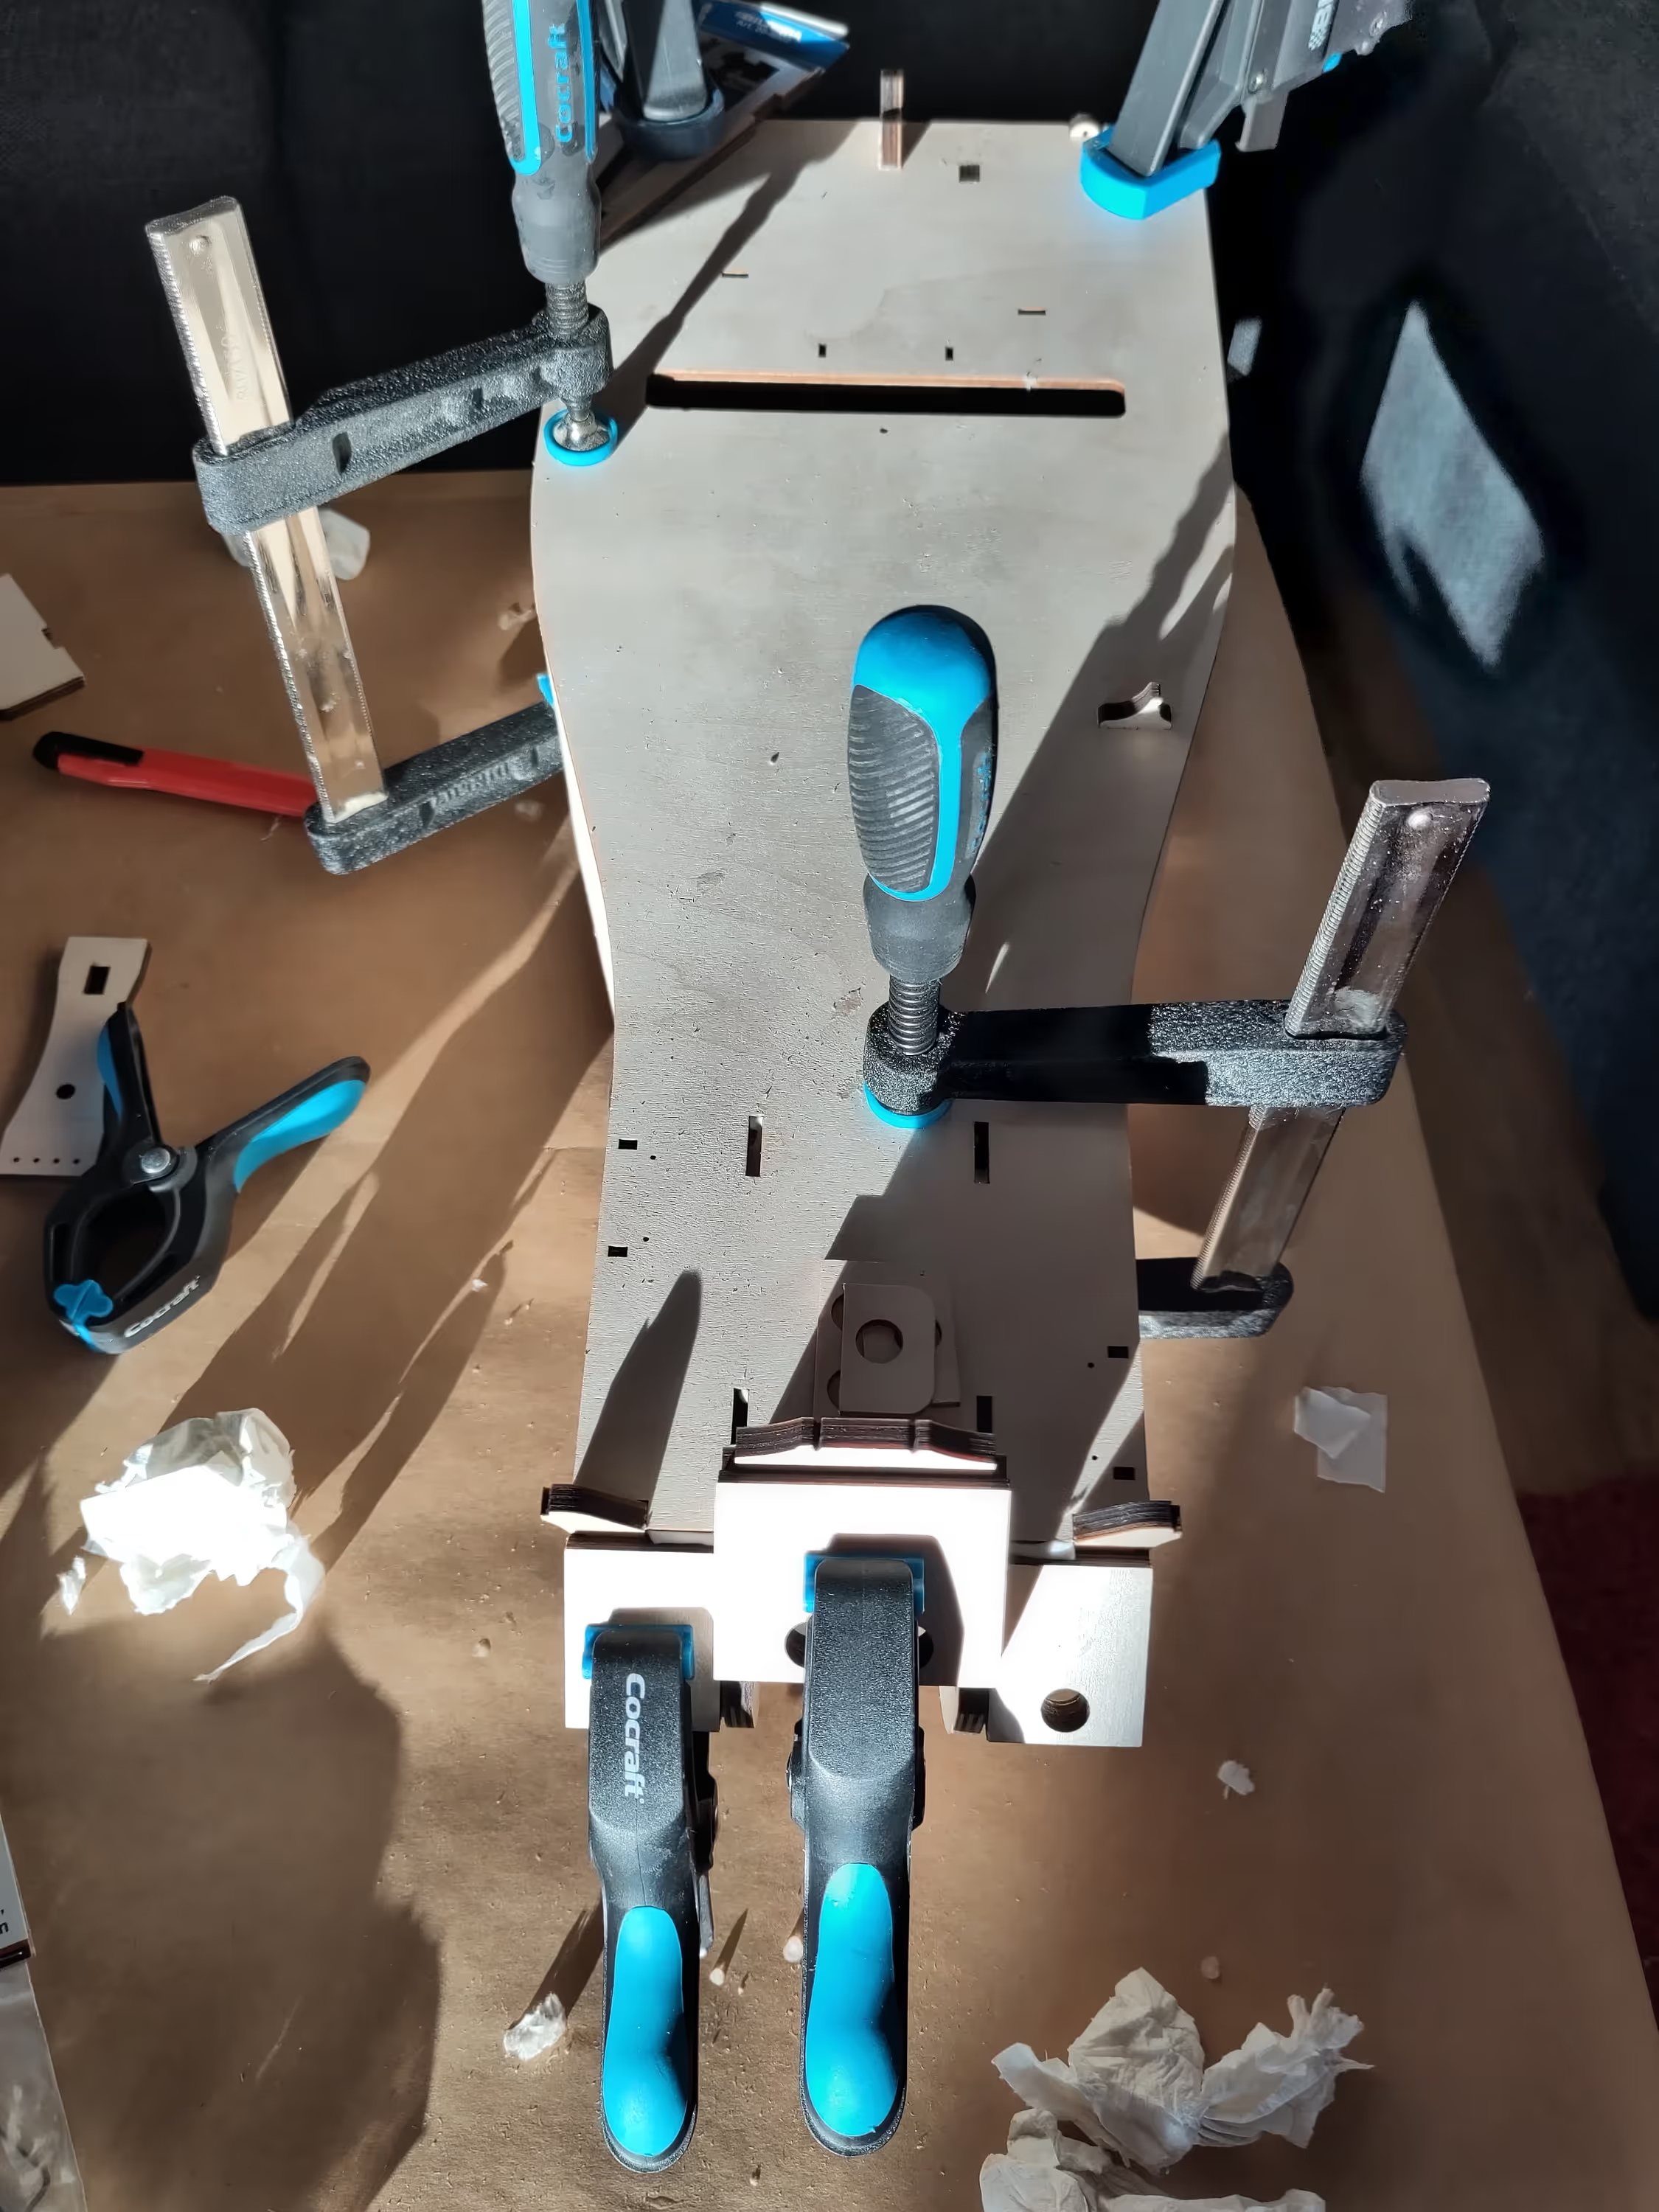
more glue and clamps
Then I spent a good amount of time sanding the wood and making everything nice before using some wood stains. I first made a few designs by drawing over a picture of the gurdy's body until I found one I liked, while also making a few trials with the stains on the leftovers pieces.
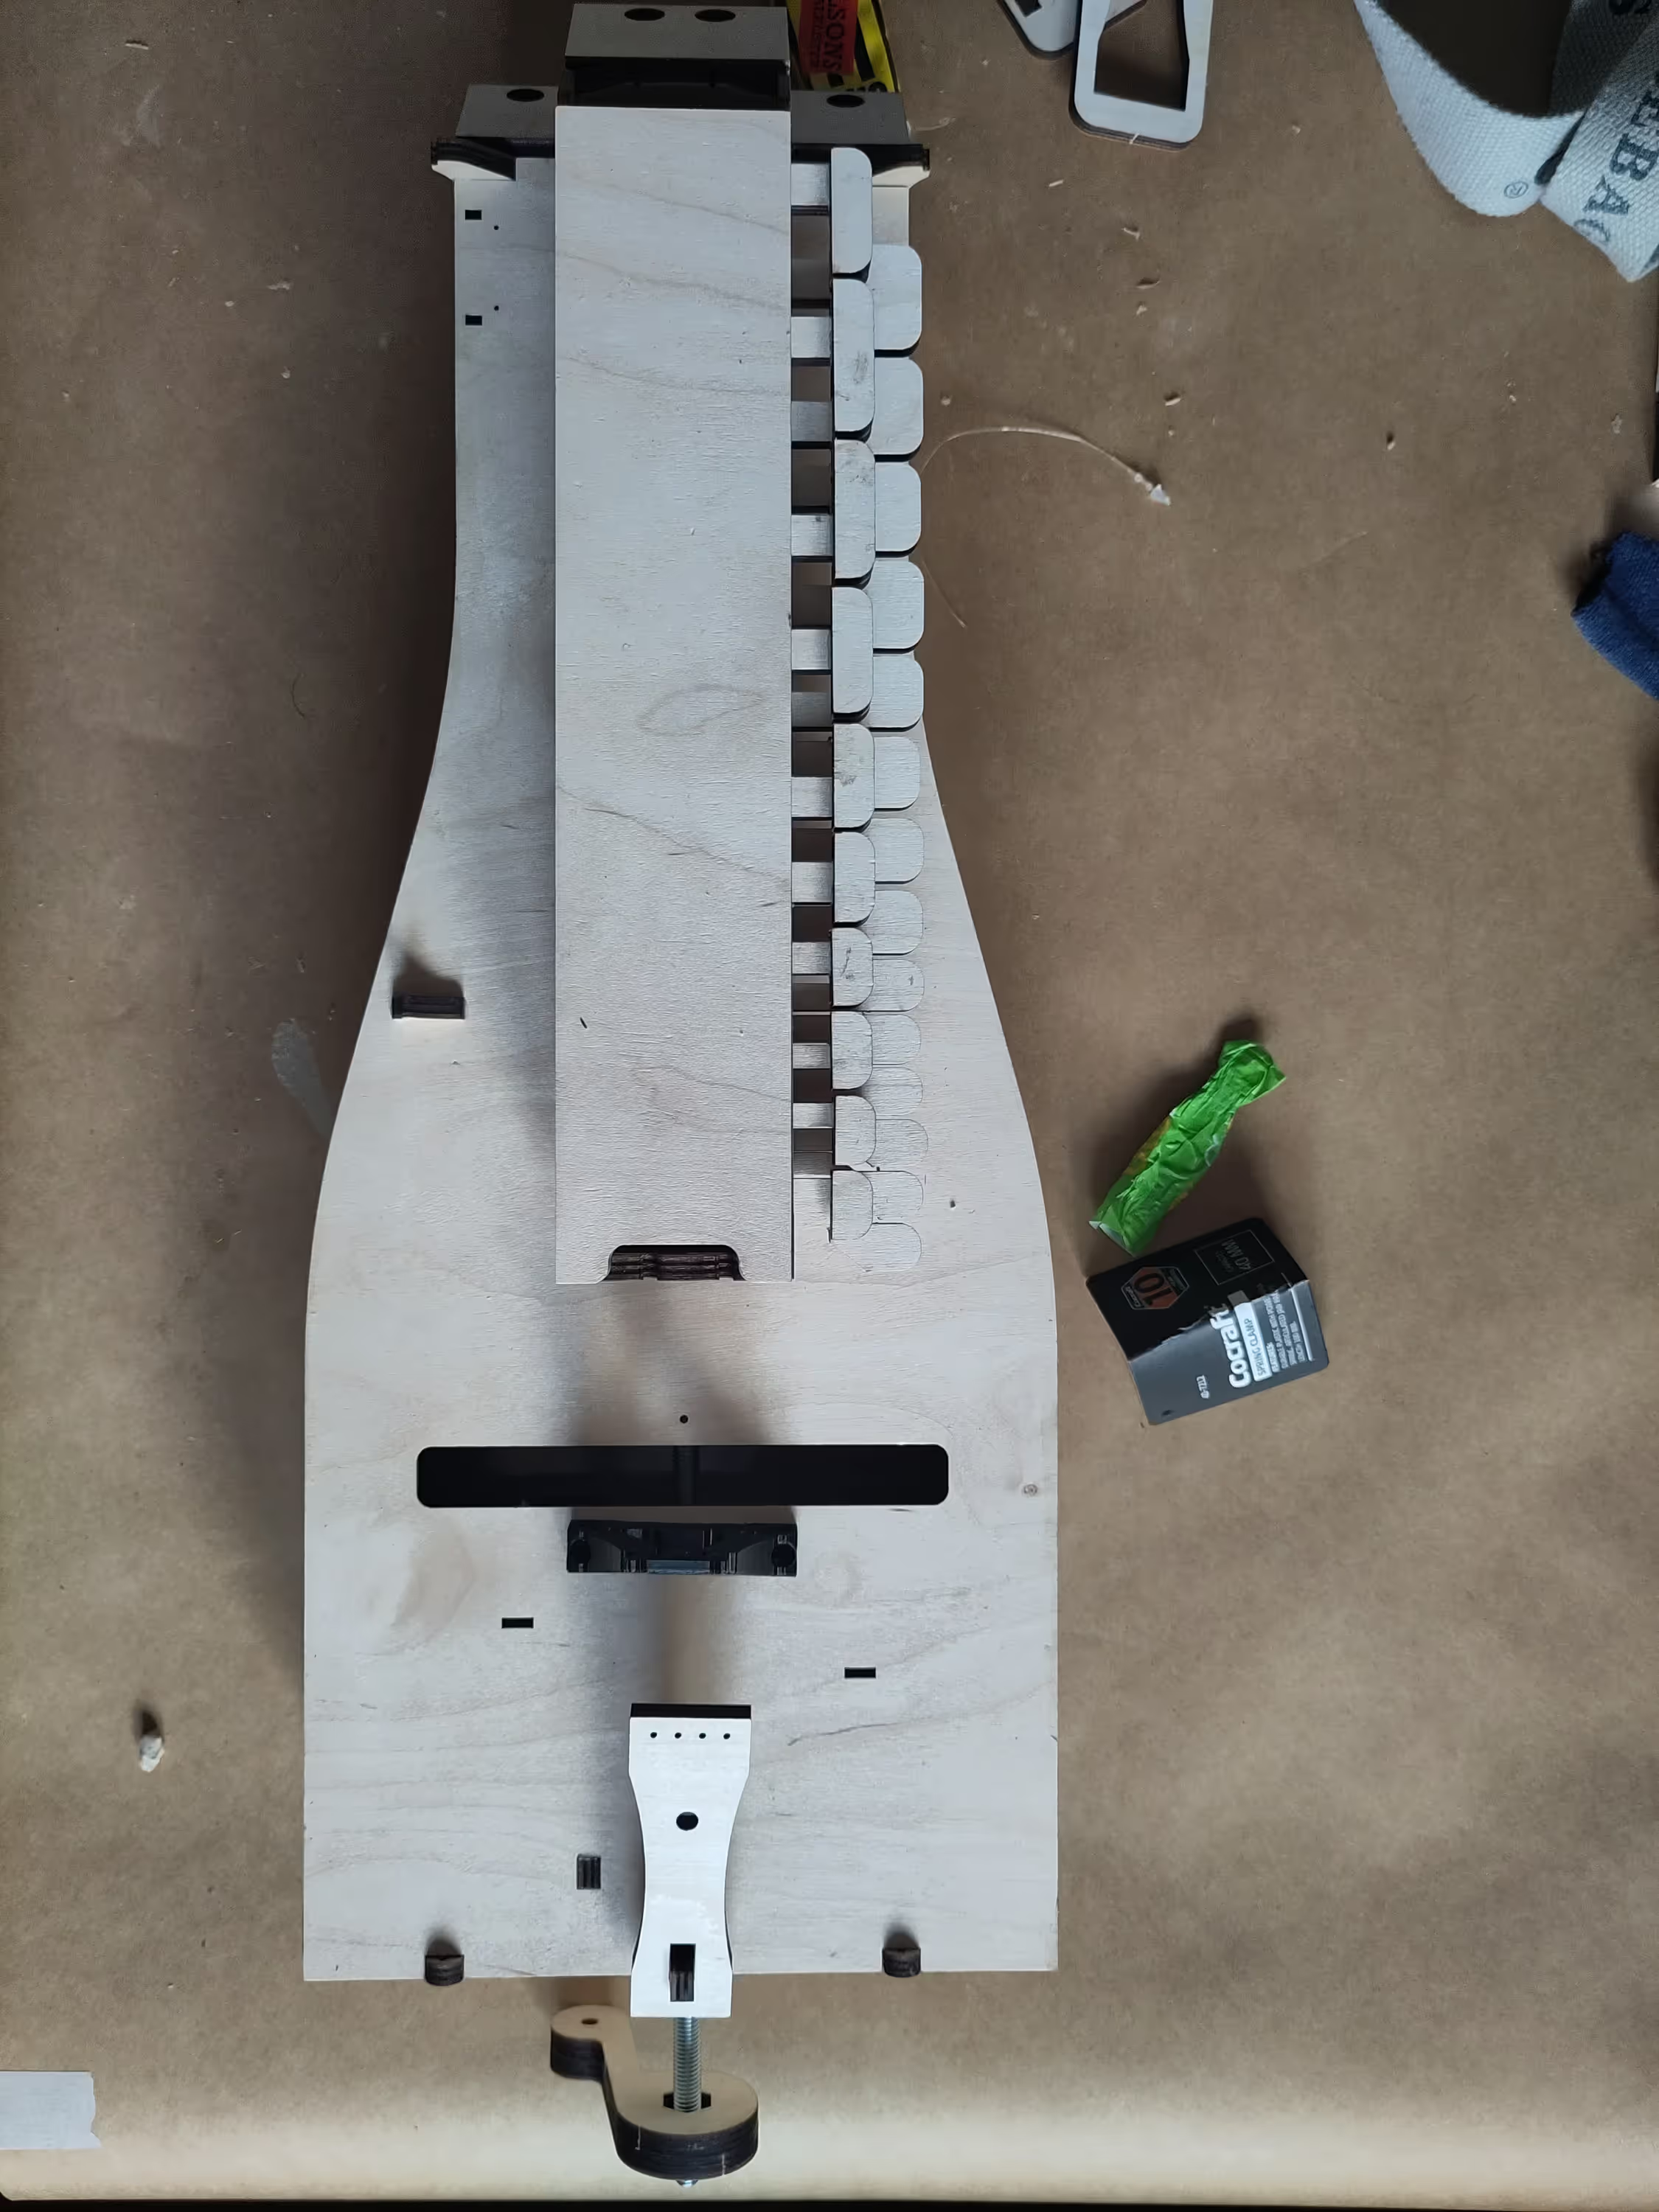
Taking a picture for designing on it
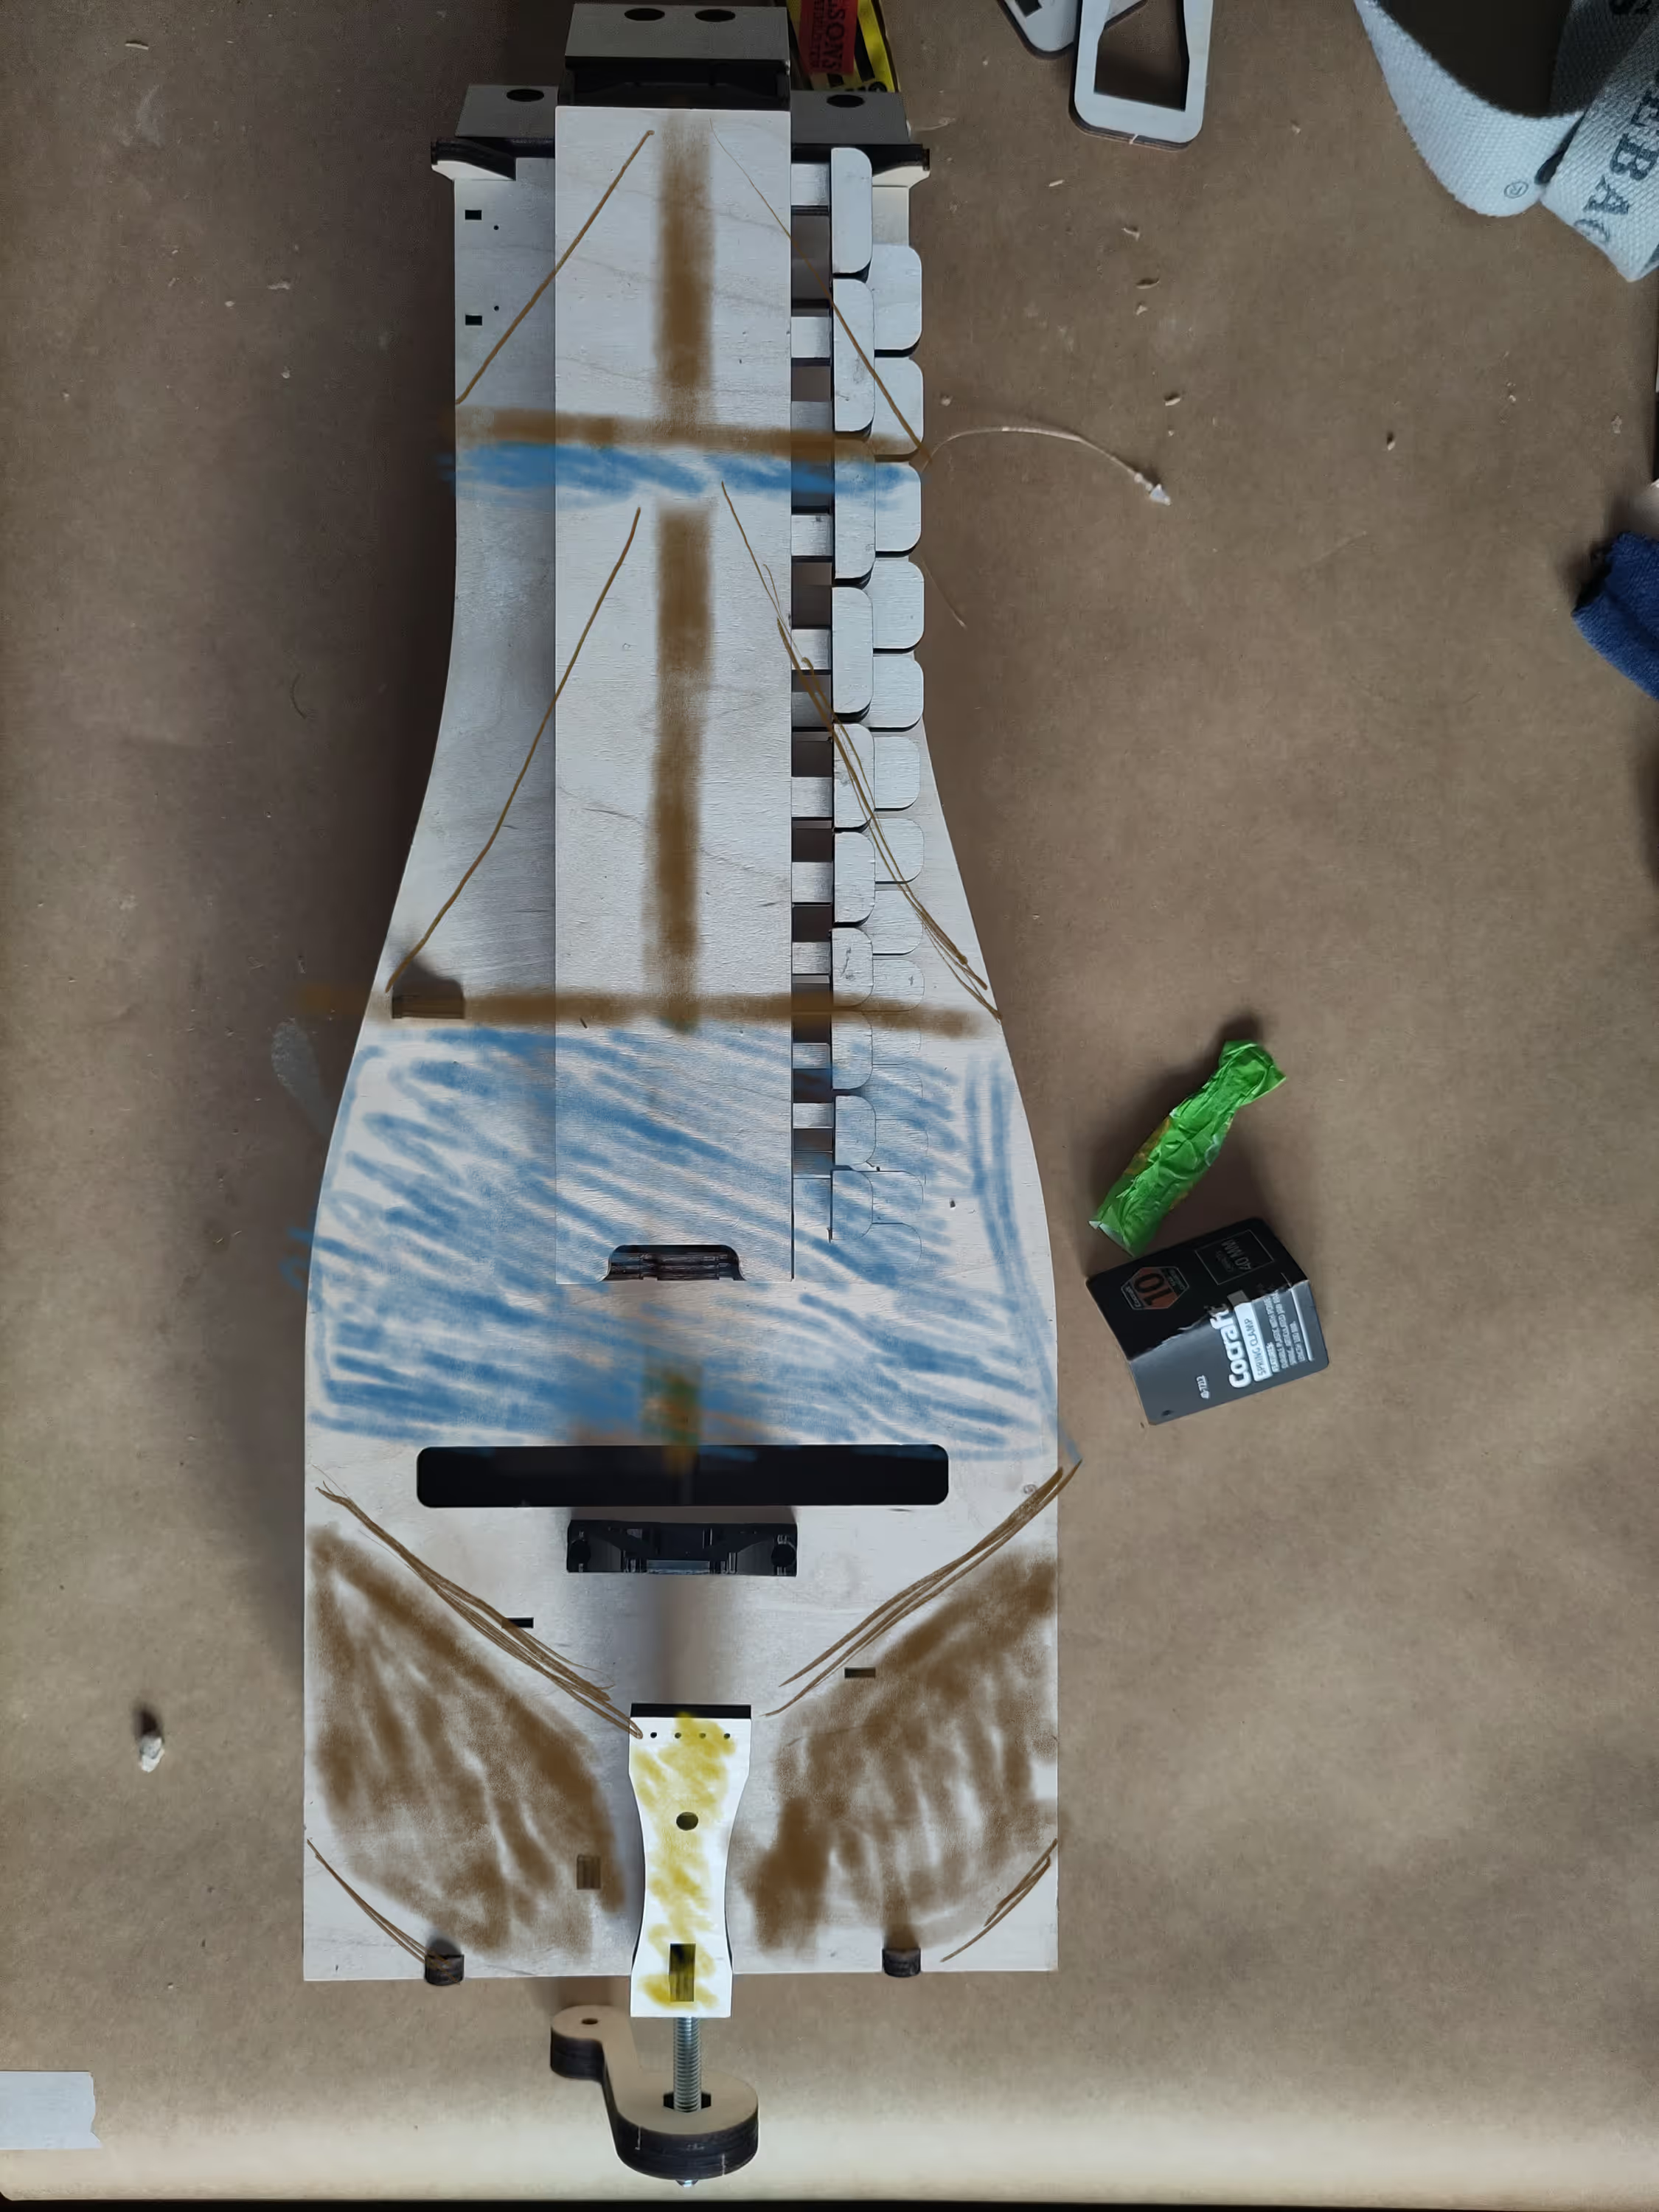
A design attempt, the furled up sails were nice but nah…
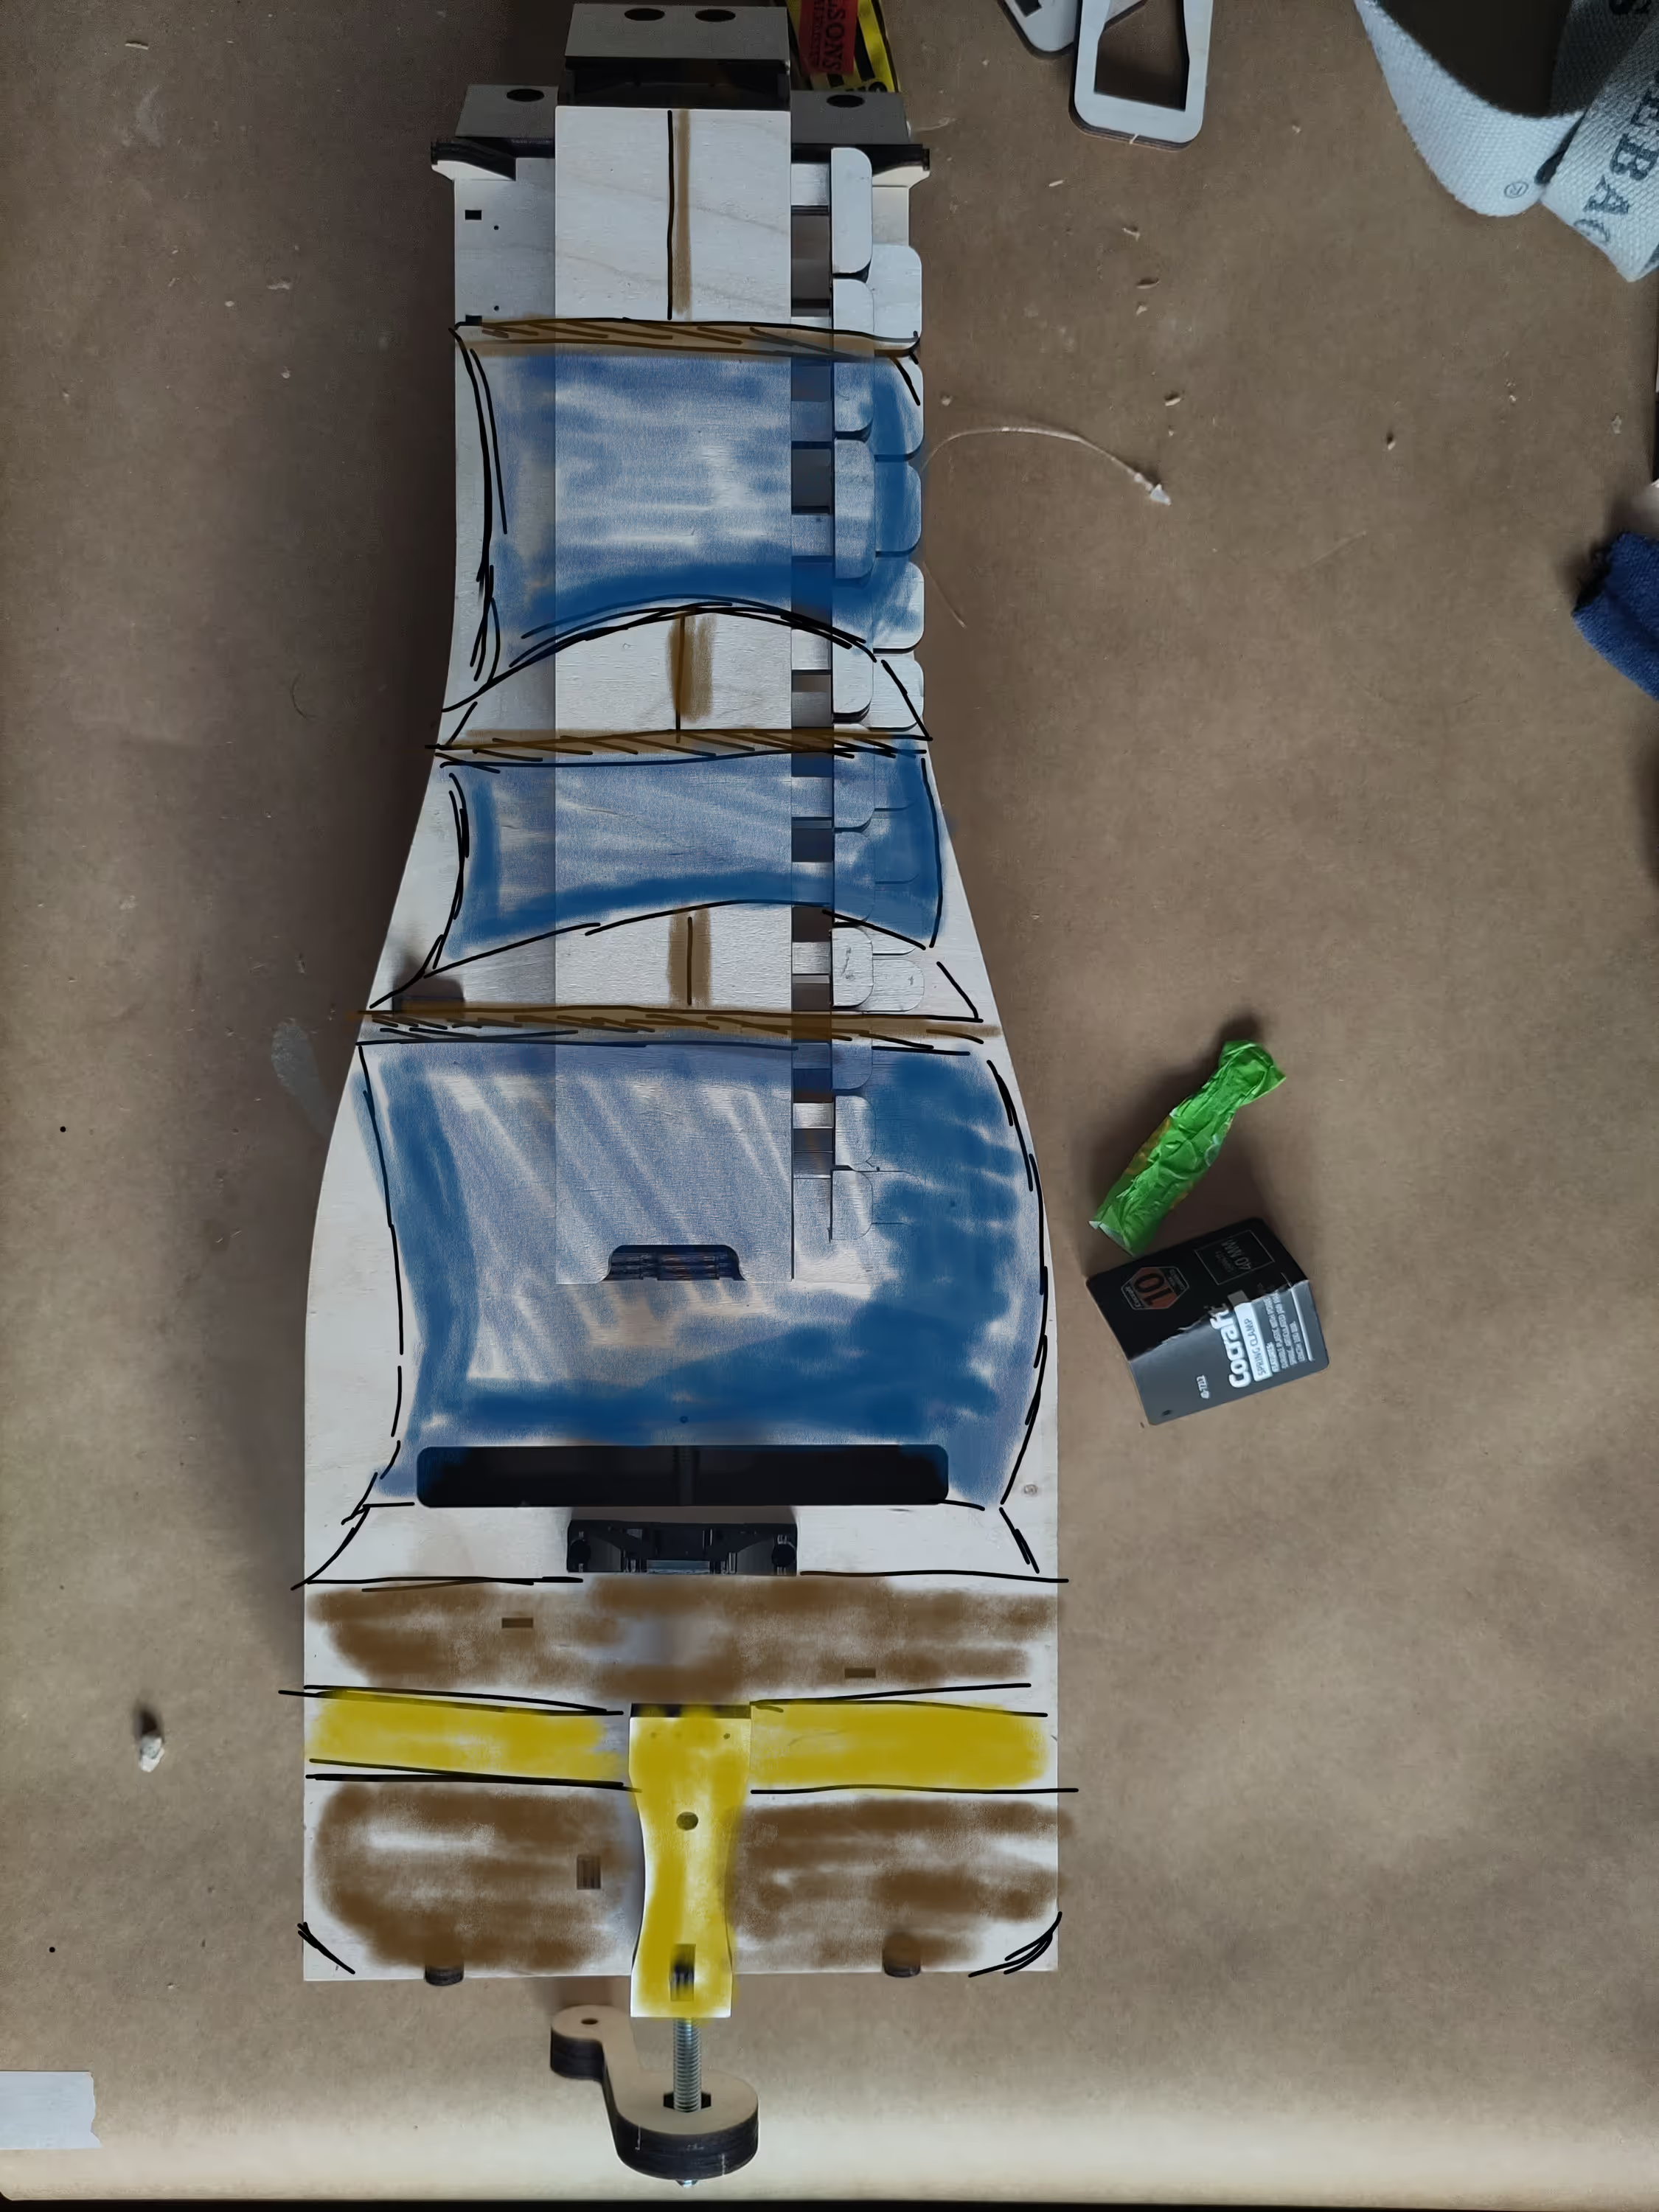
The design I decided to go for.
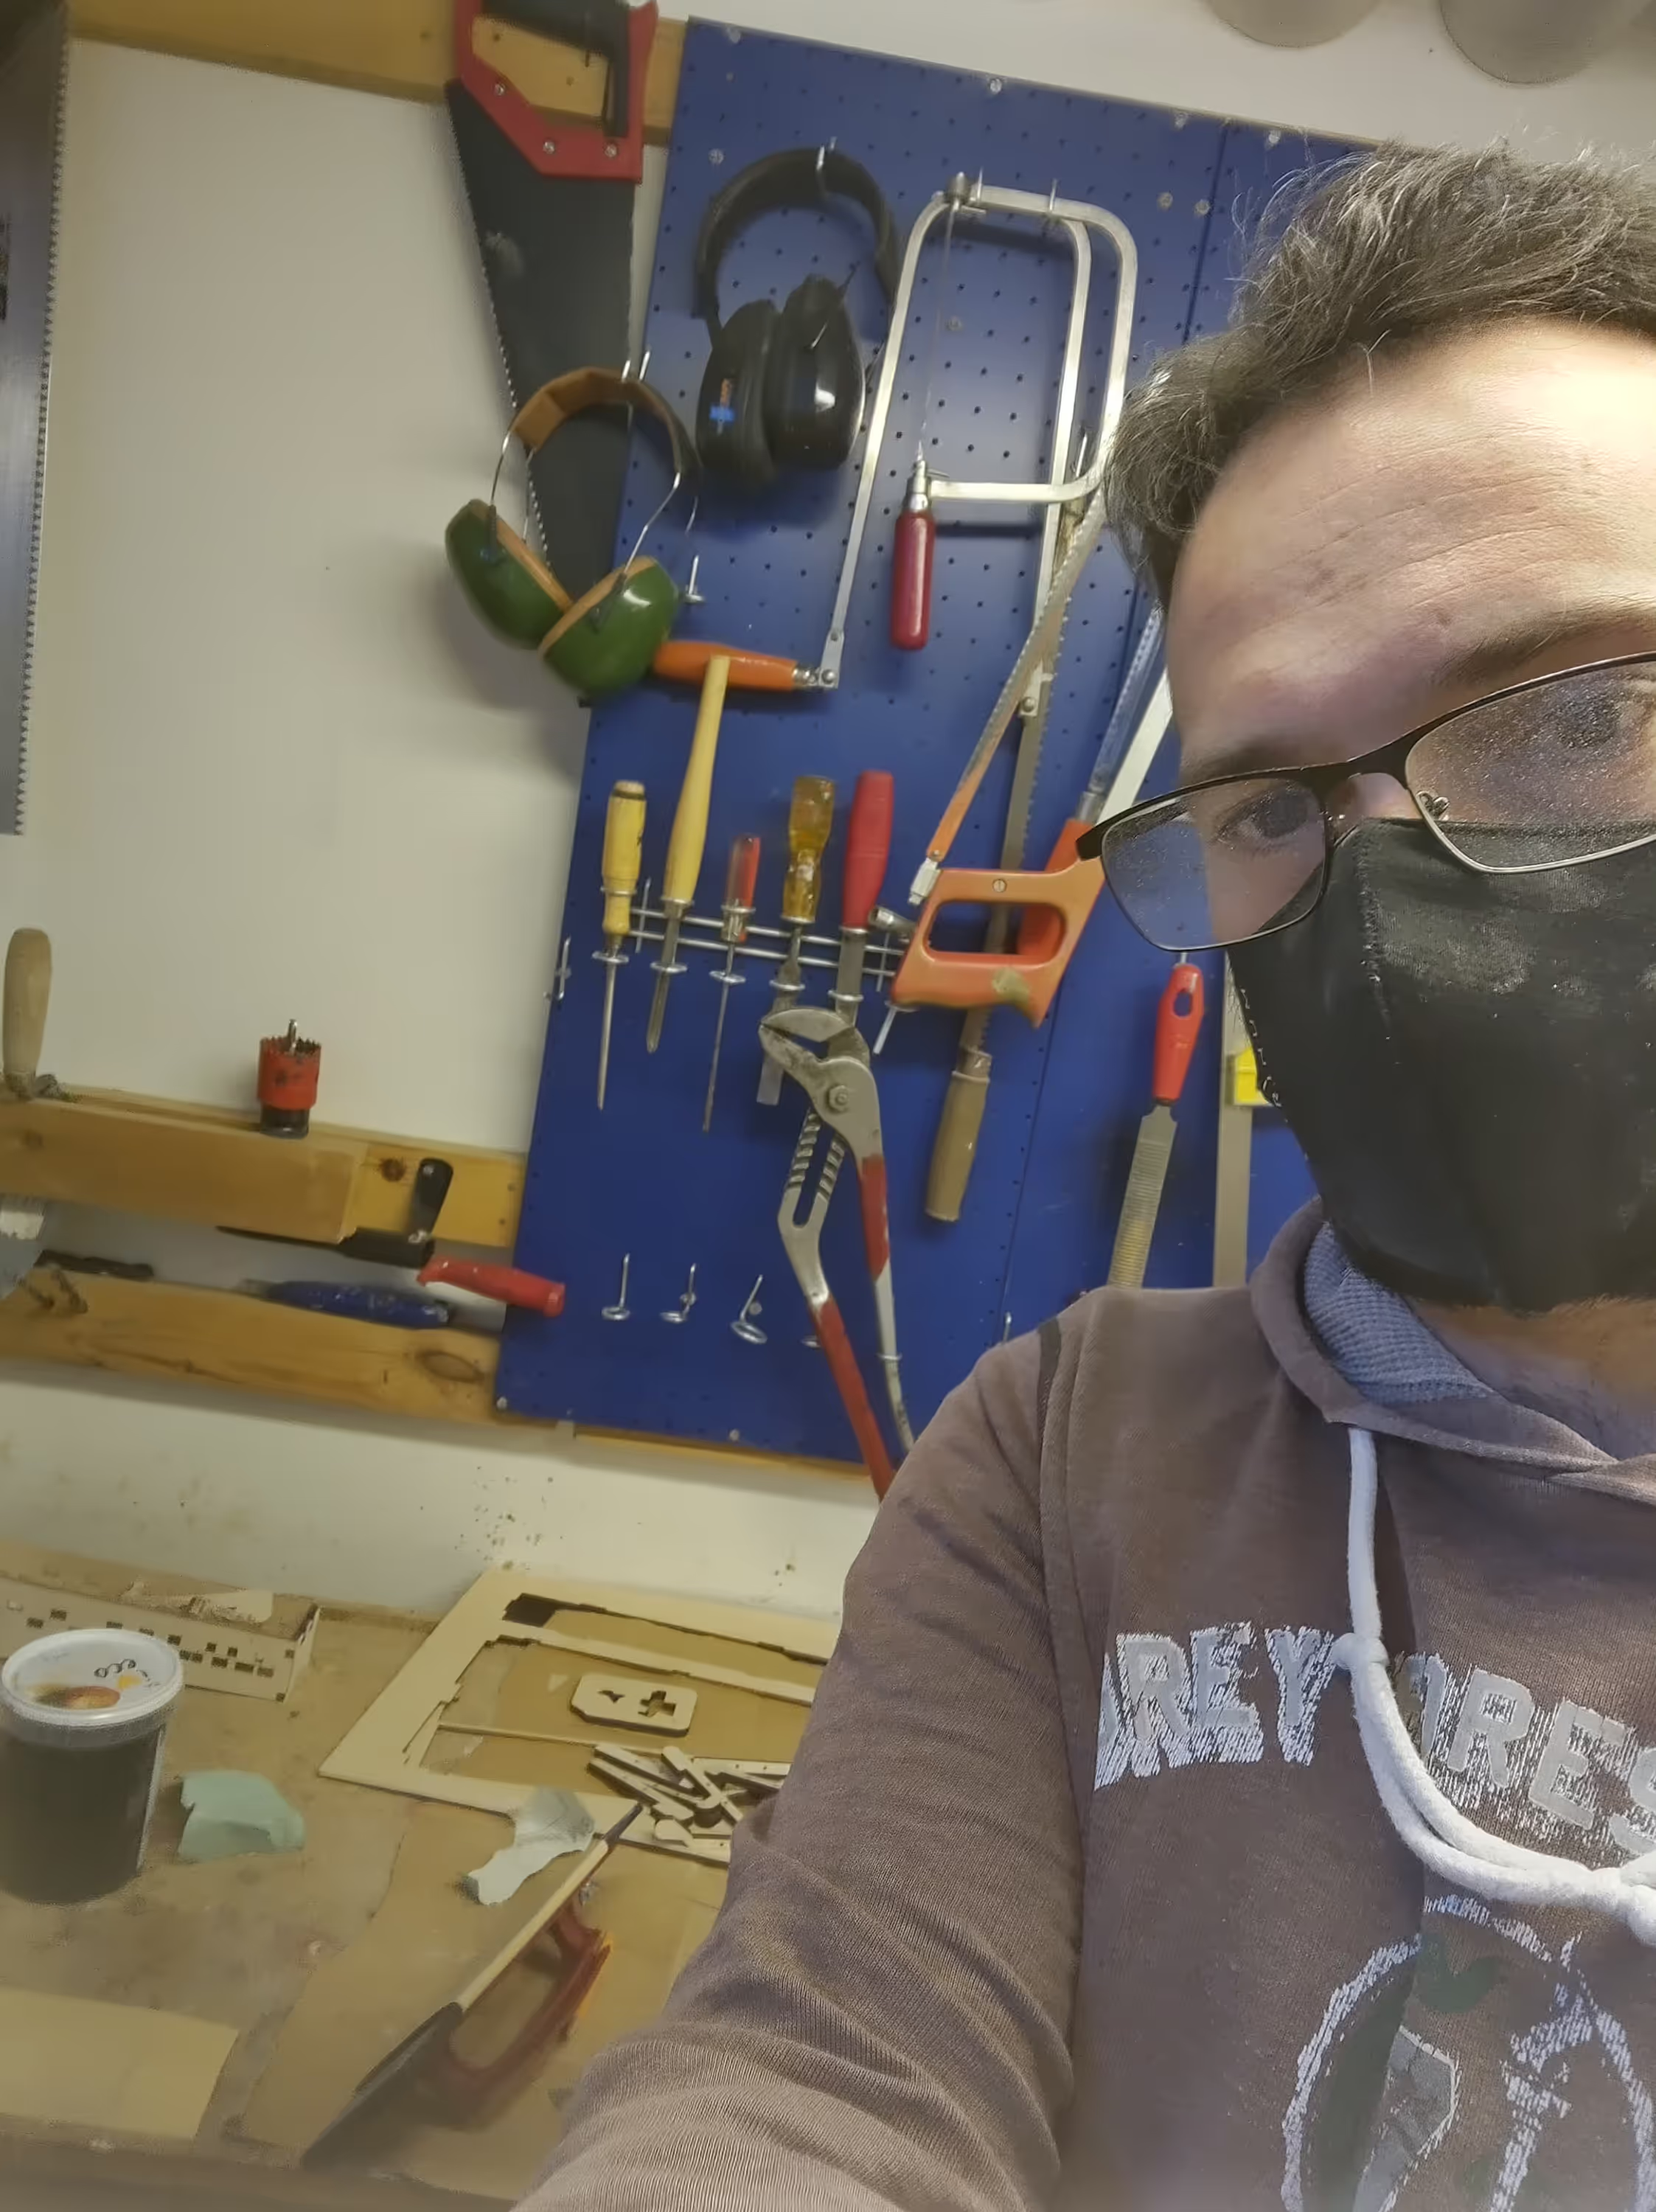
Mask up for sanding, that's messy.
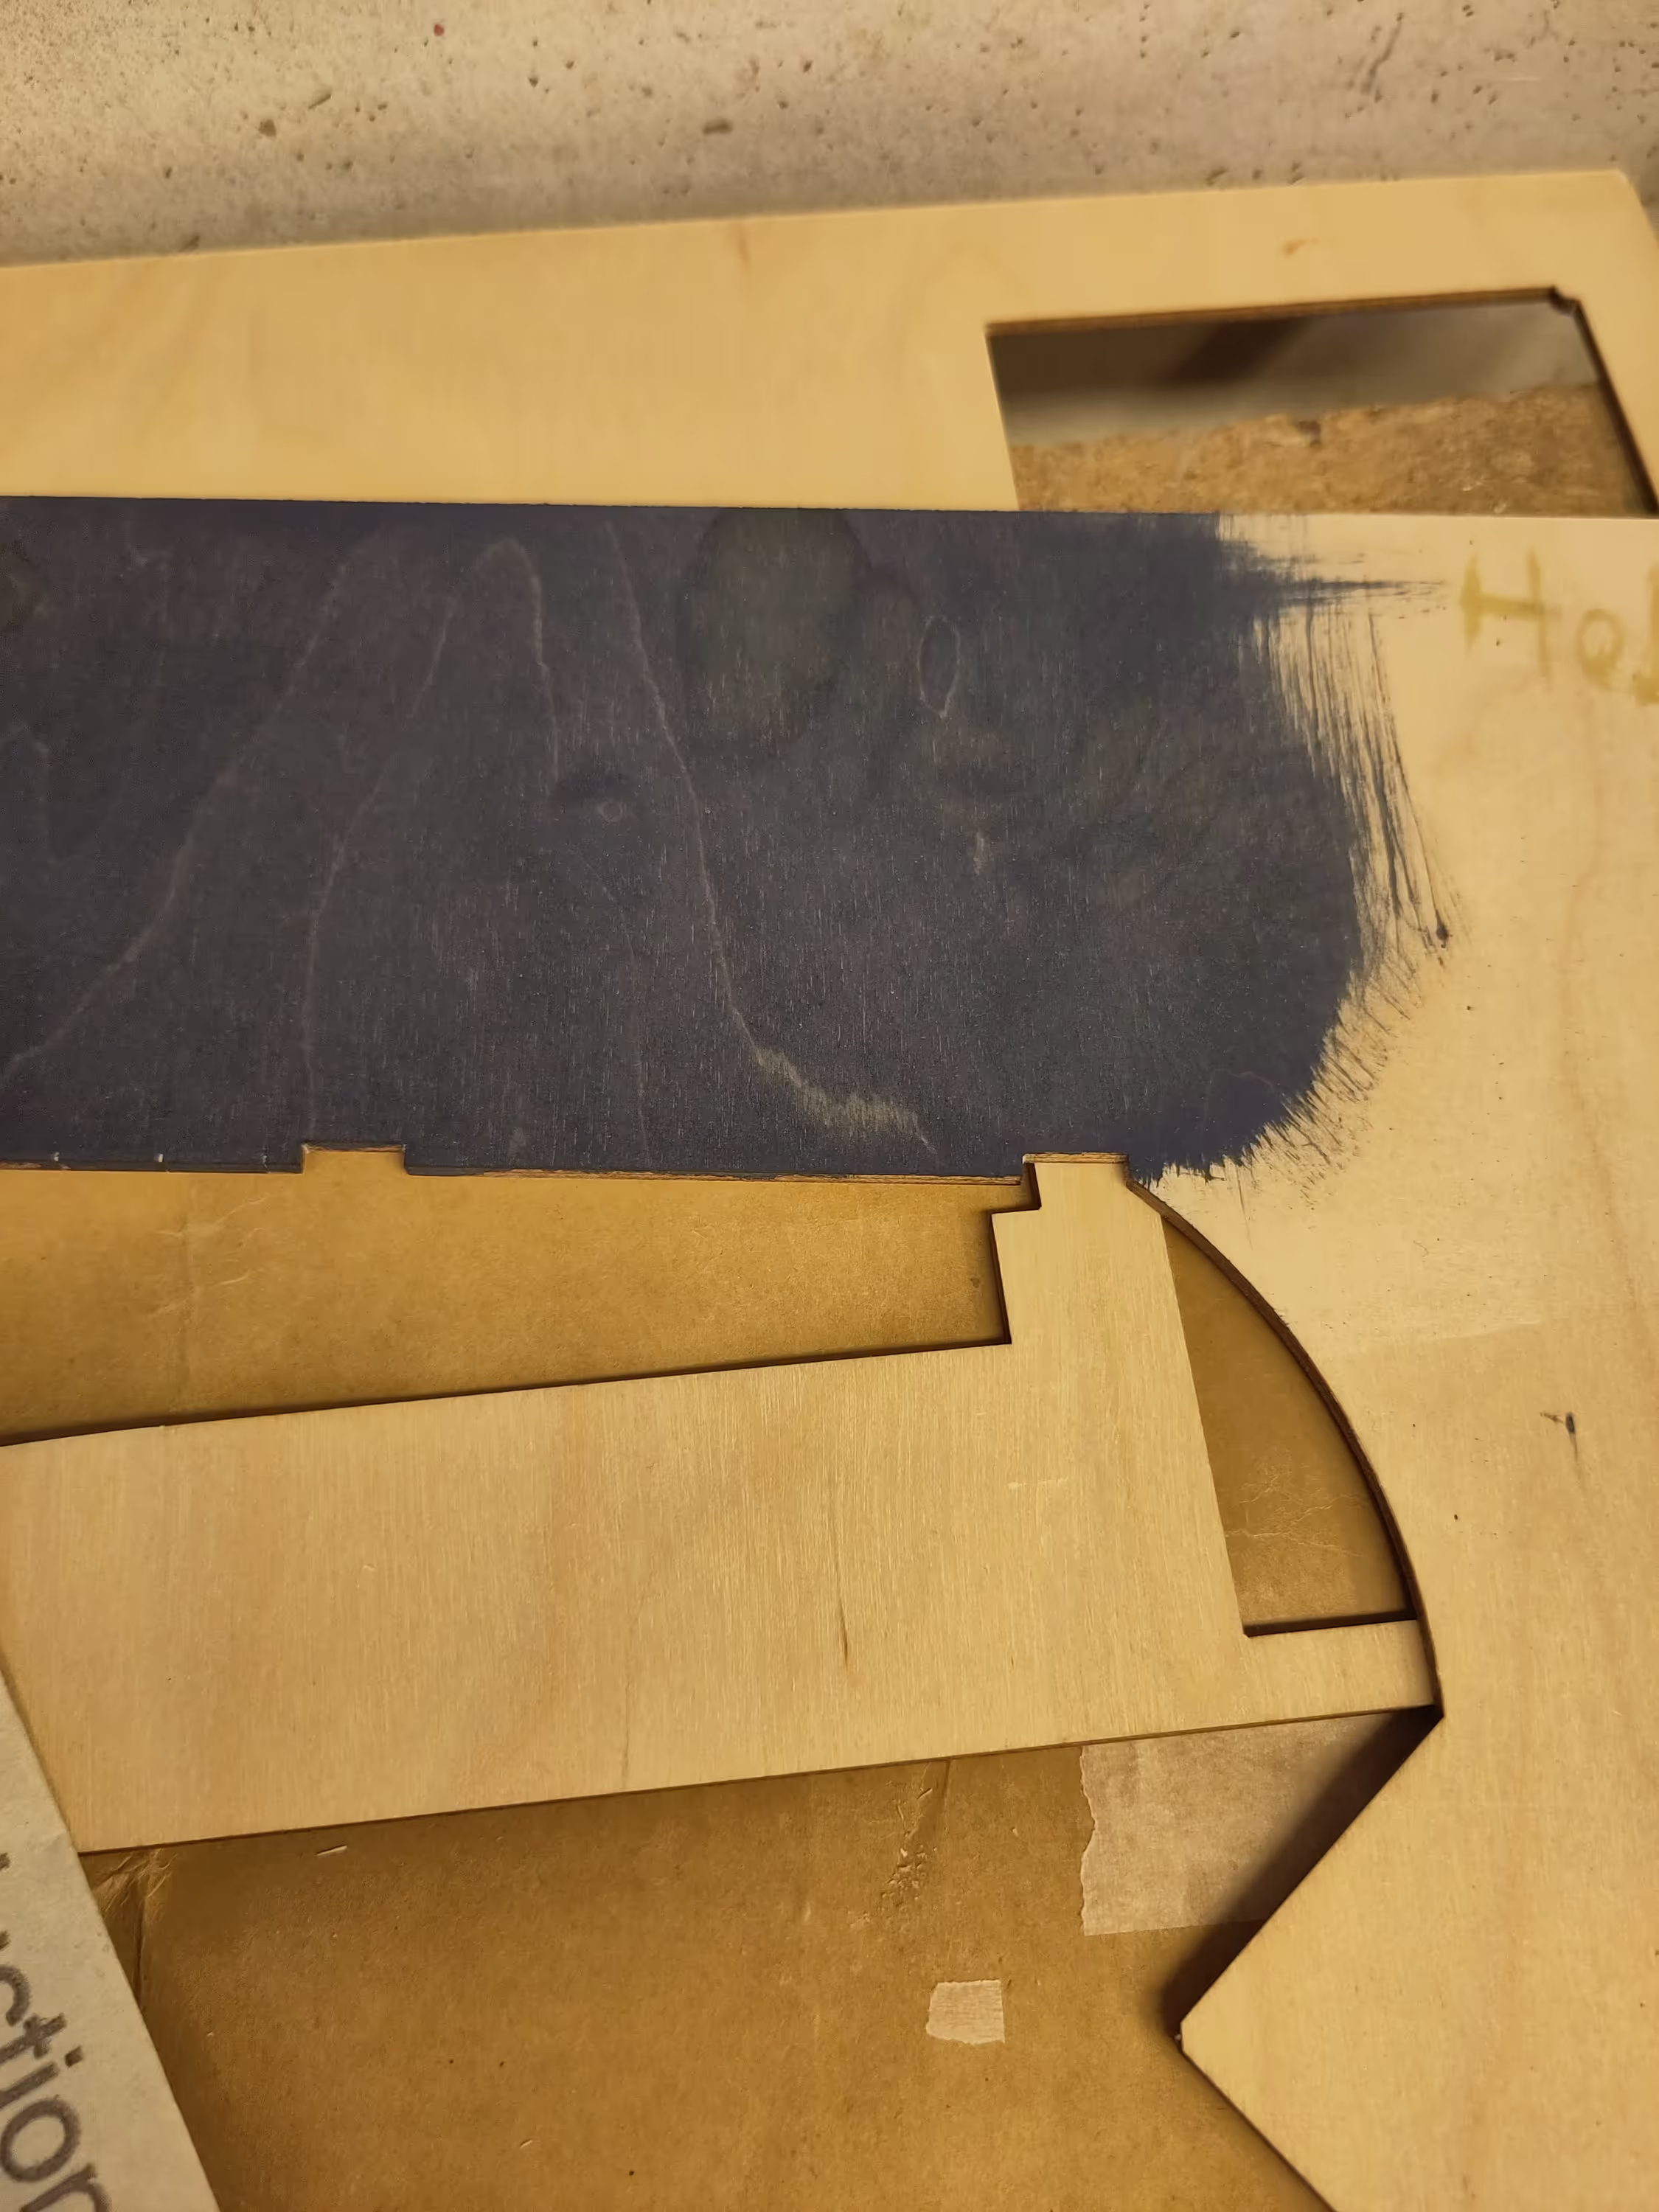
staining attempt
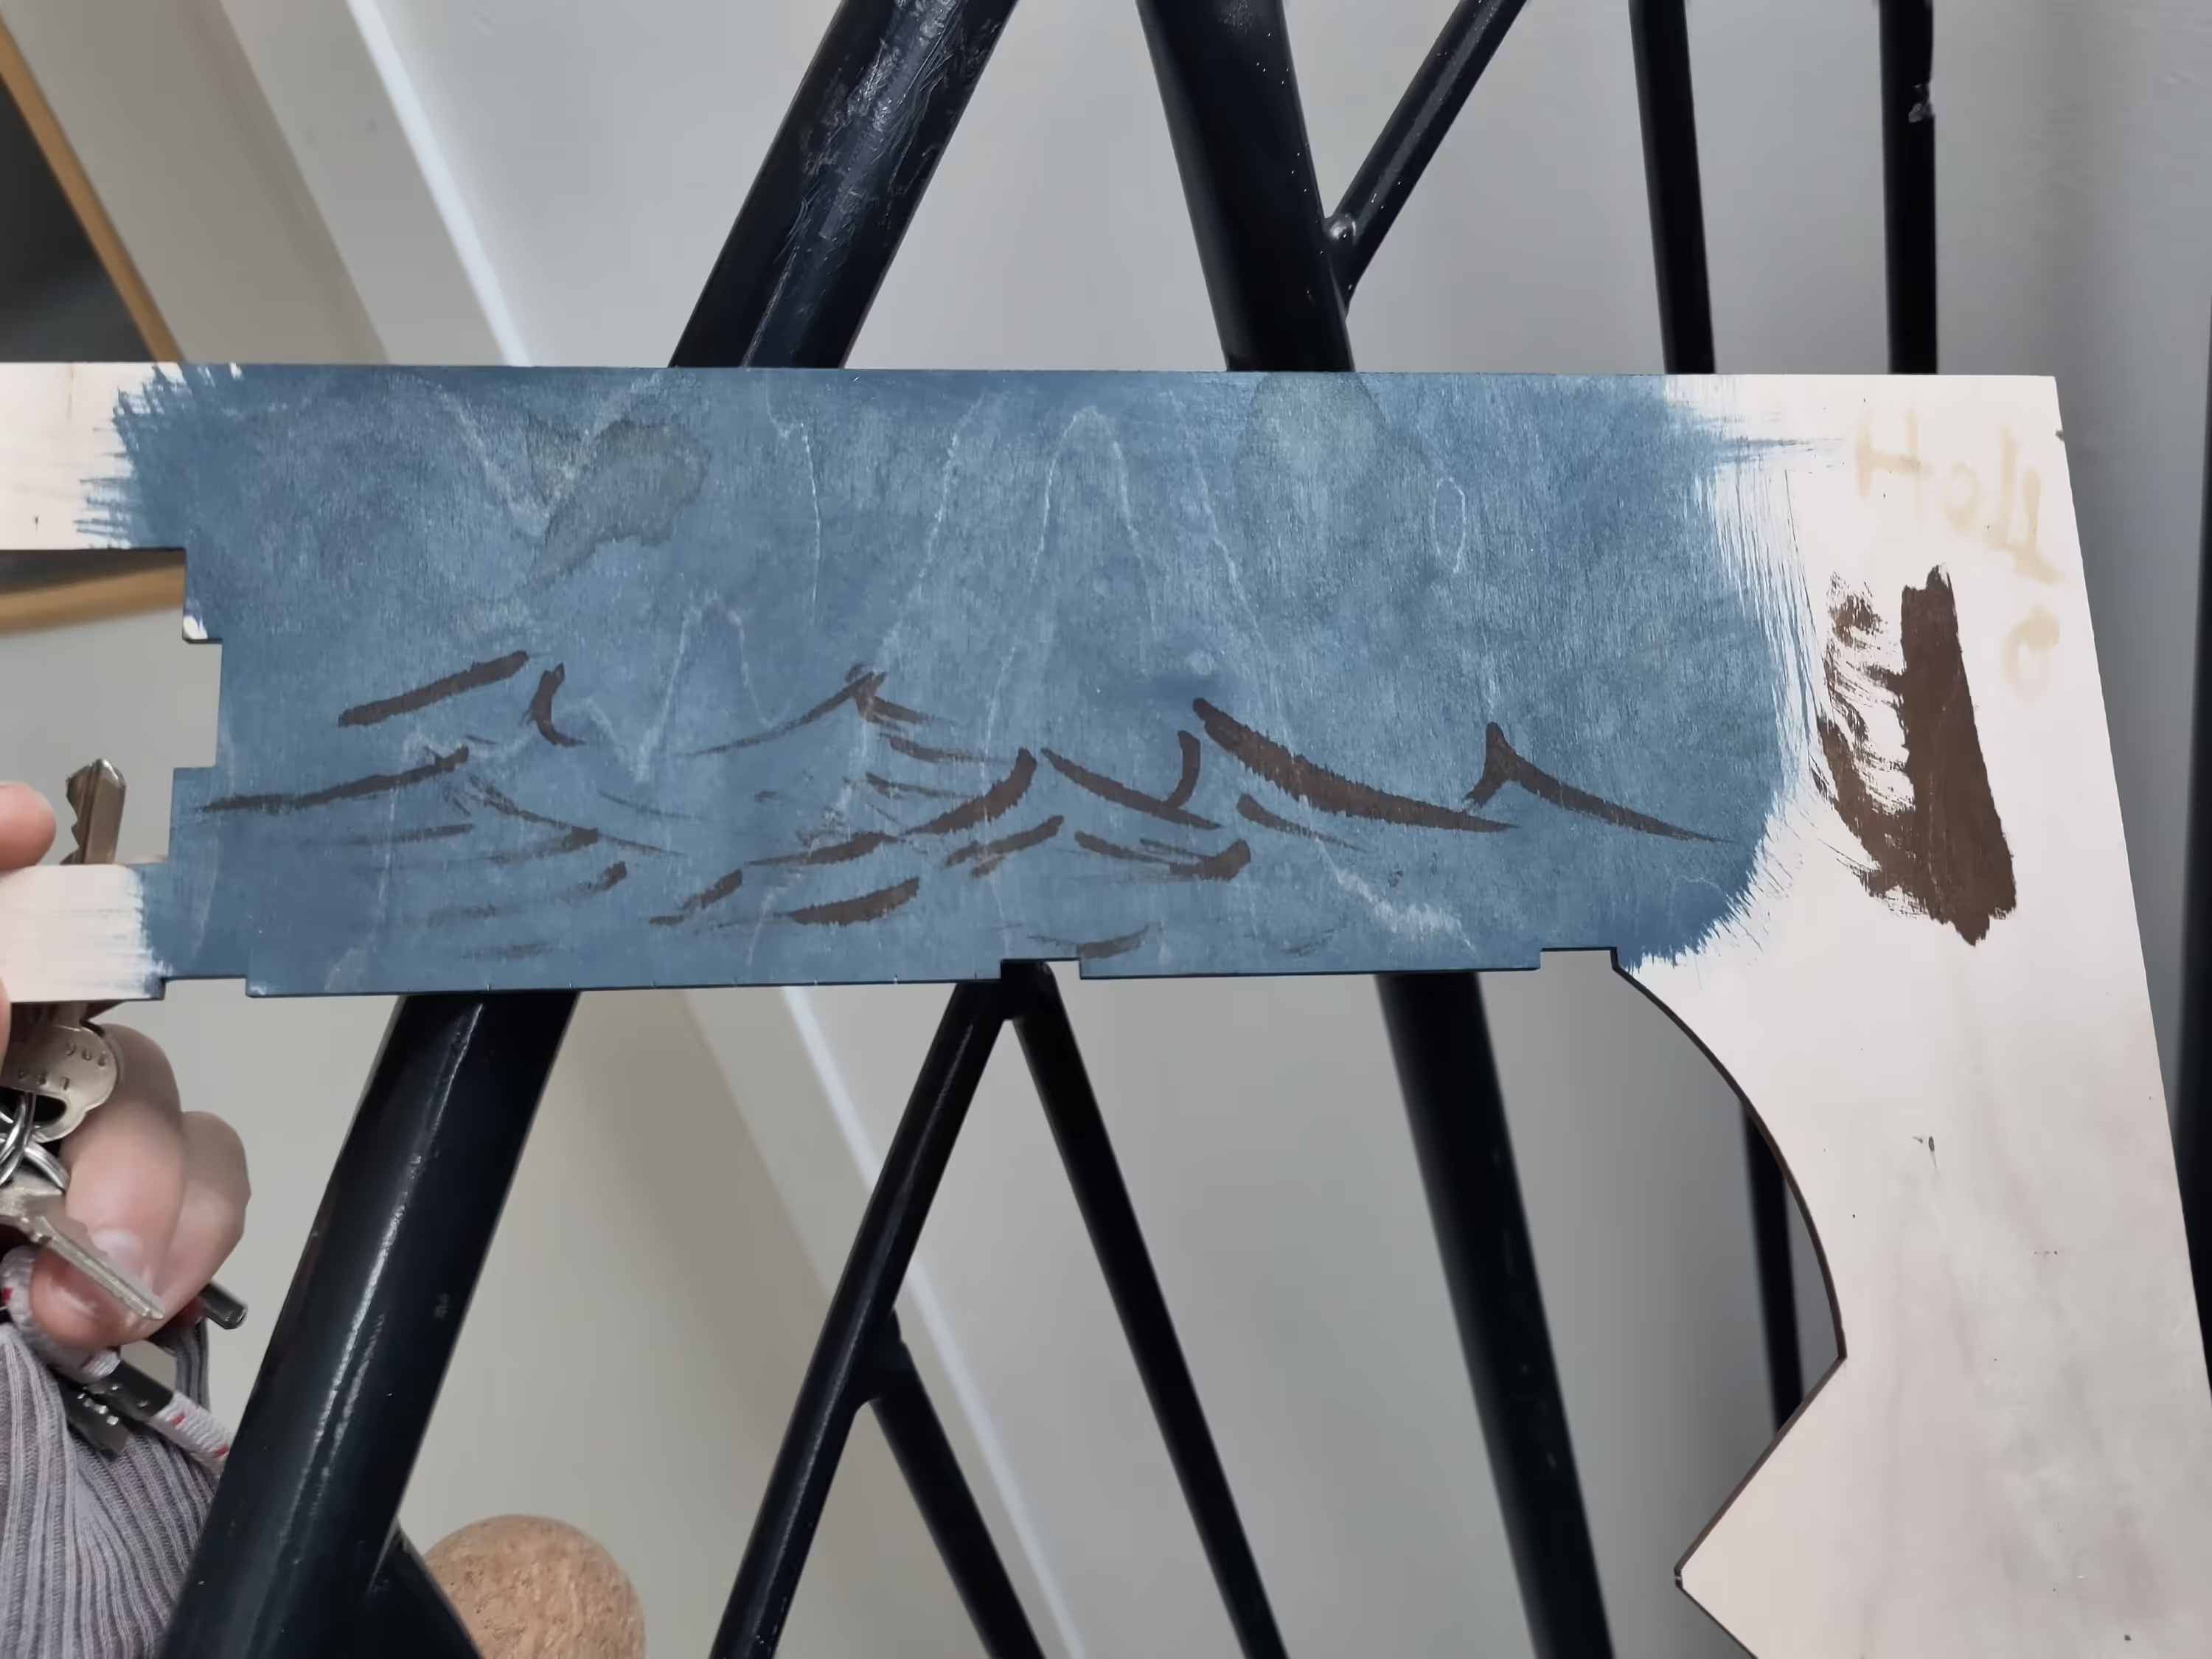
trying to make some waves
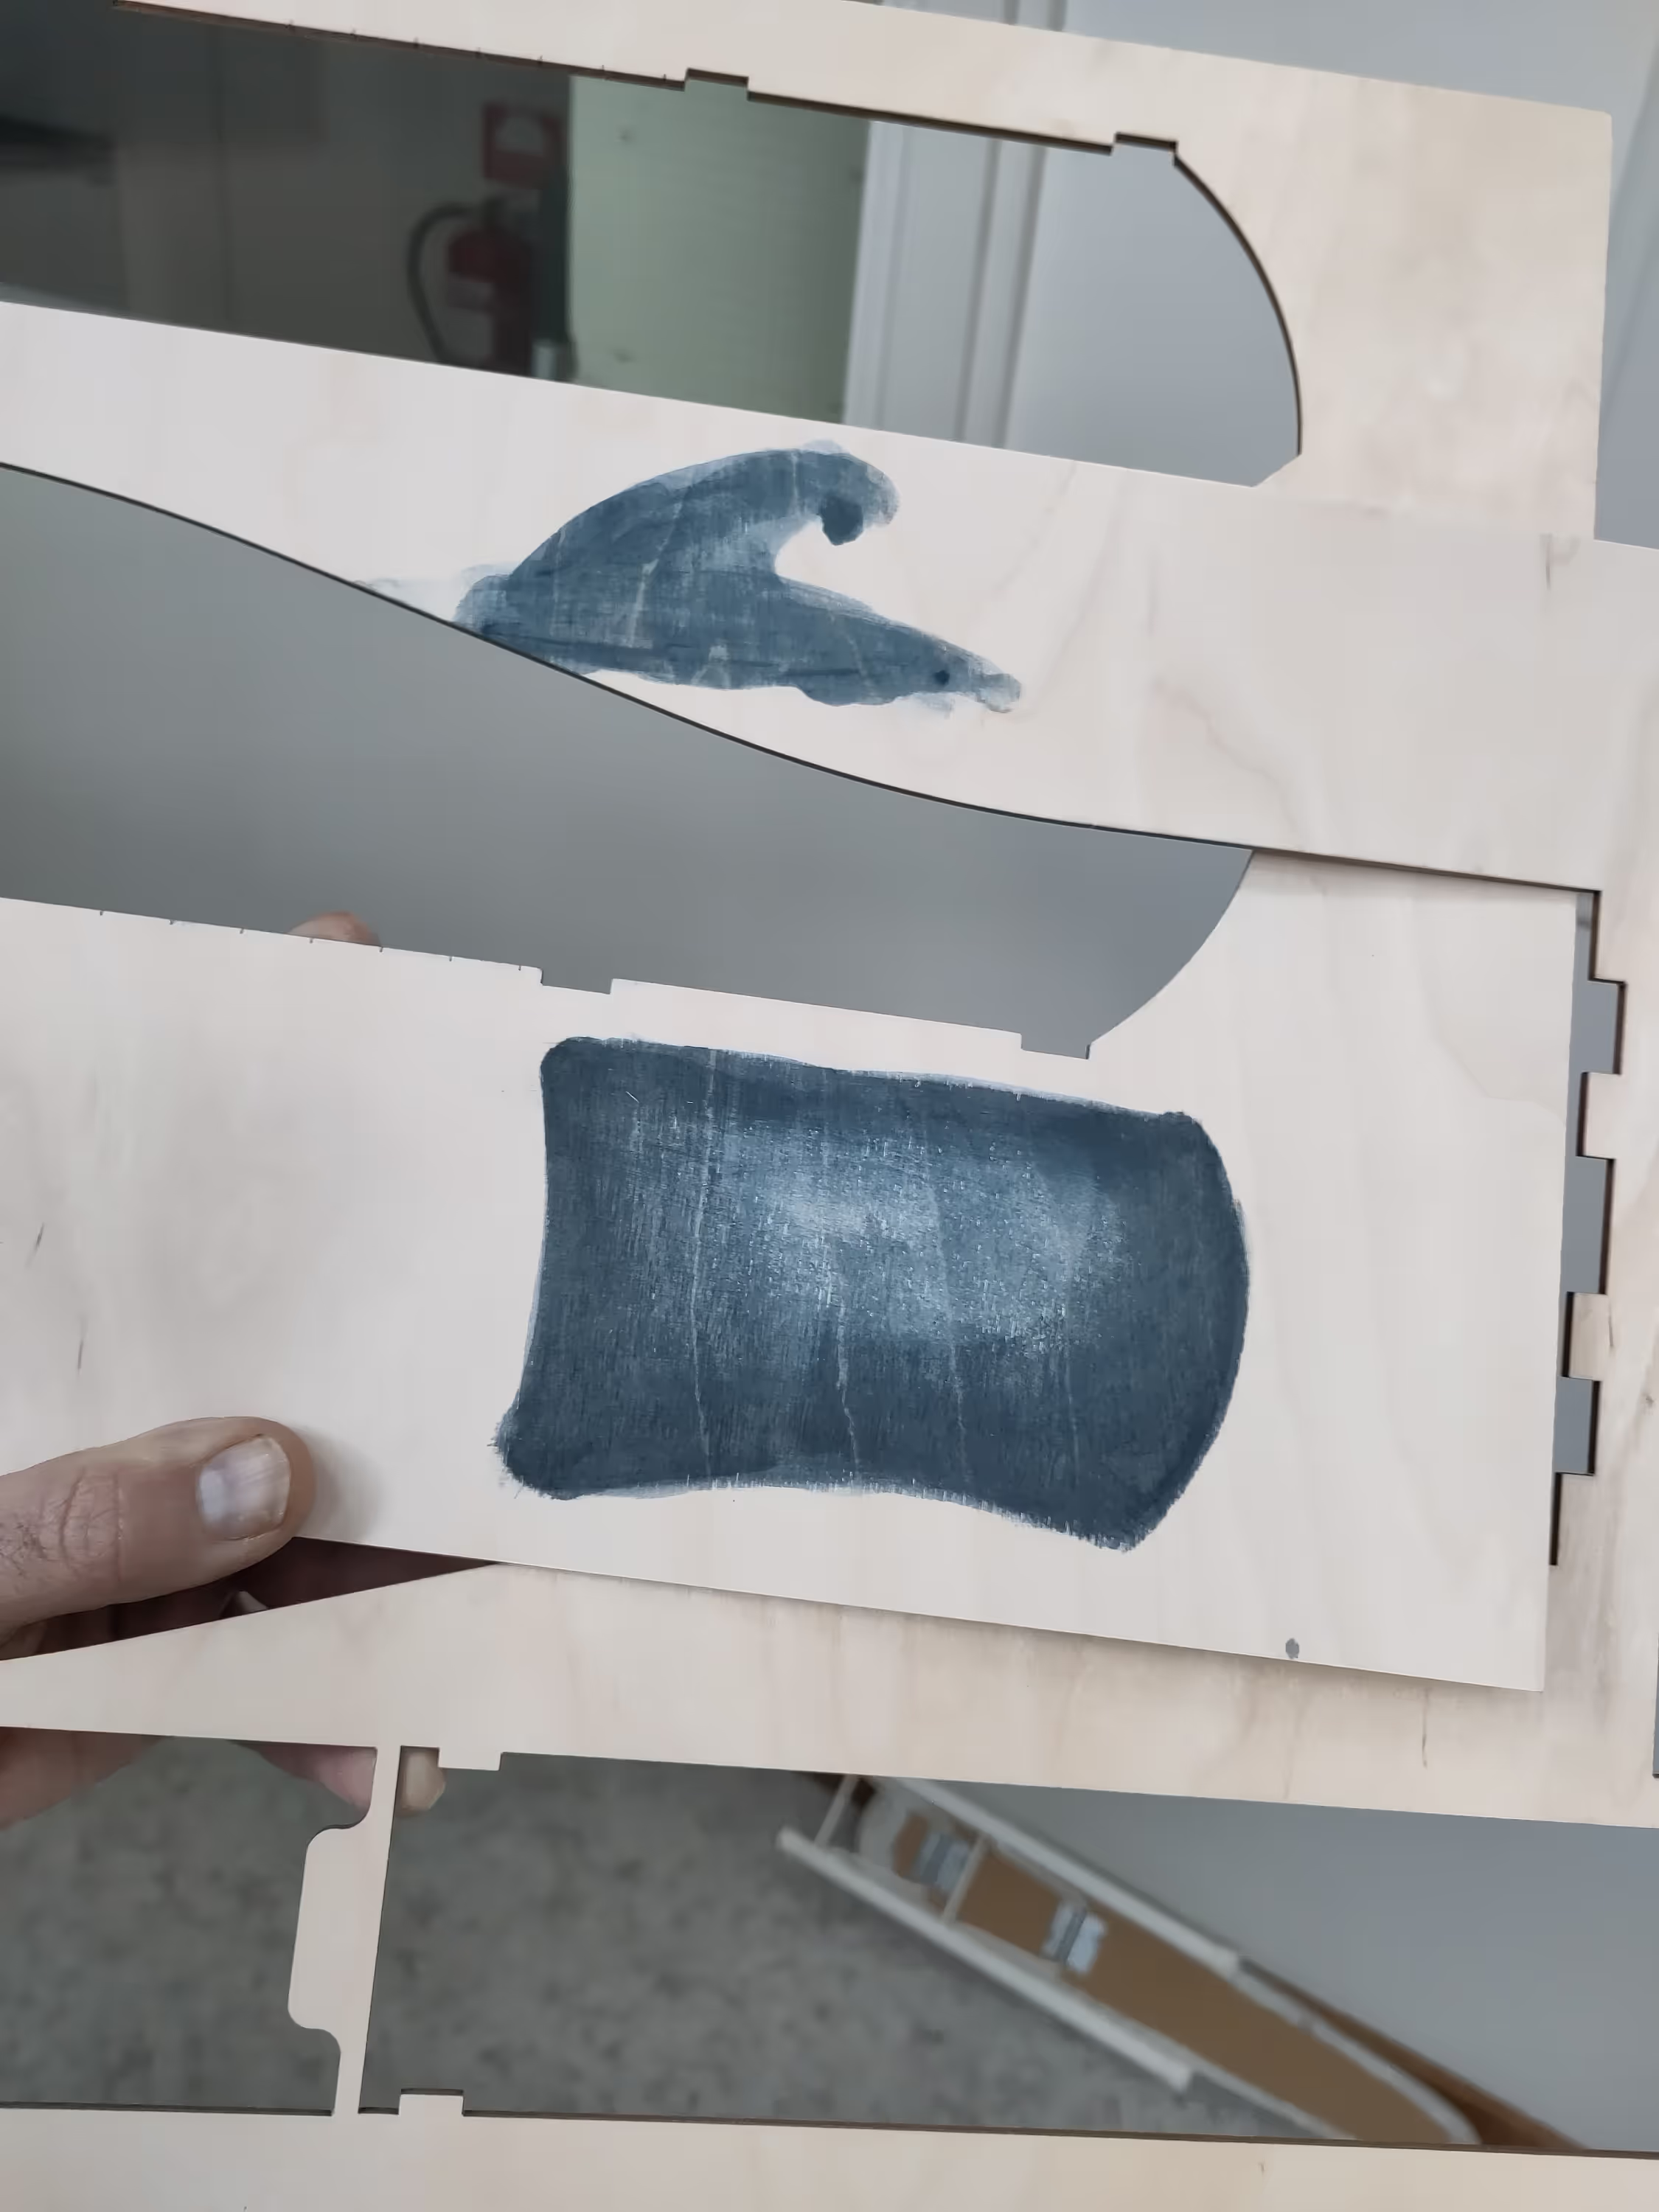
can I make a sail with a fading stain?
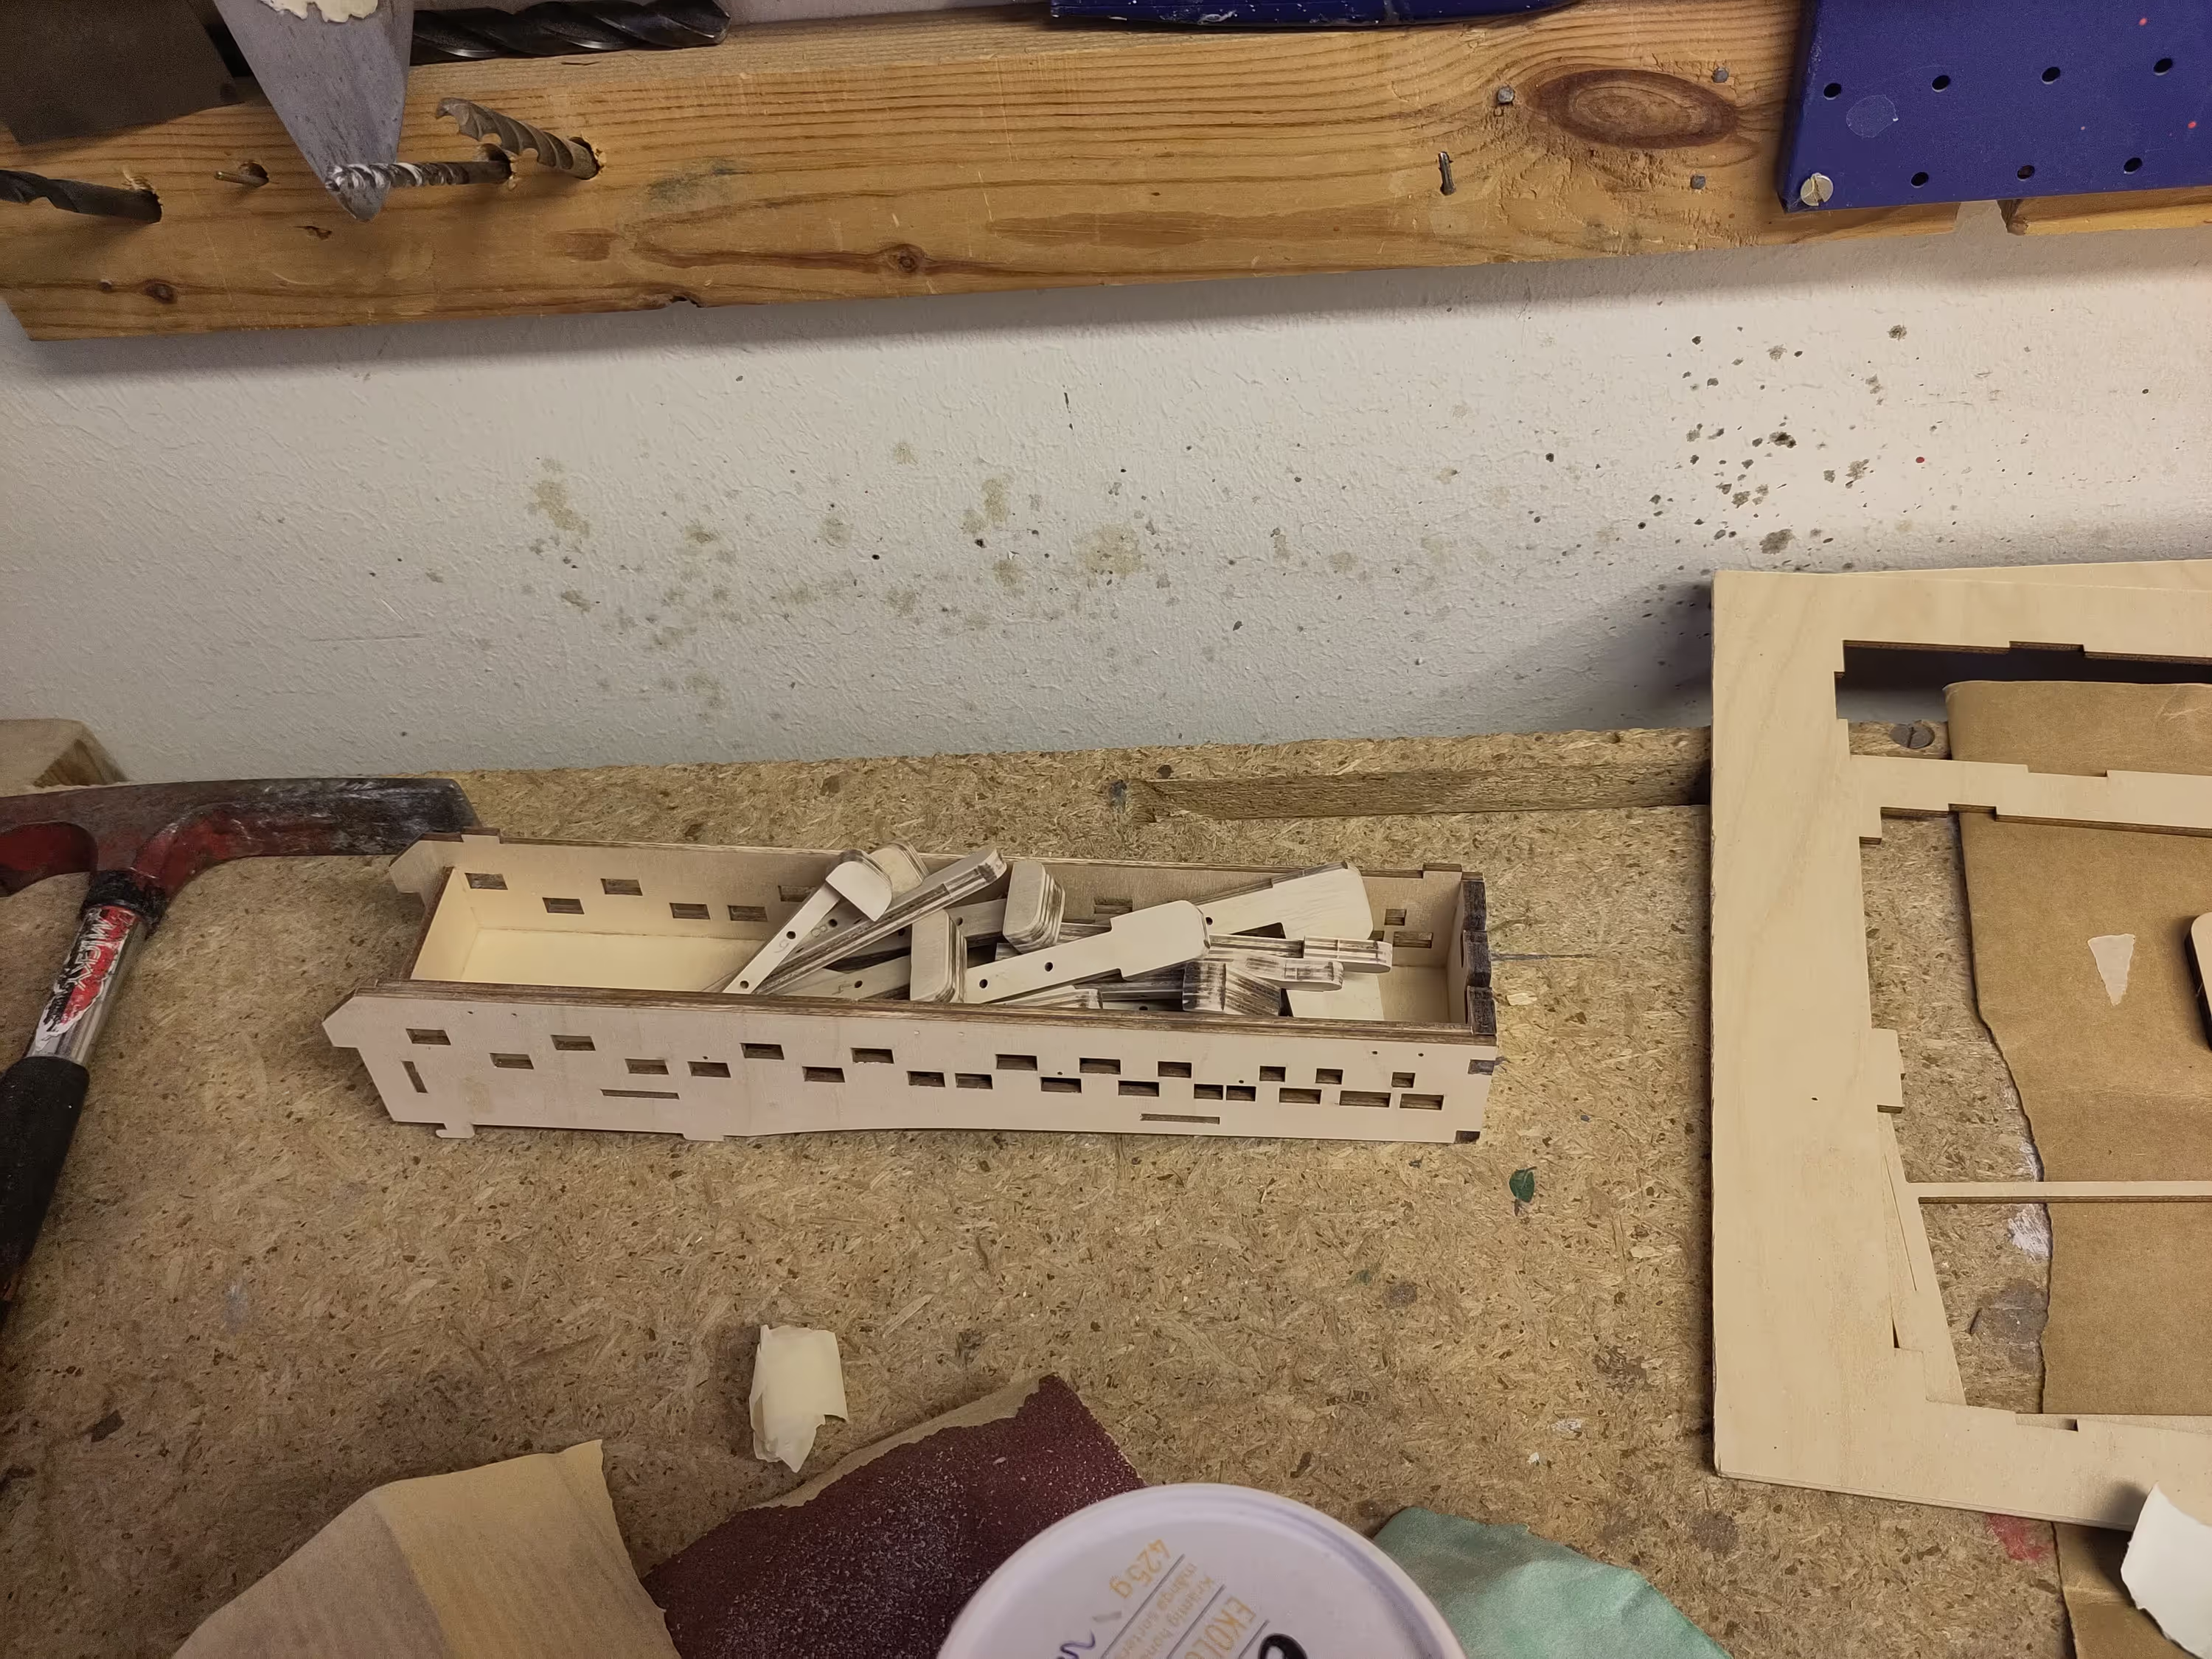
sanding in progress
Time to apply the stains, add some acrylic pencil touches and put the varnish (with a bit more fine sanding between varnish layers). The nerdy gurdy is starting to look like something!
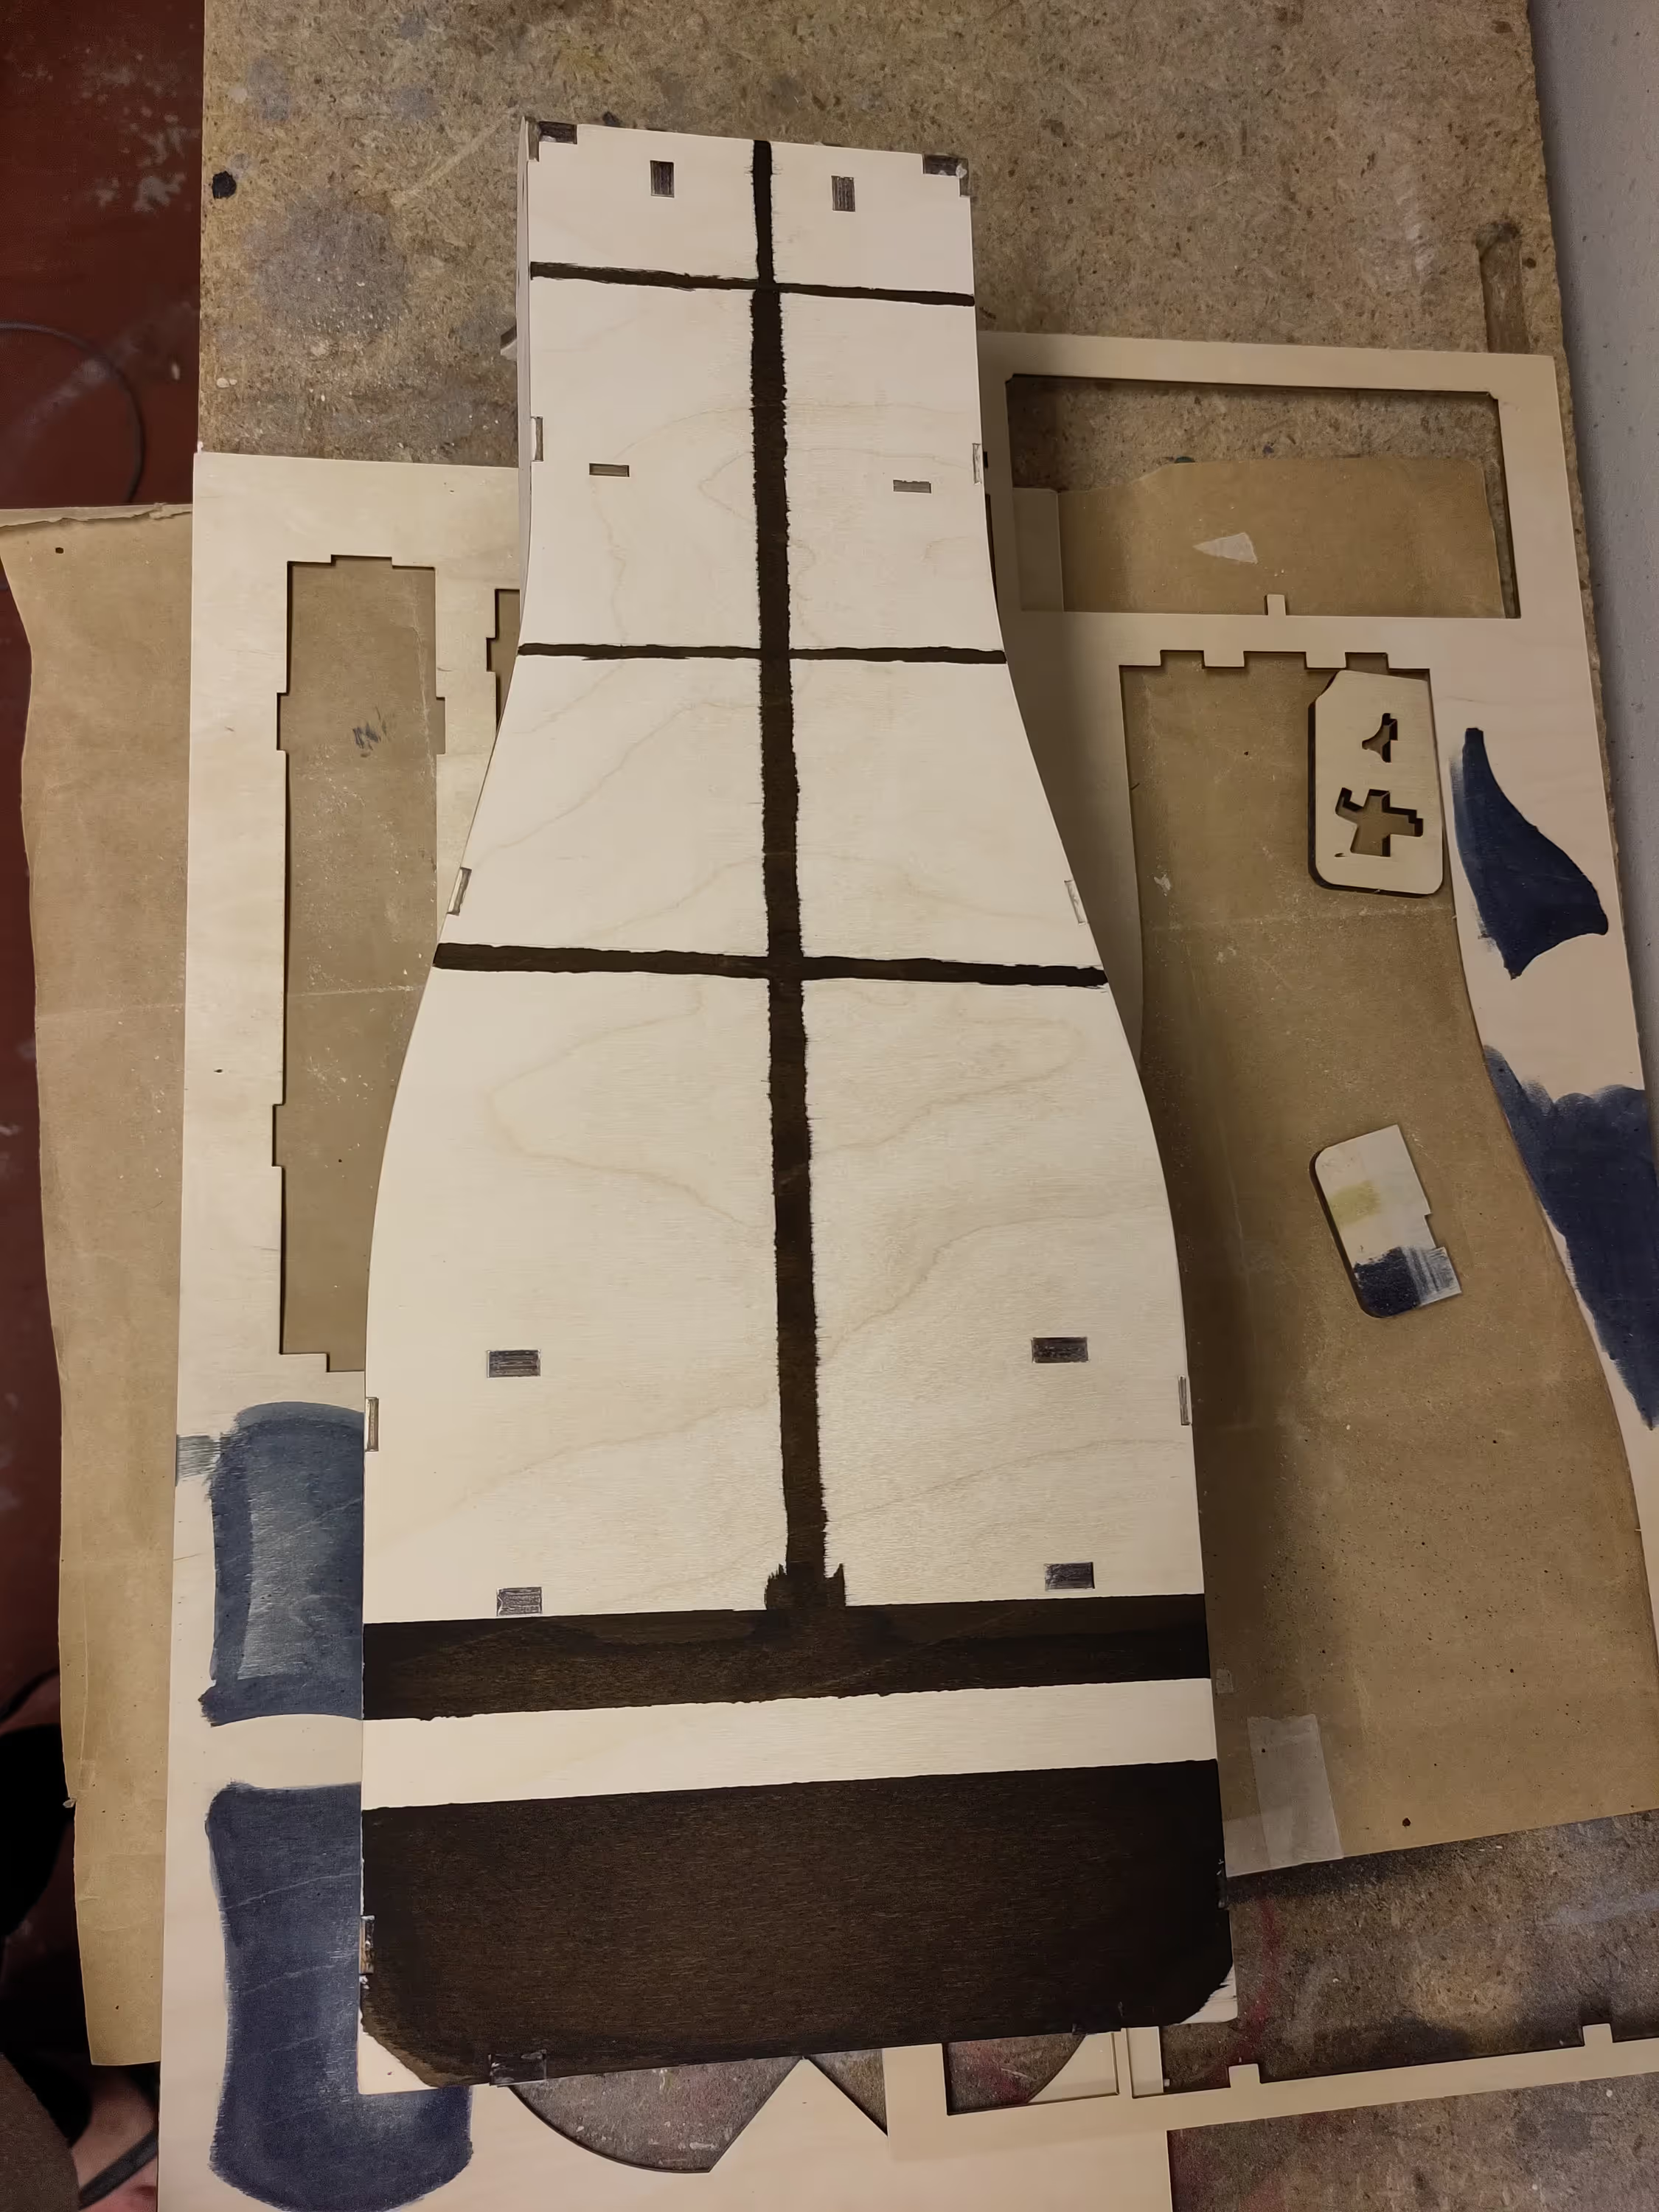
Painter tape for nice straight lines
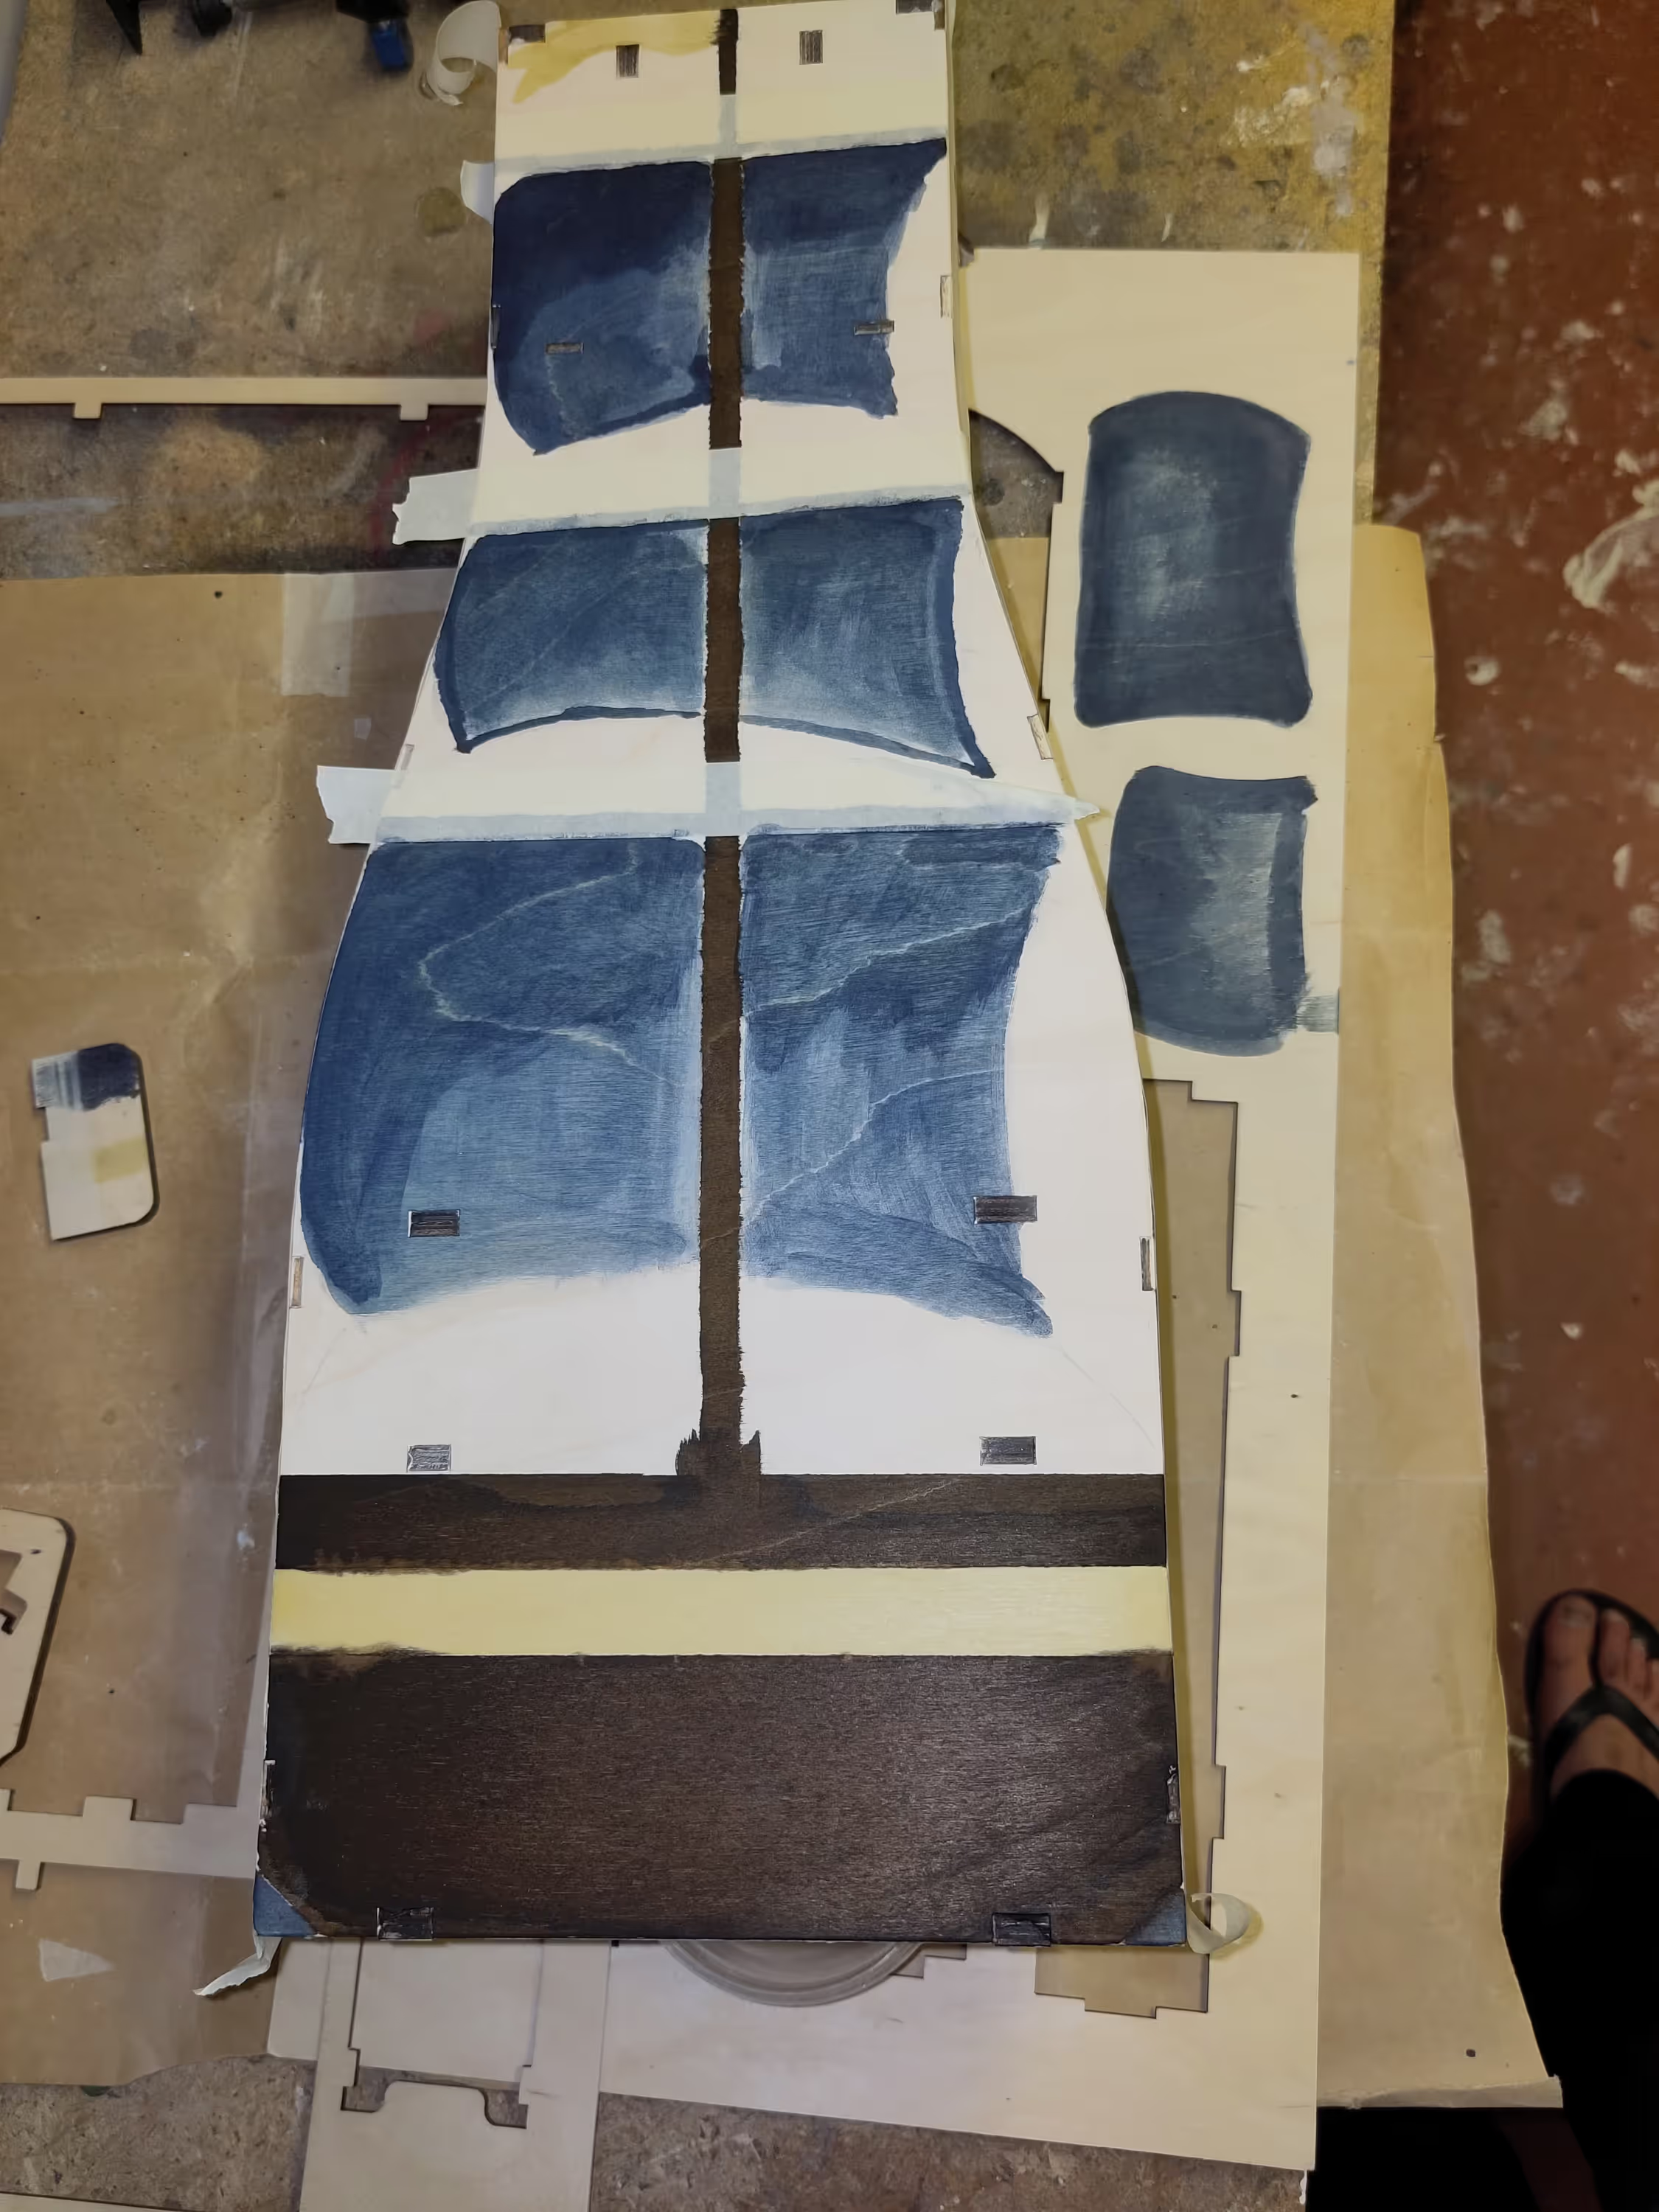
I started by painting the back of the ship.
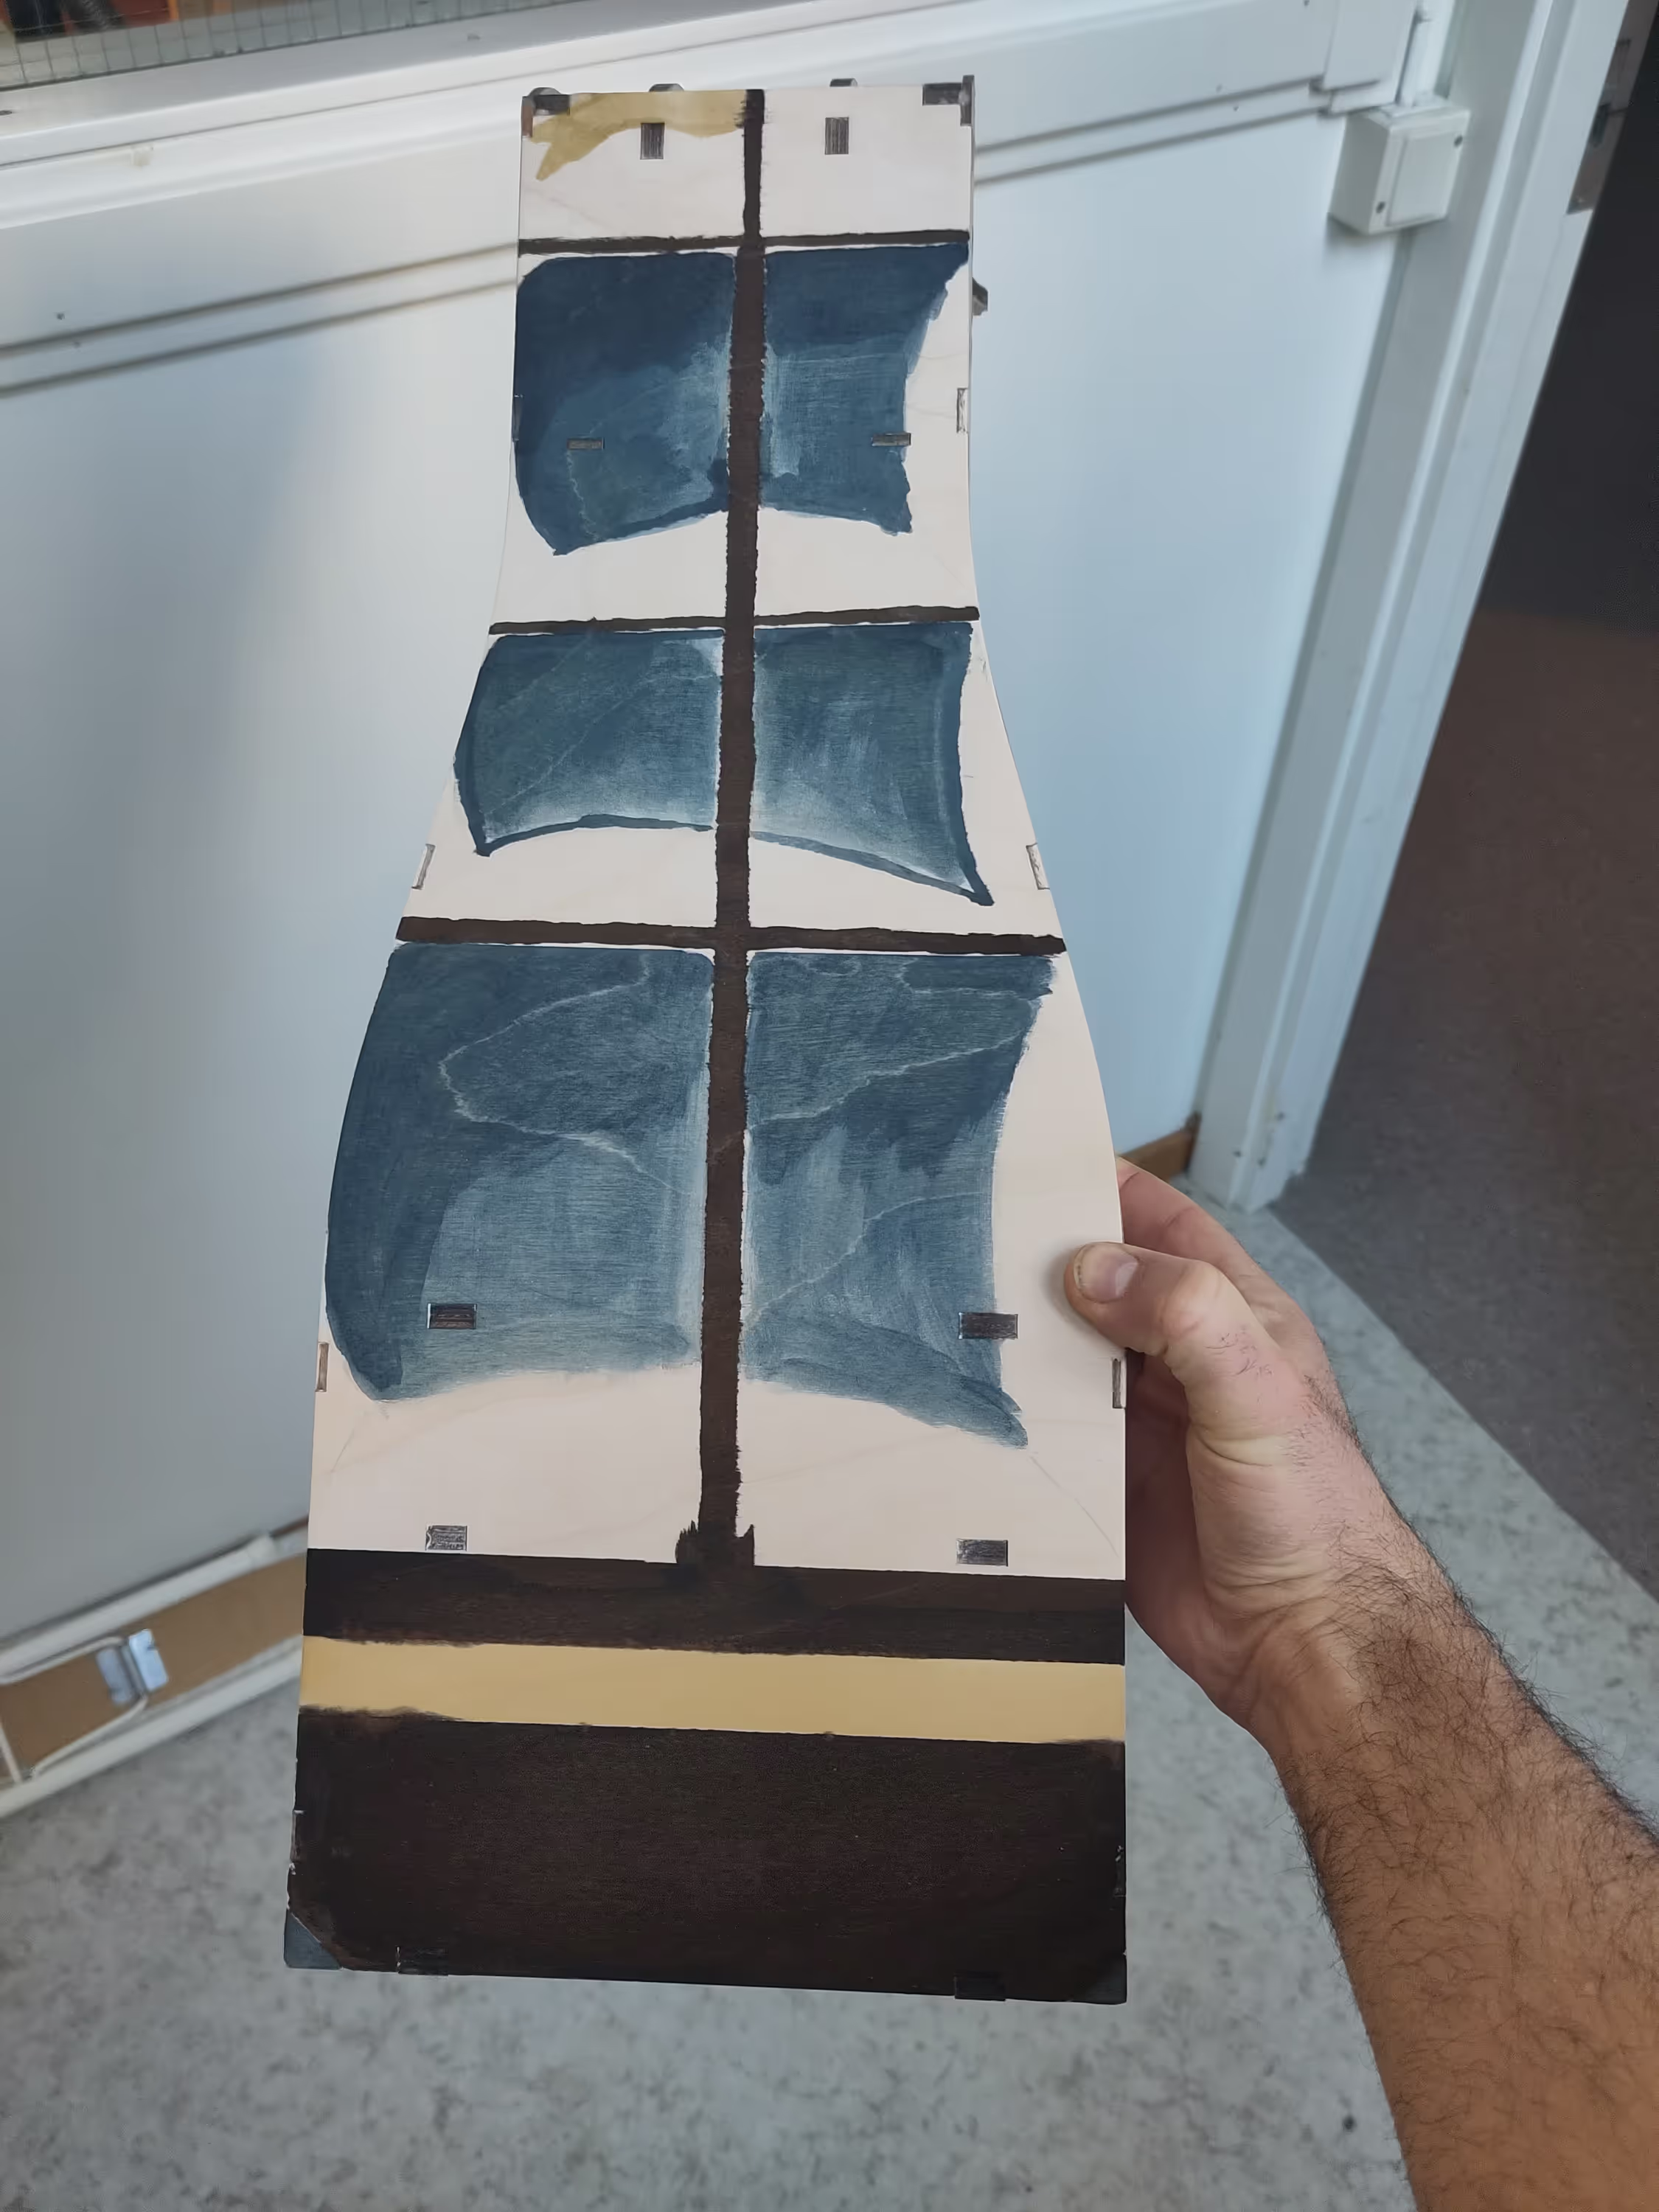
And I was pretty pleased with it.
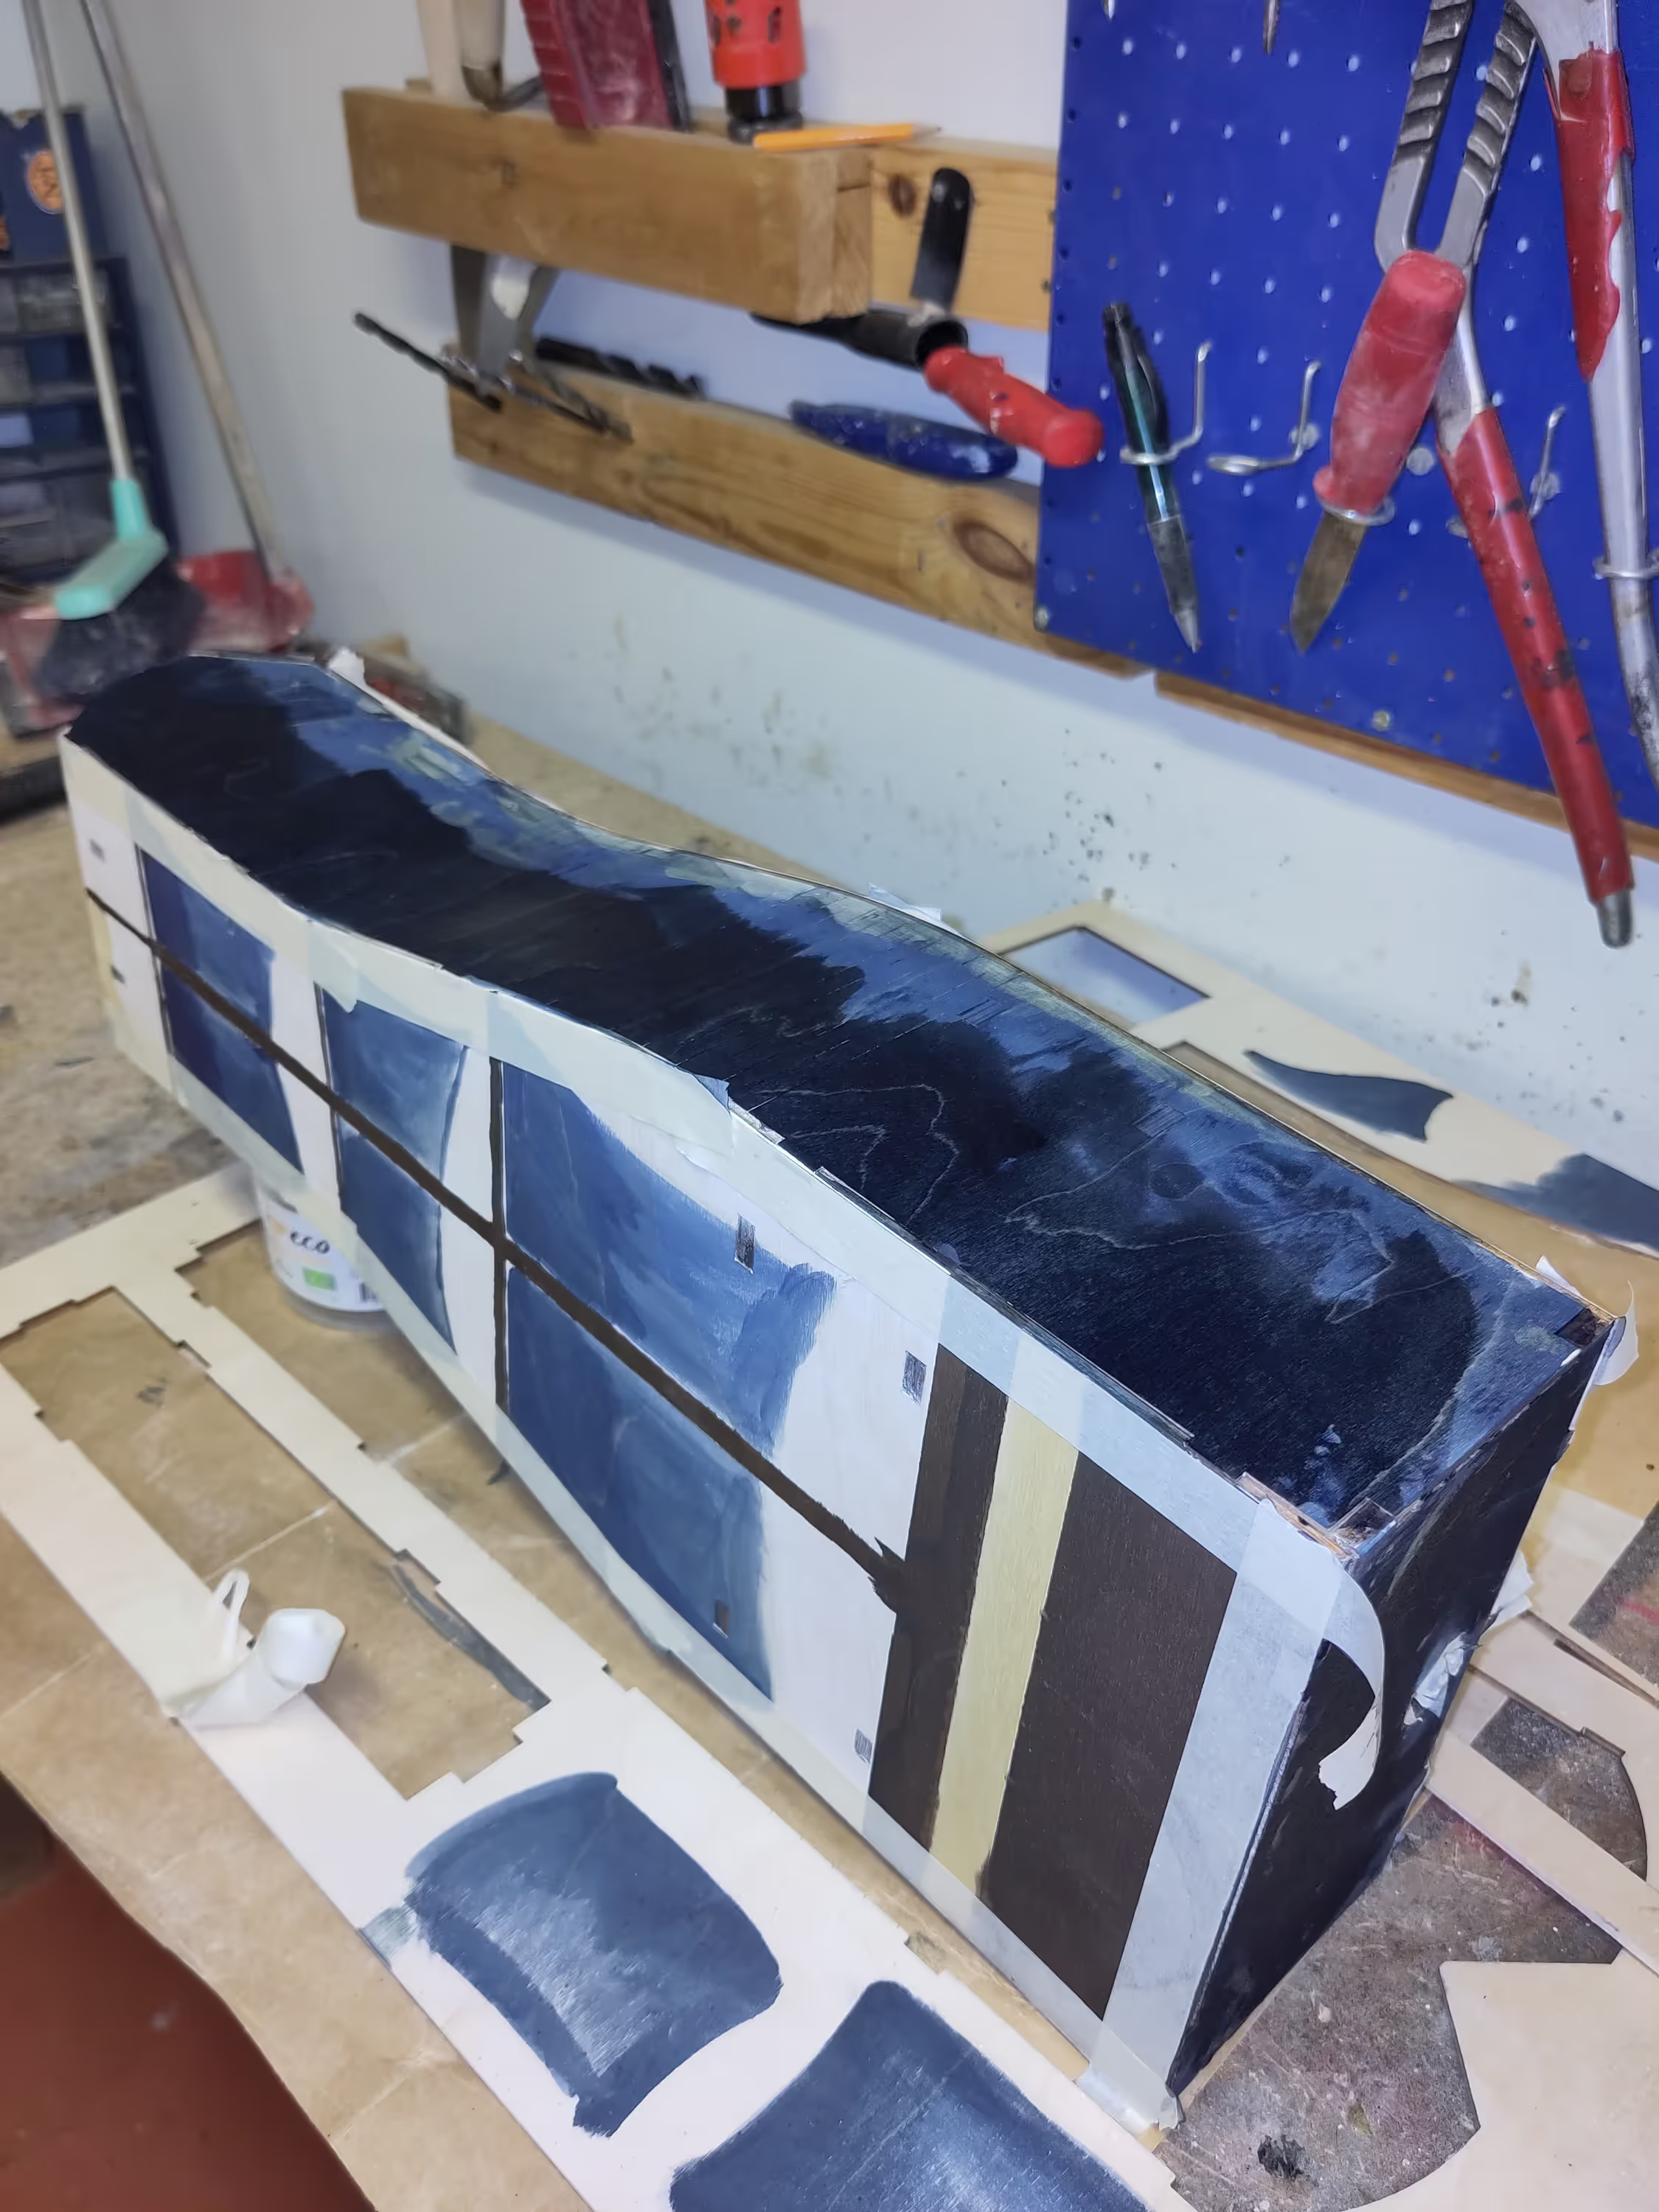
Next up the sides.

and time to start with the front.
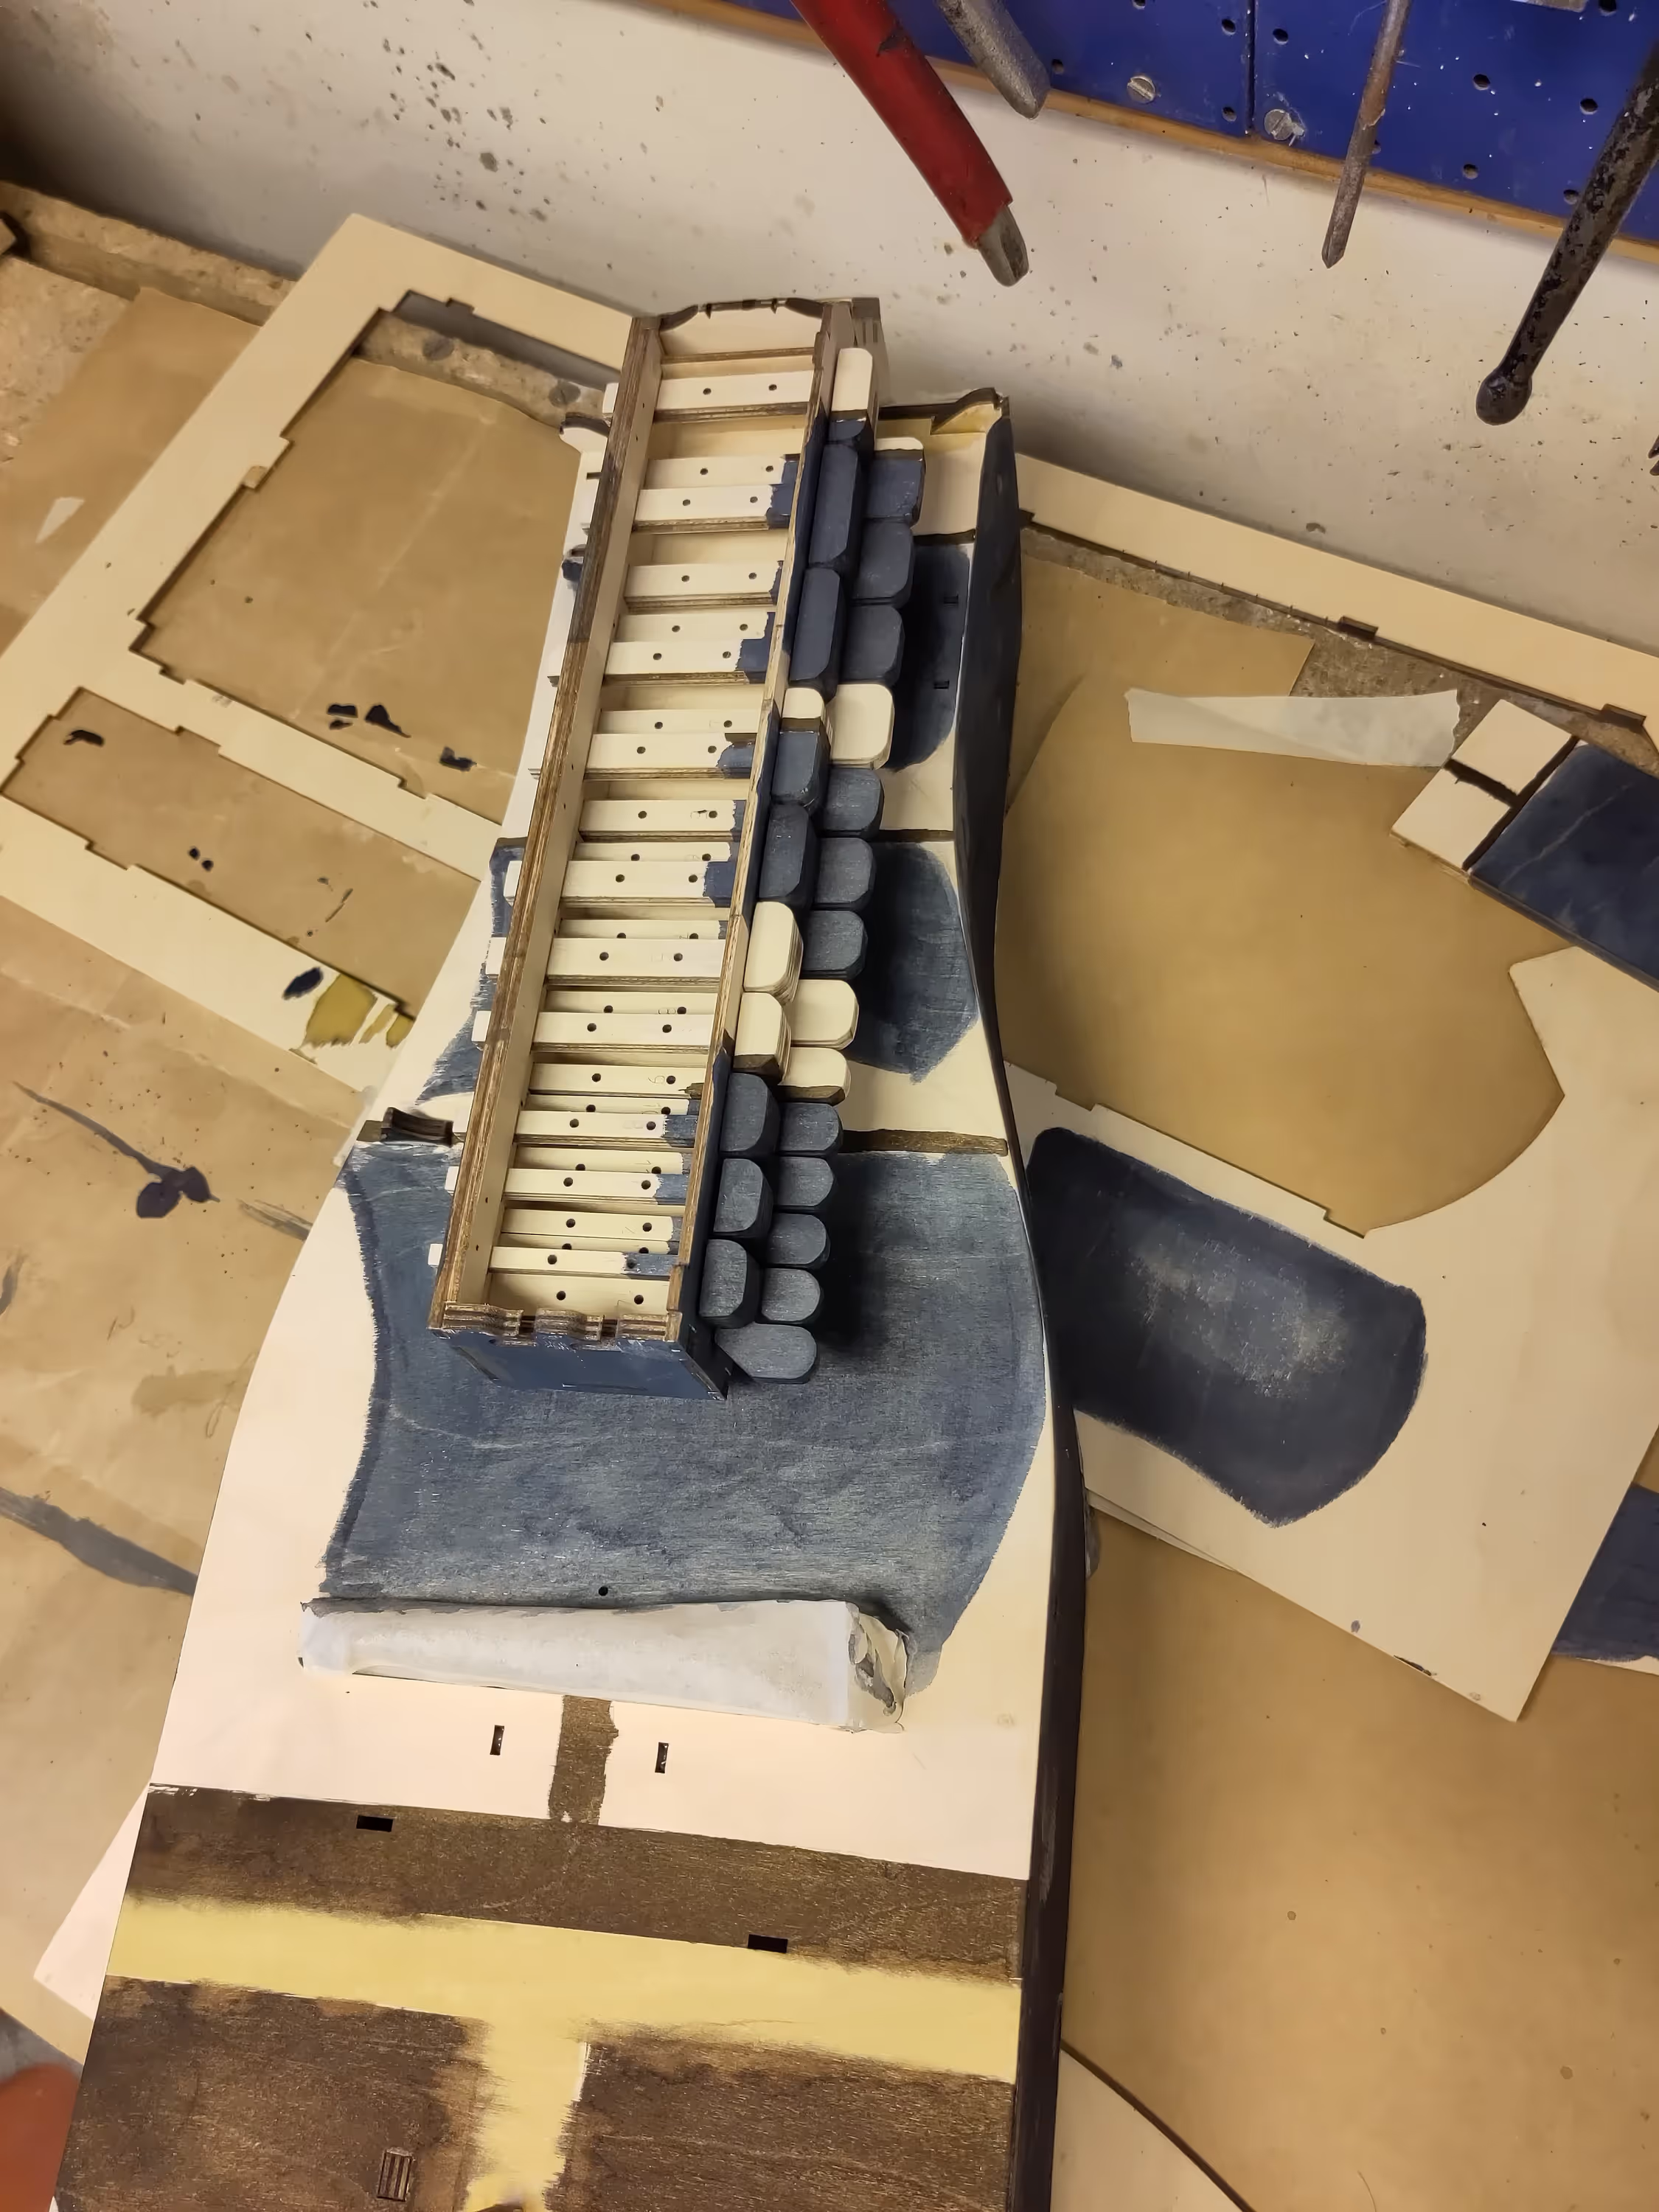
then the keys and the key-box.
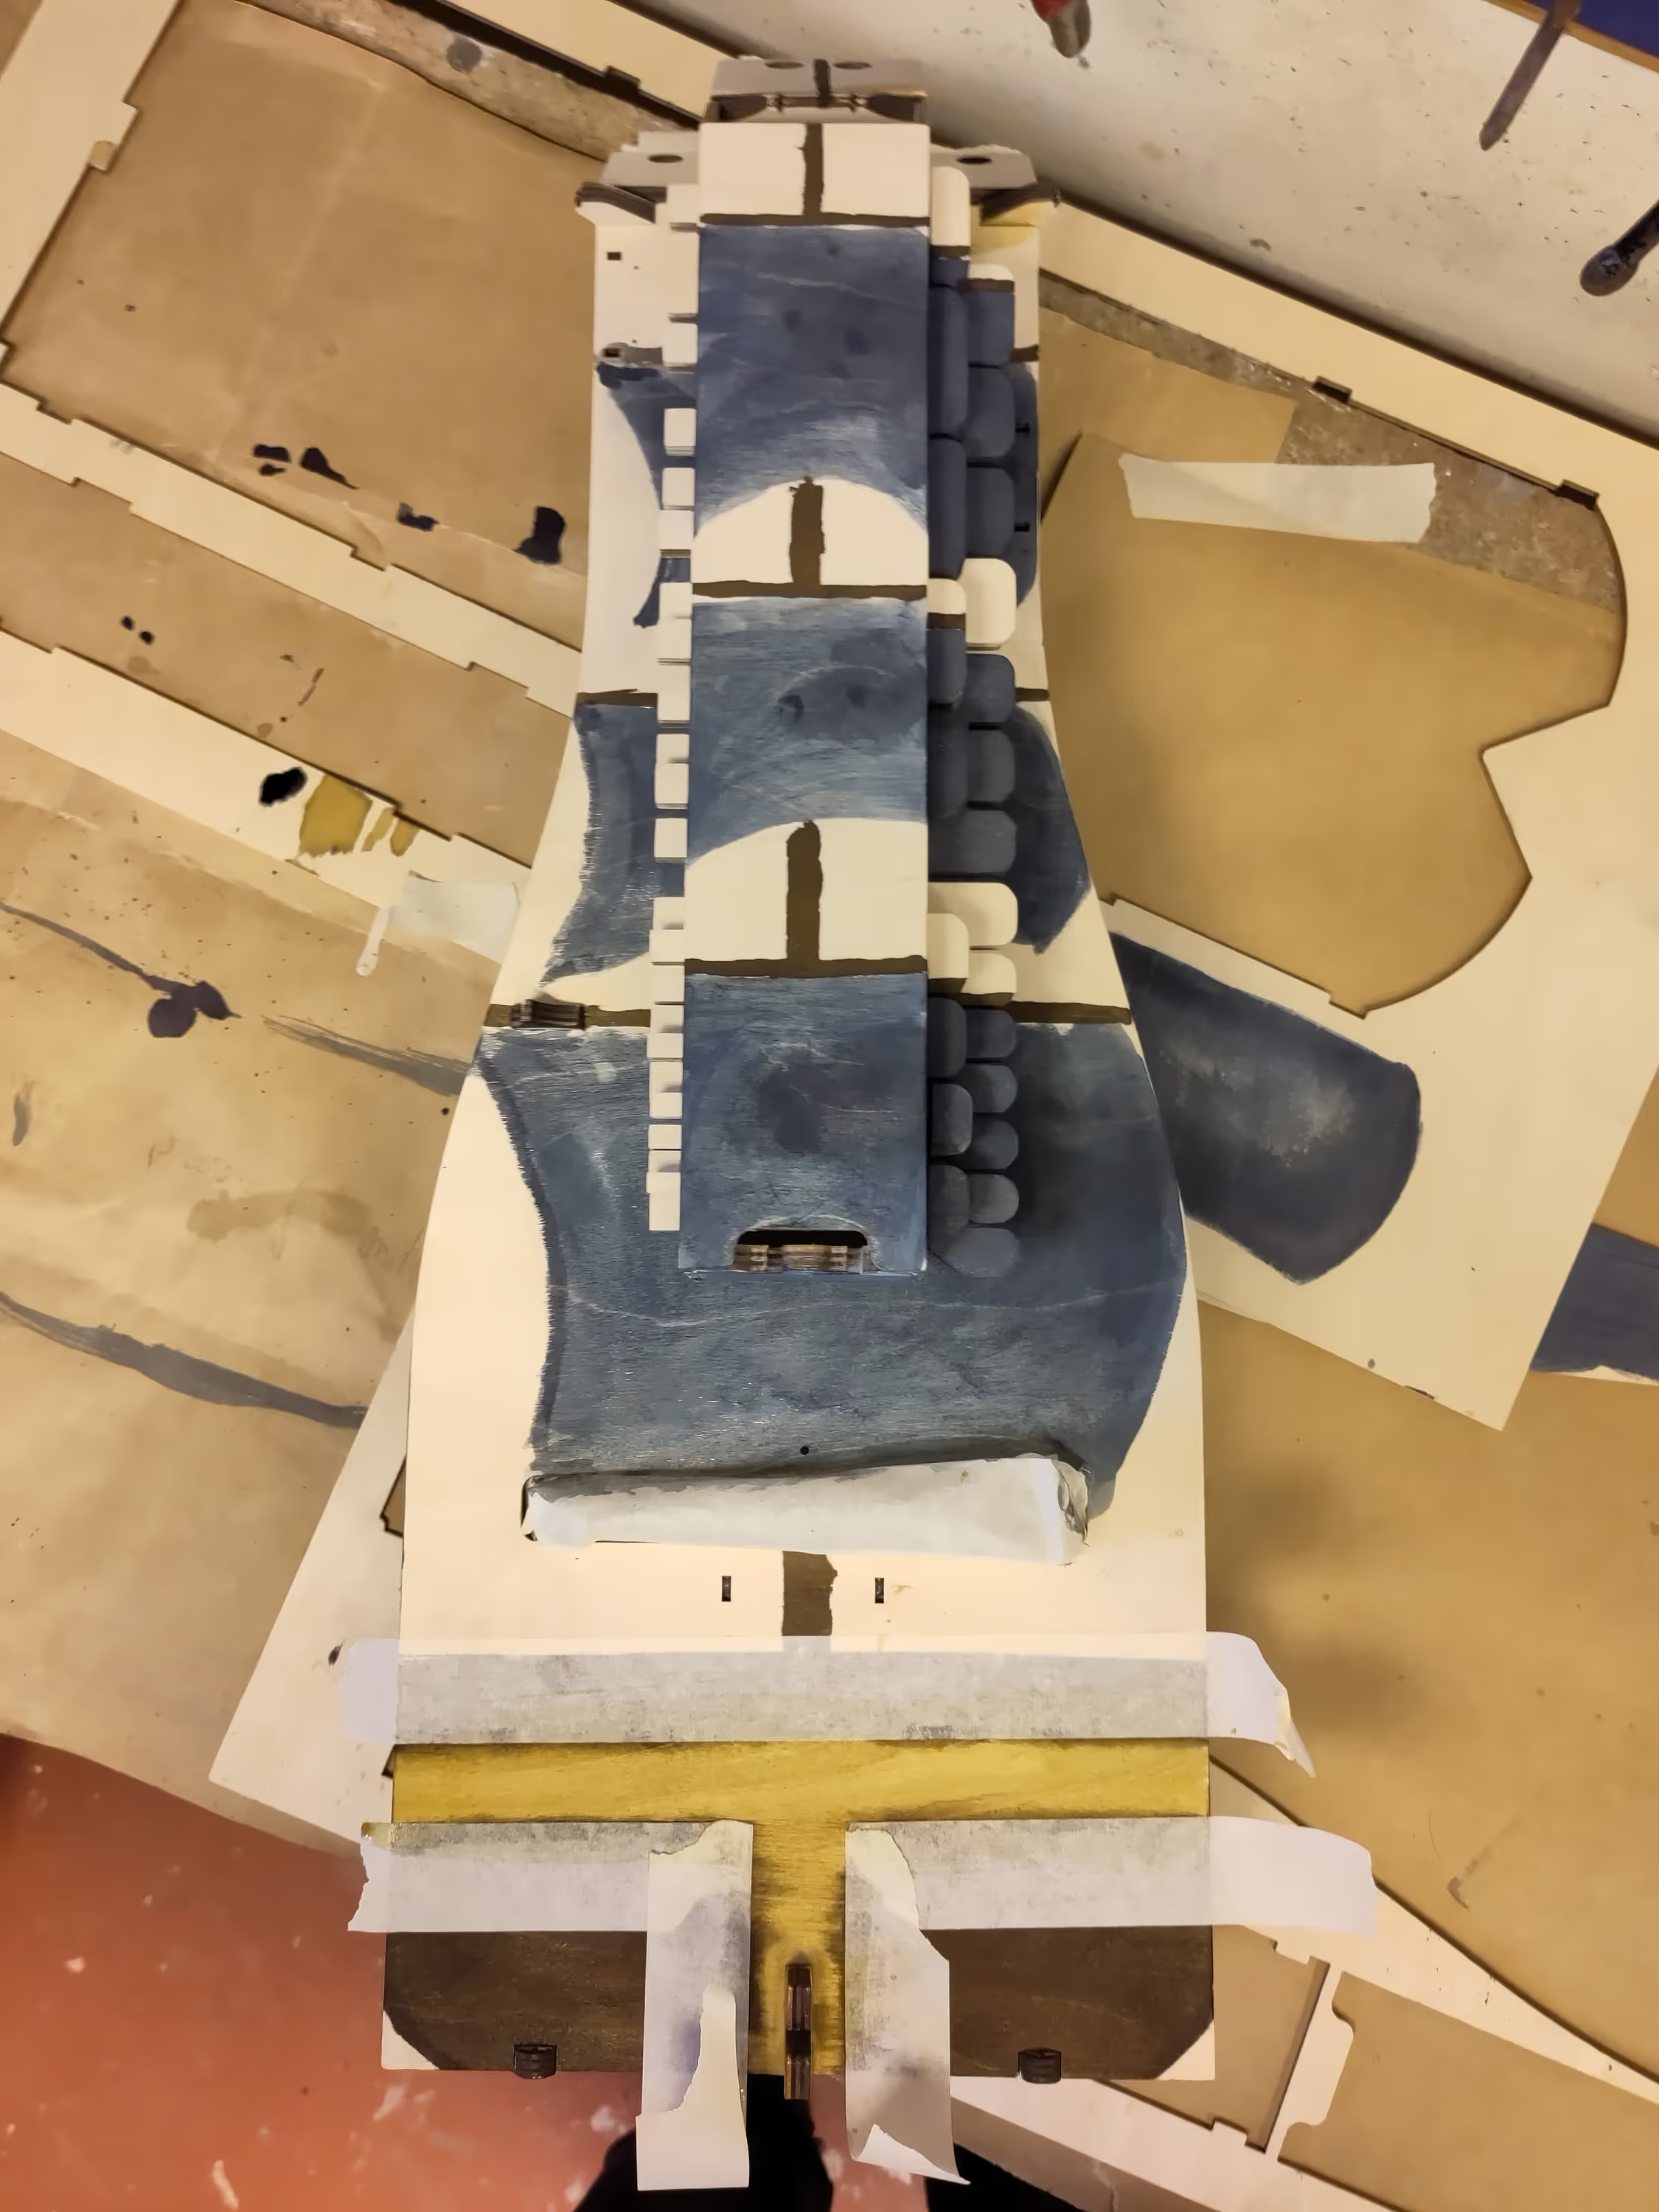
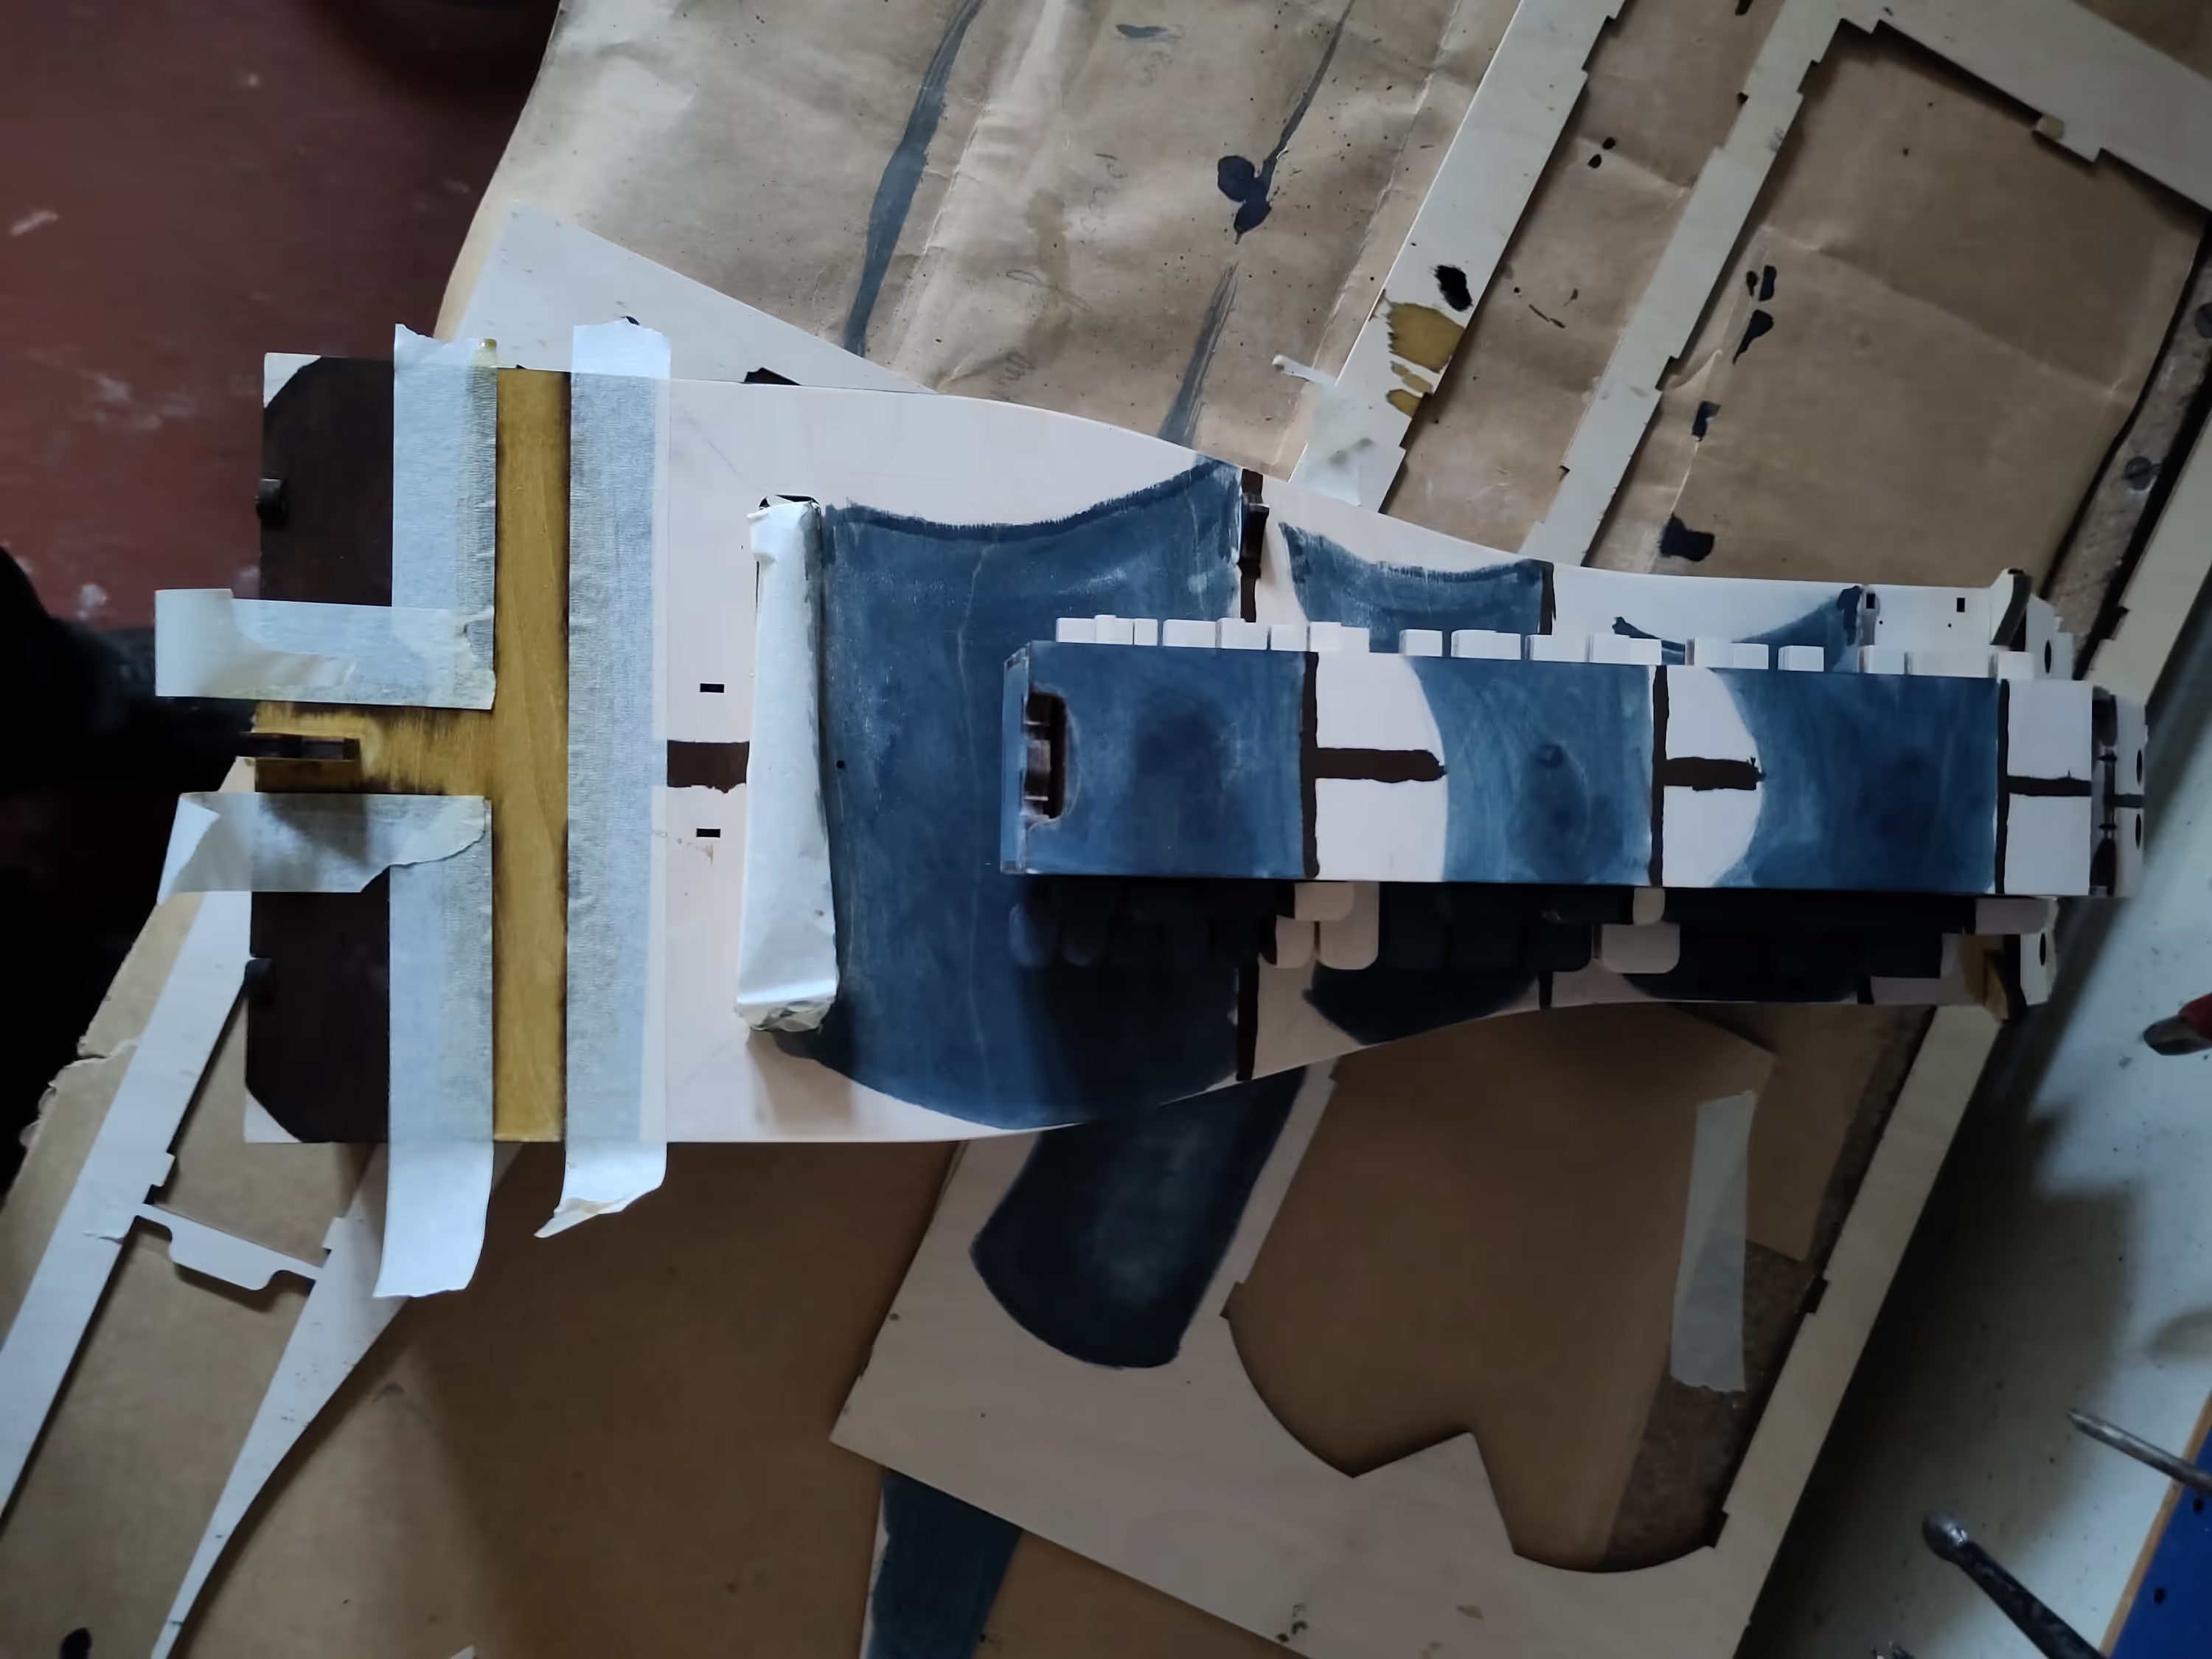
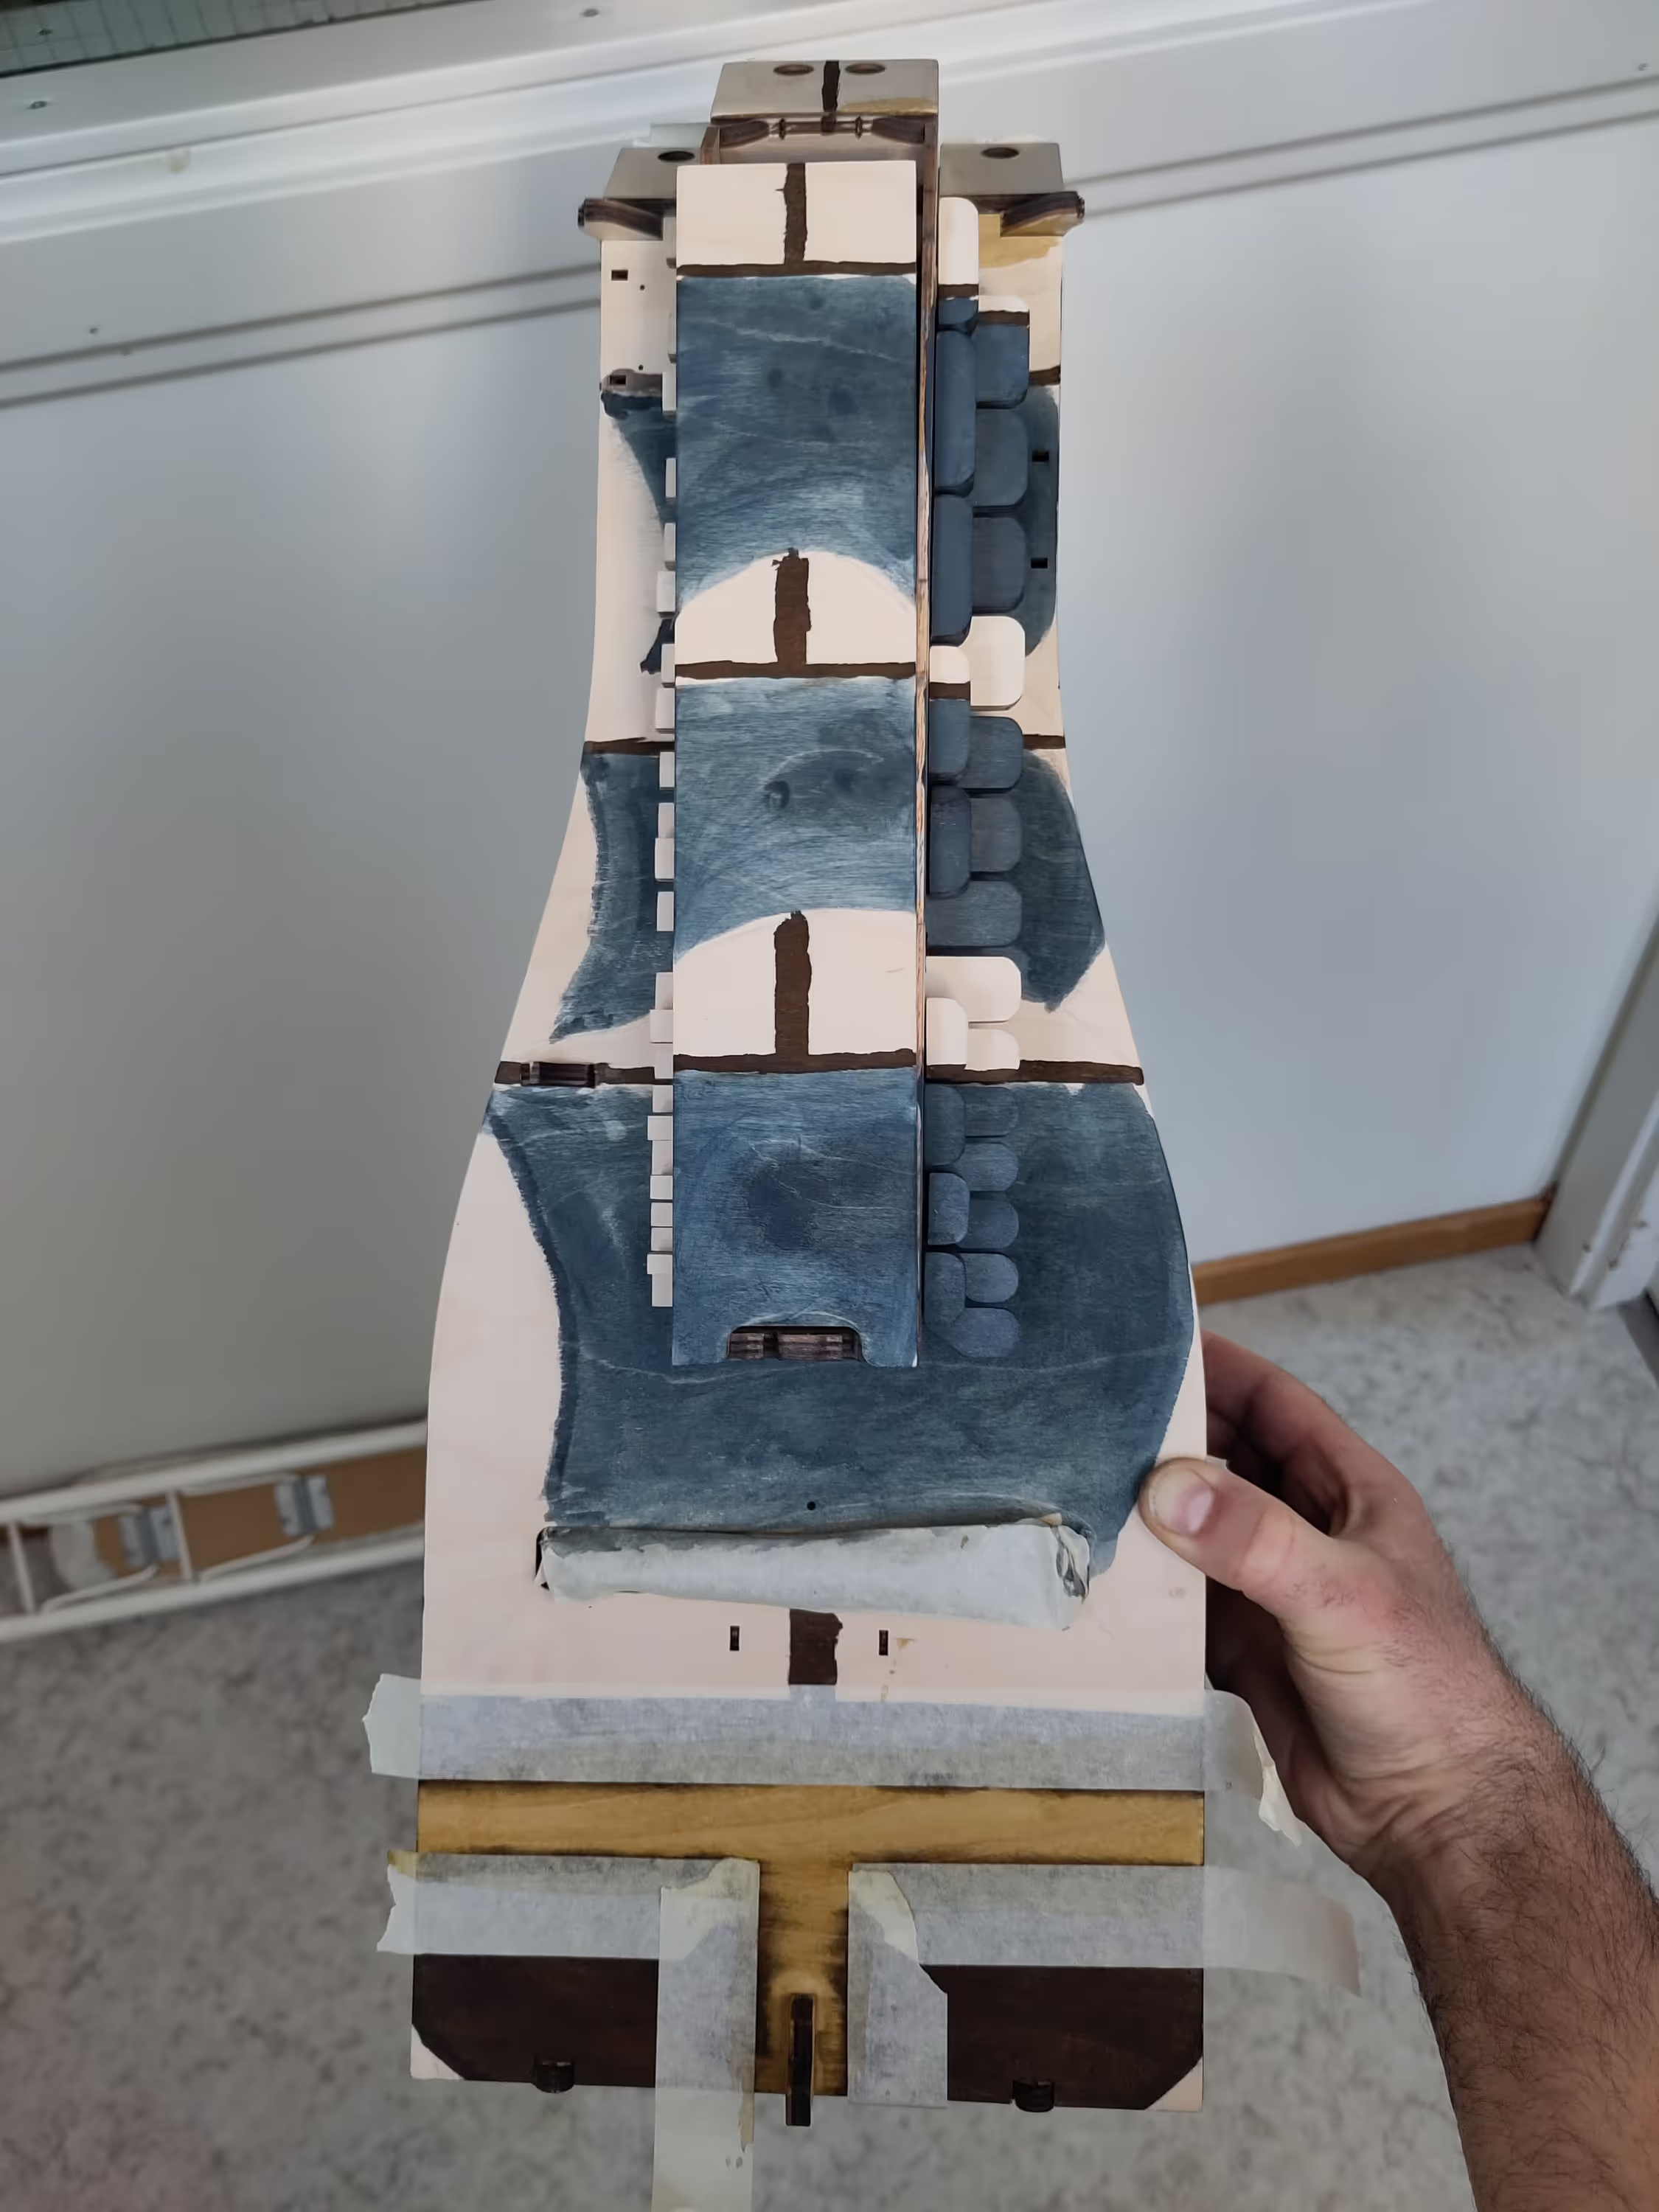
that's quite ok.
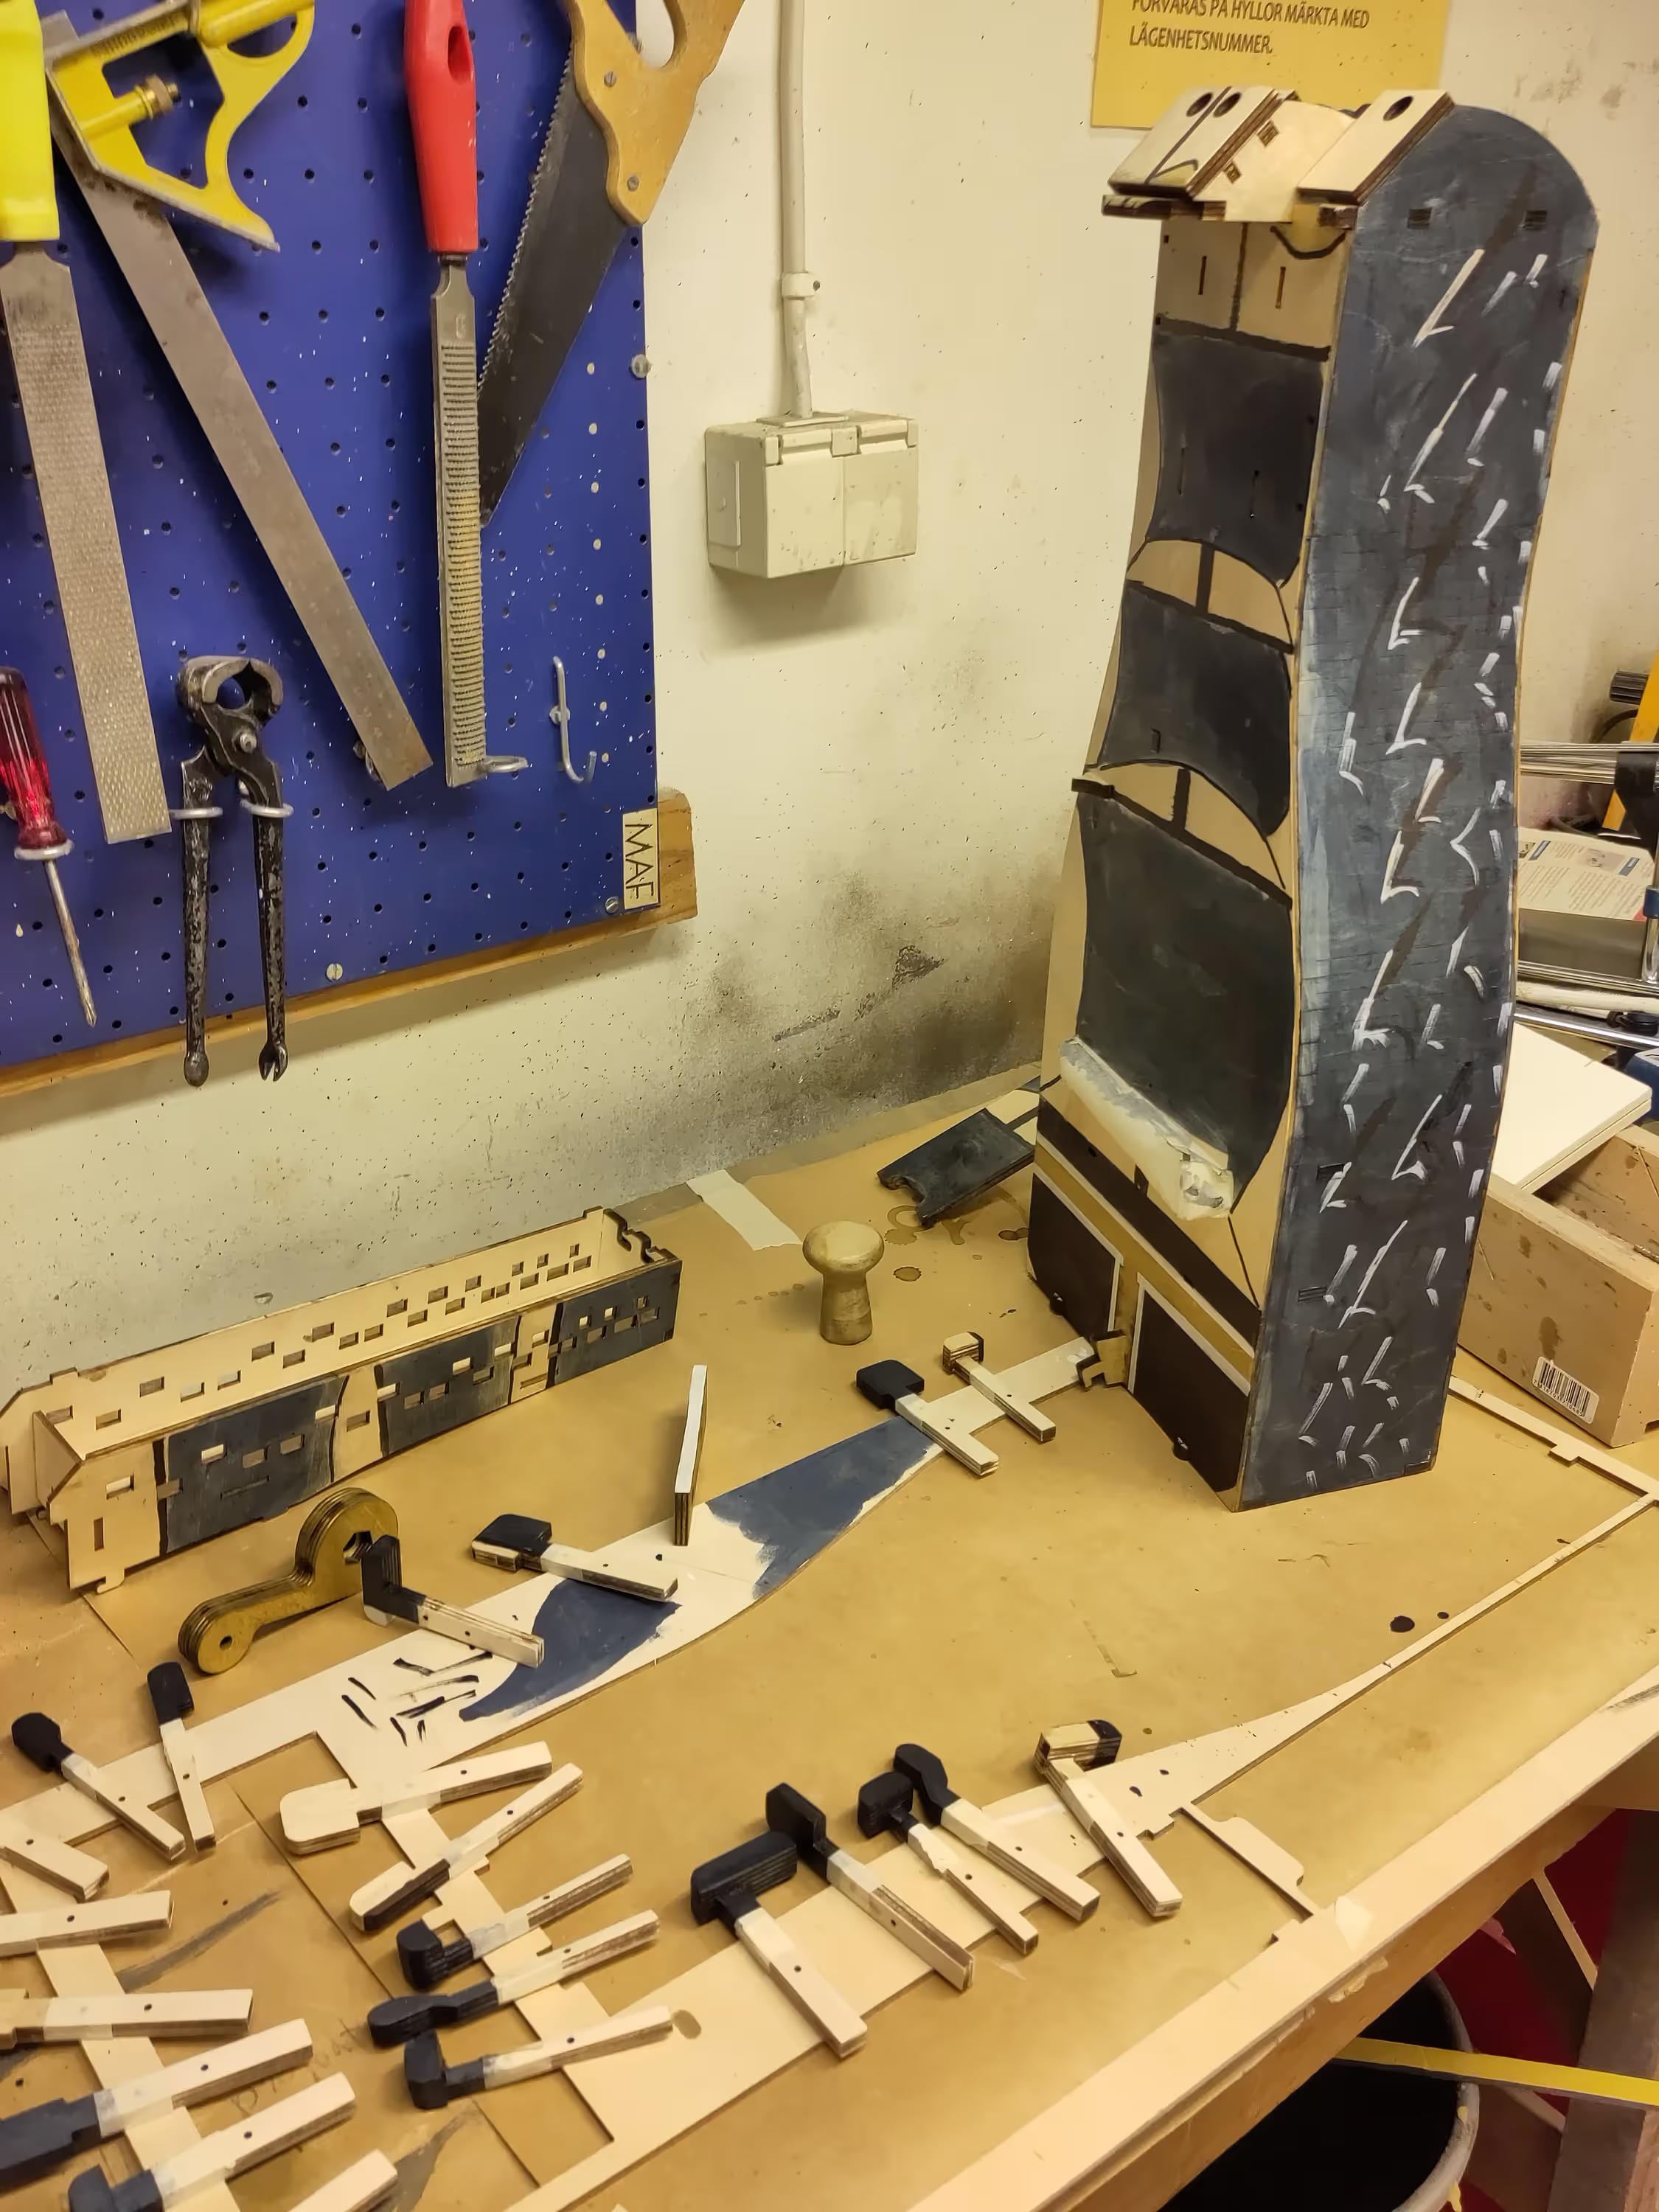
Varnishing
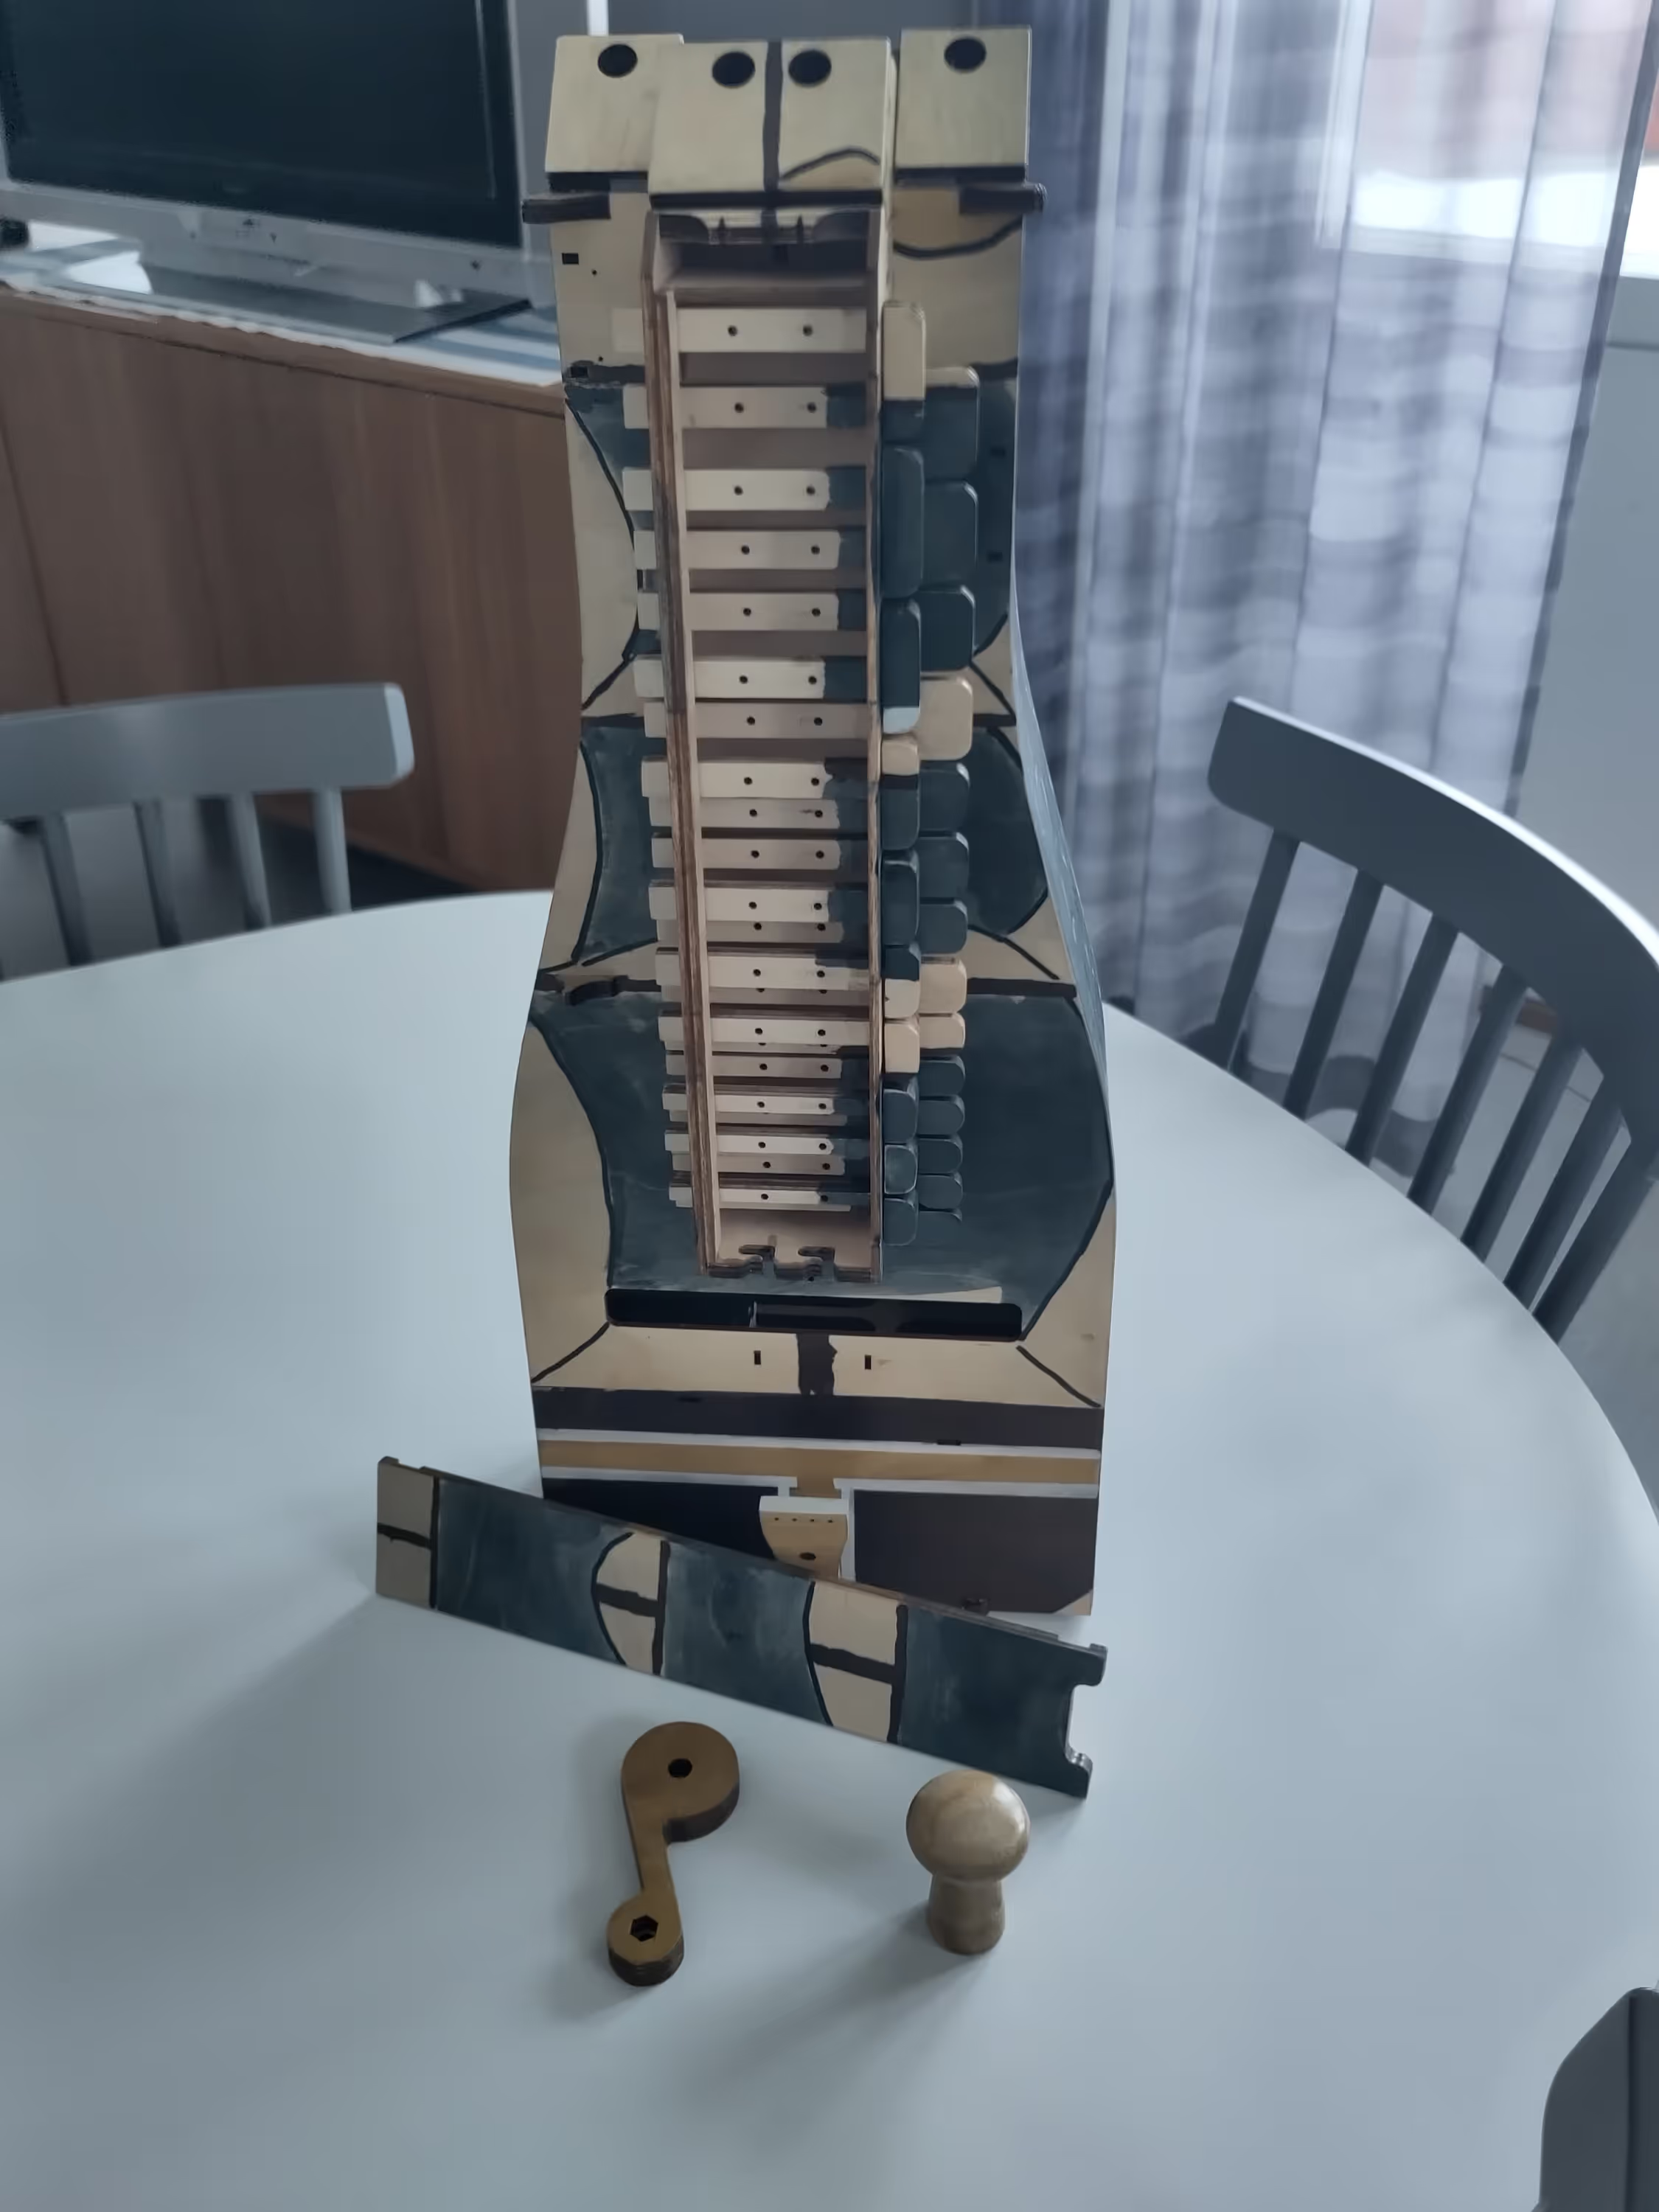
And that's ready! A few more stuff to assemble and then let's put on the strings
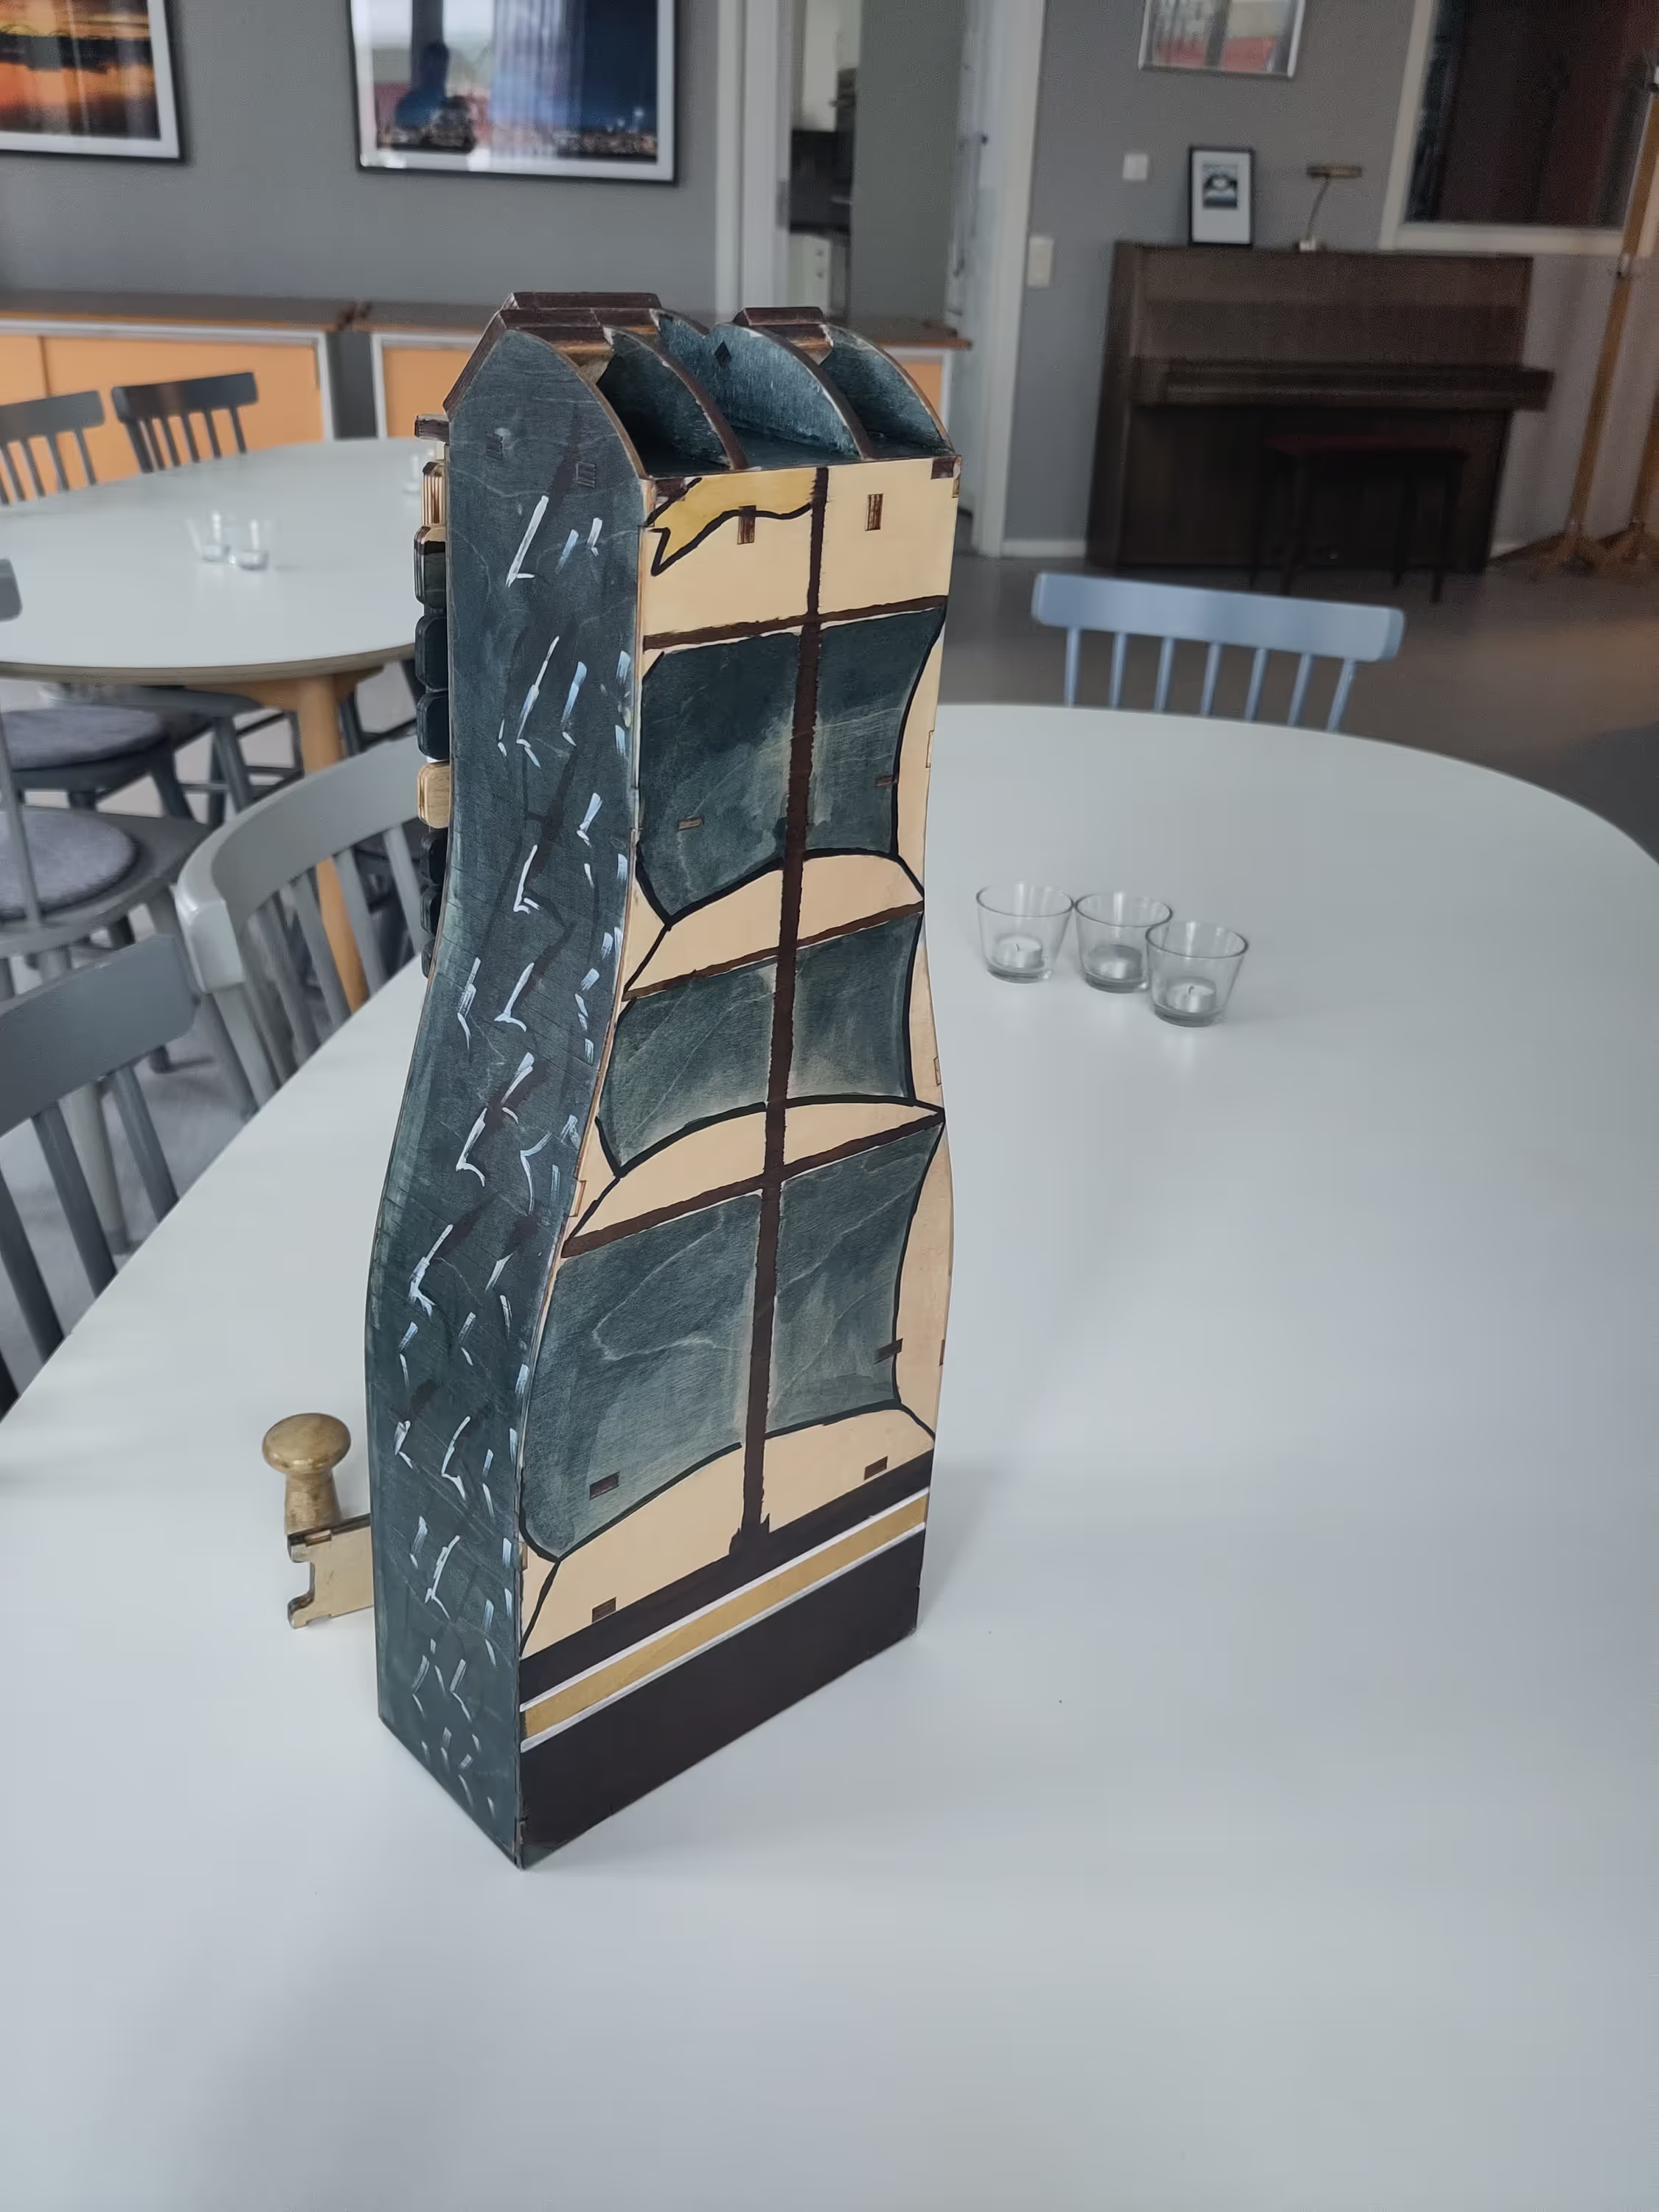
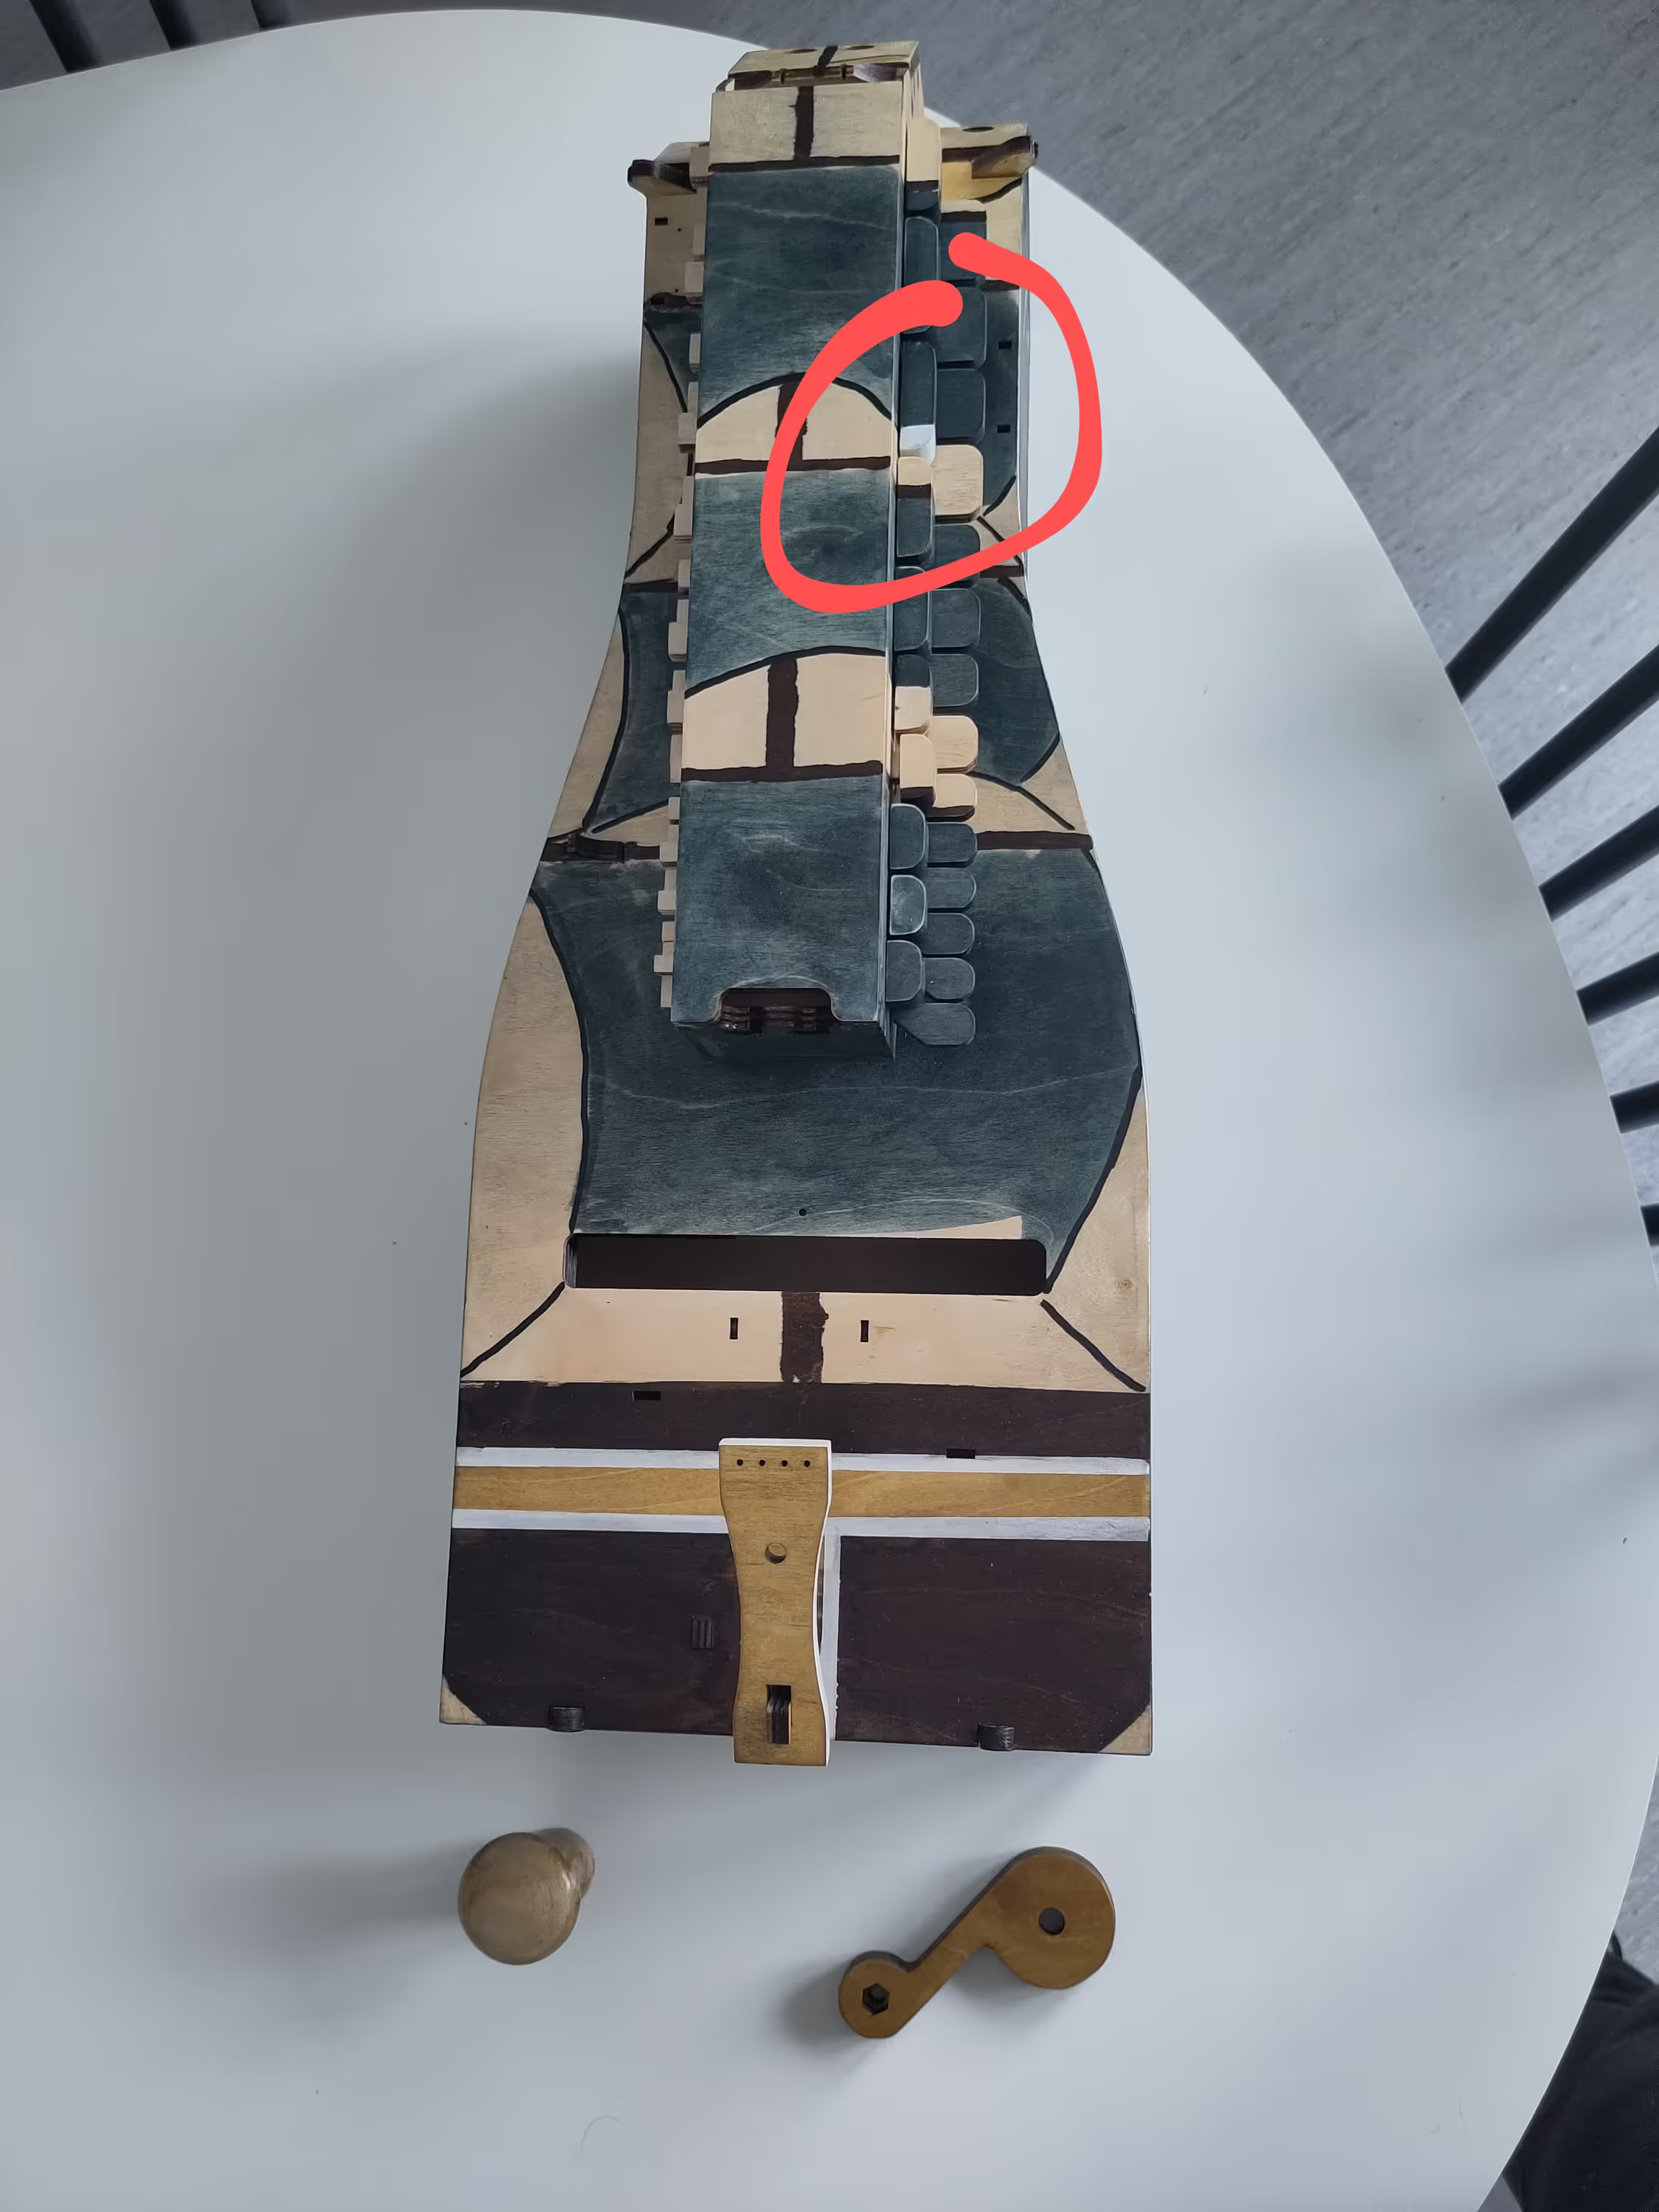
I made one mistake when painting the keys and I tried to fix it with acrylic paint but... it sticks out a bit.
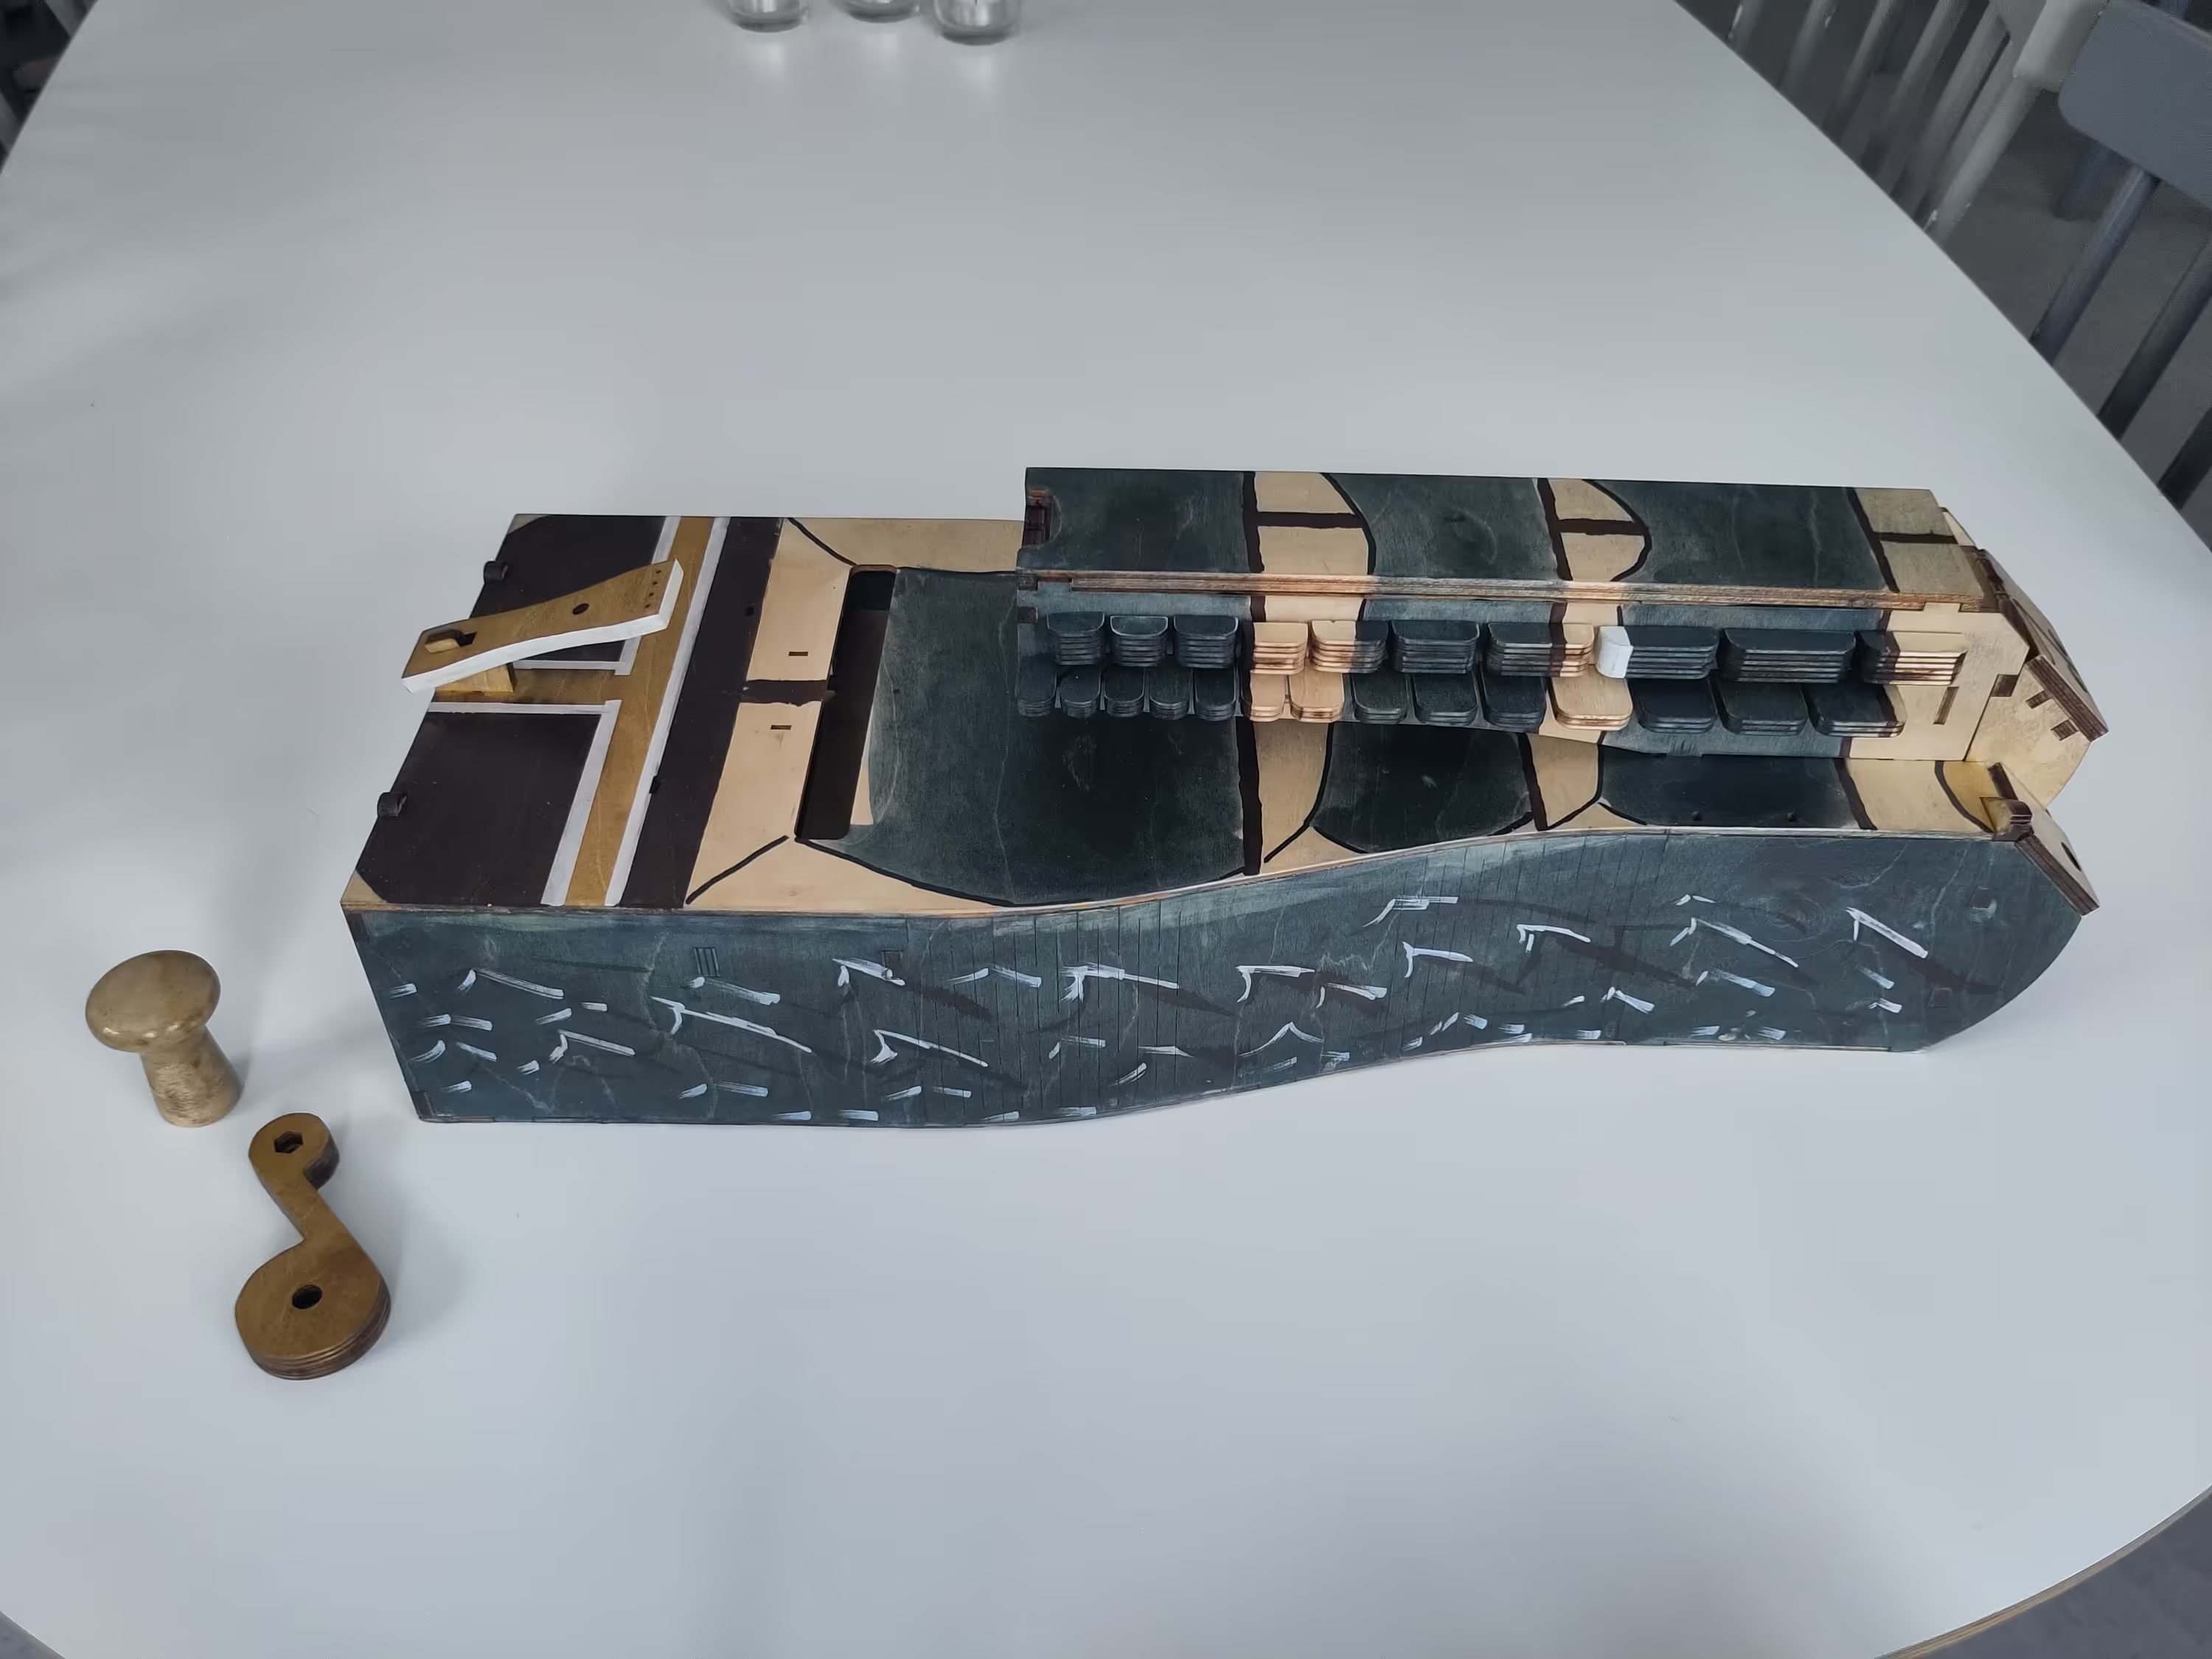
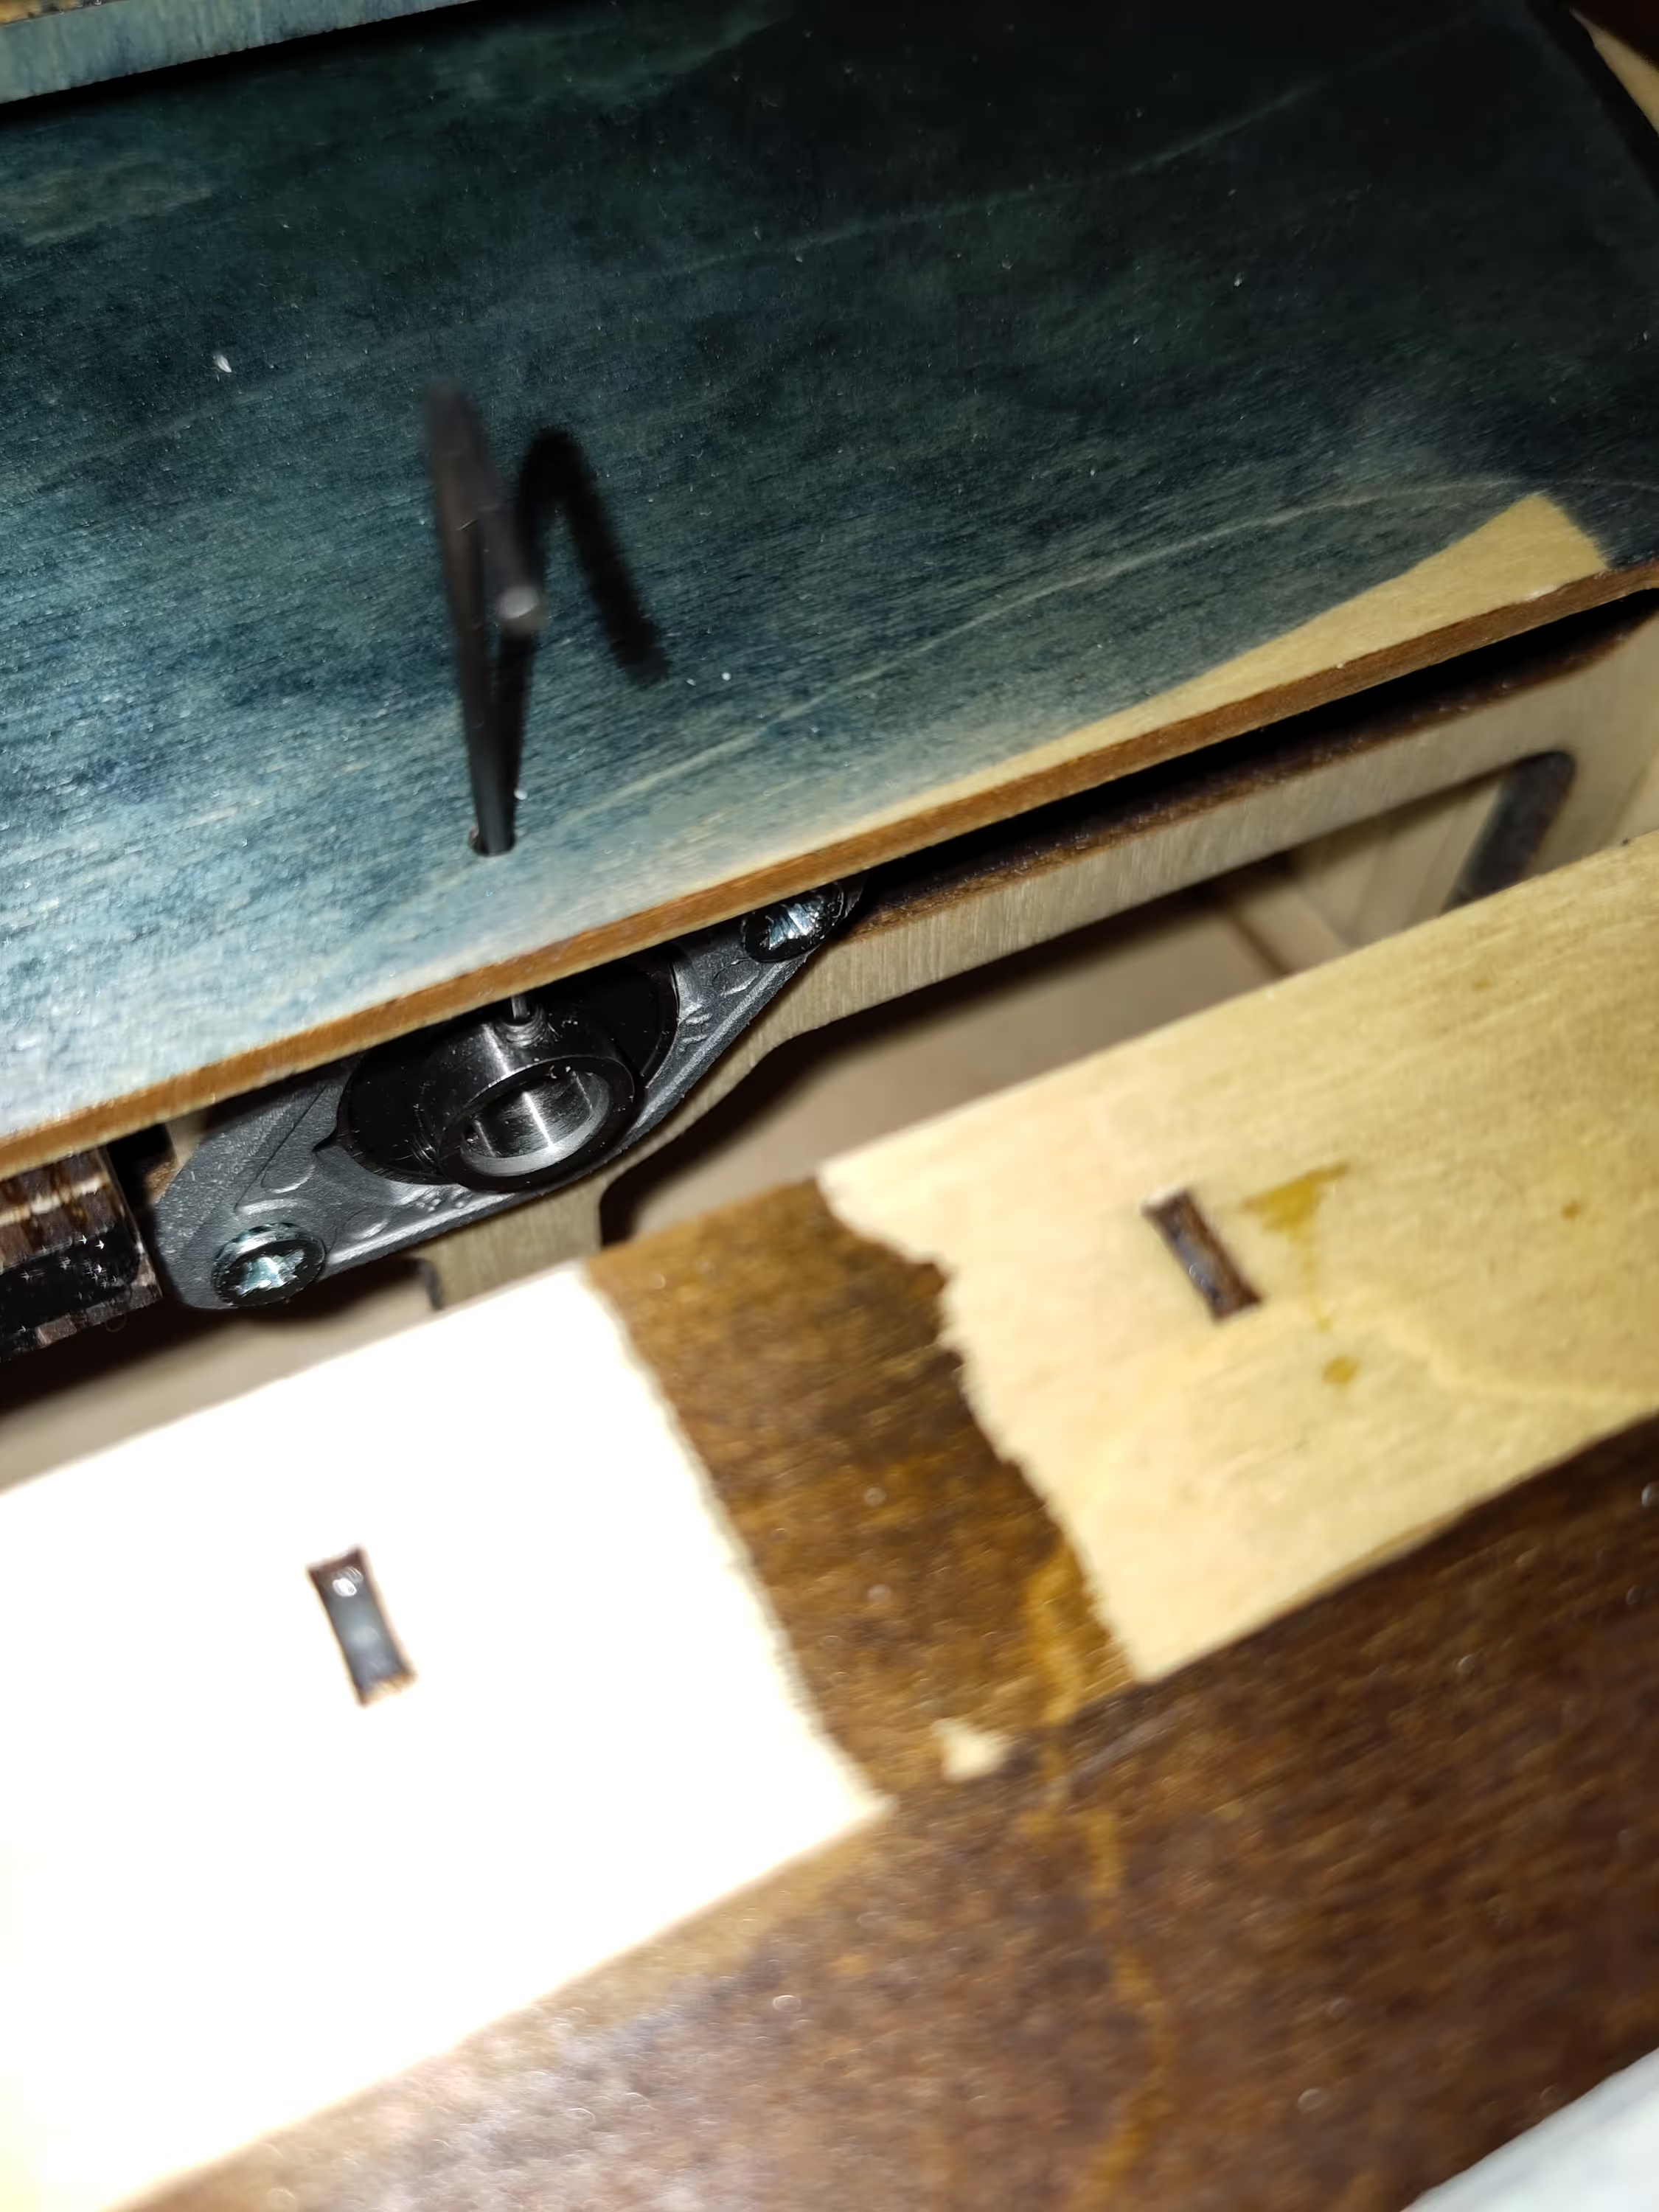
While assembling the last bits (namely the bearings for the wheel and the wheel itself, as well as gluing the key-box in place), I made a few mistakes… The first one was to make a very tiny screw fall down inside… Then I glued the key box improperly and had to use a heat gun to melt the glue enough that I could remove it and put it back properly set. All in all I still think it went rather OK and then could string it out and start to make sounds with it!
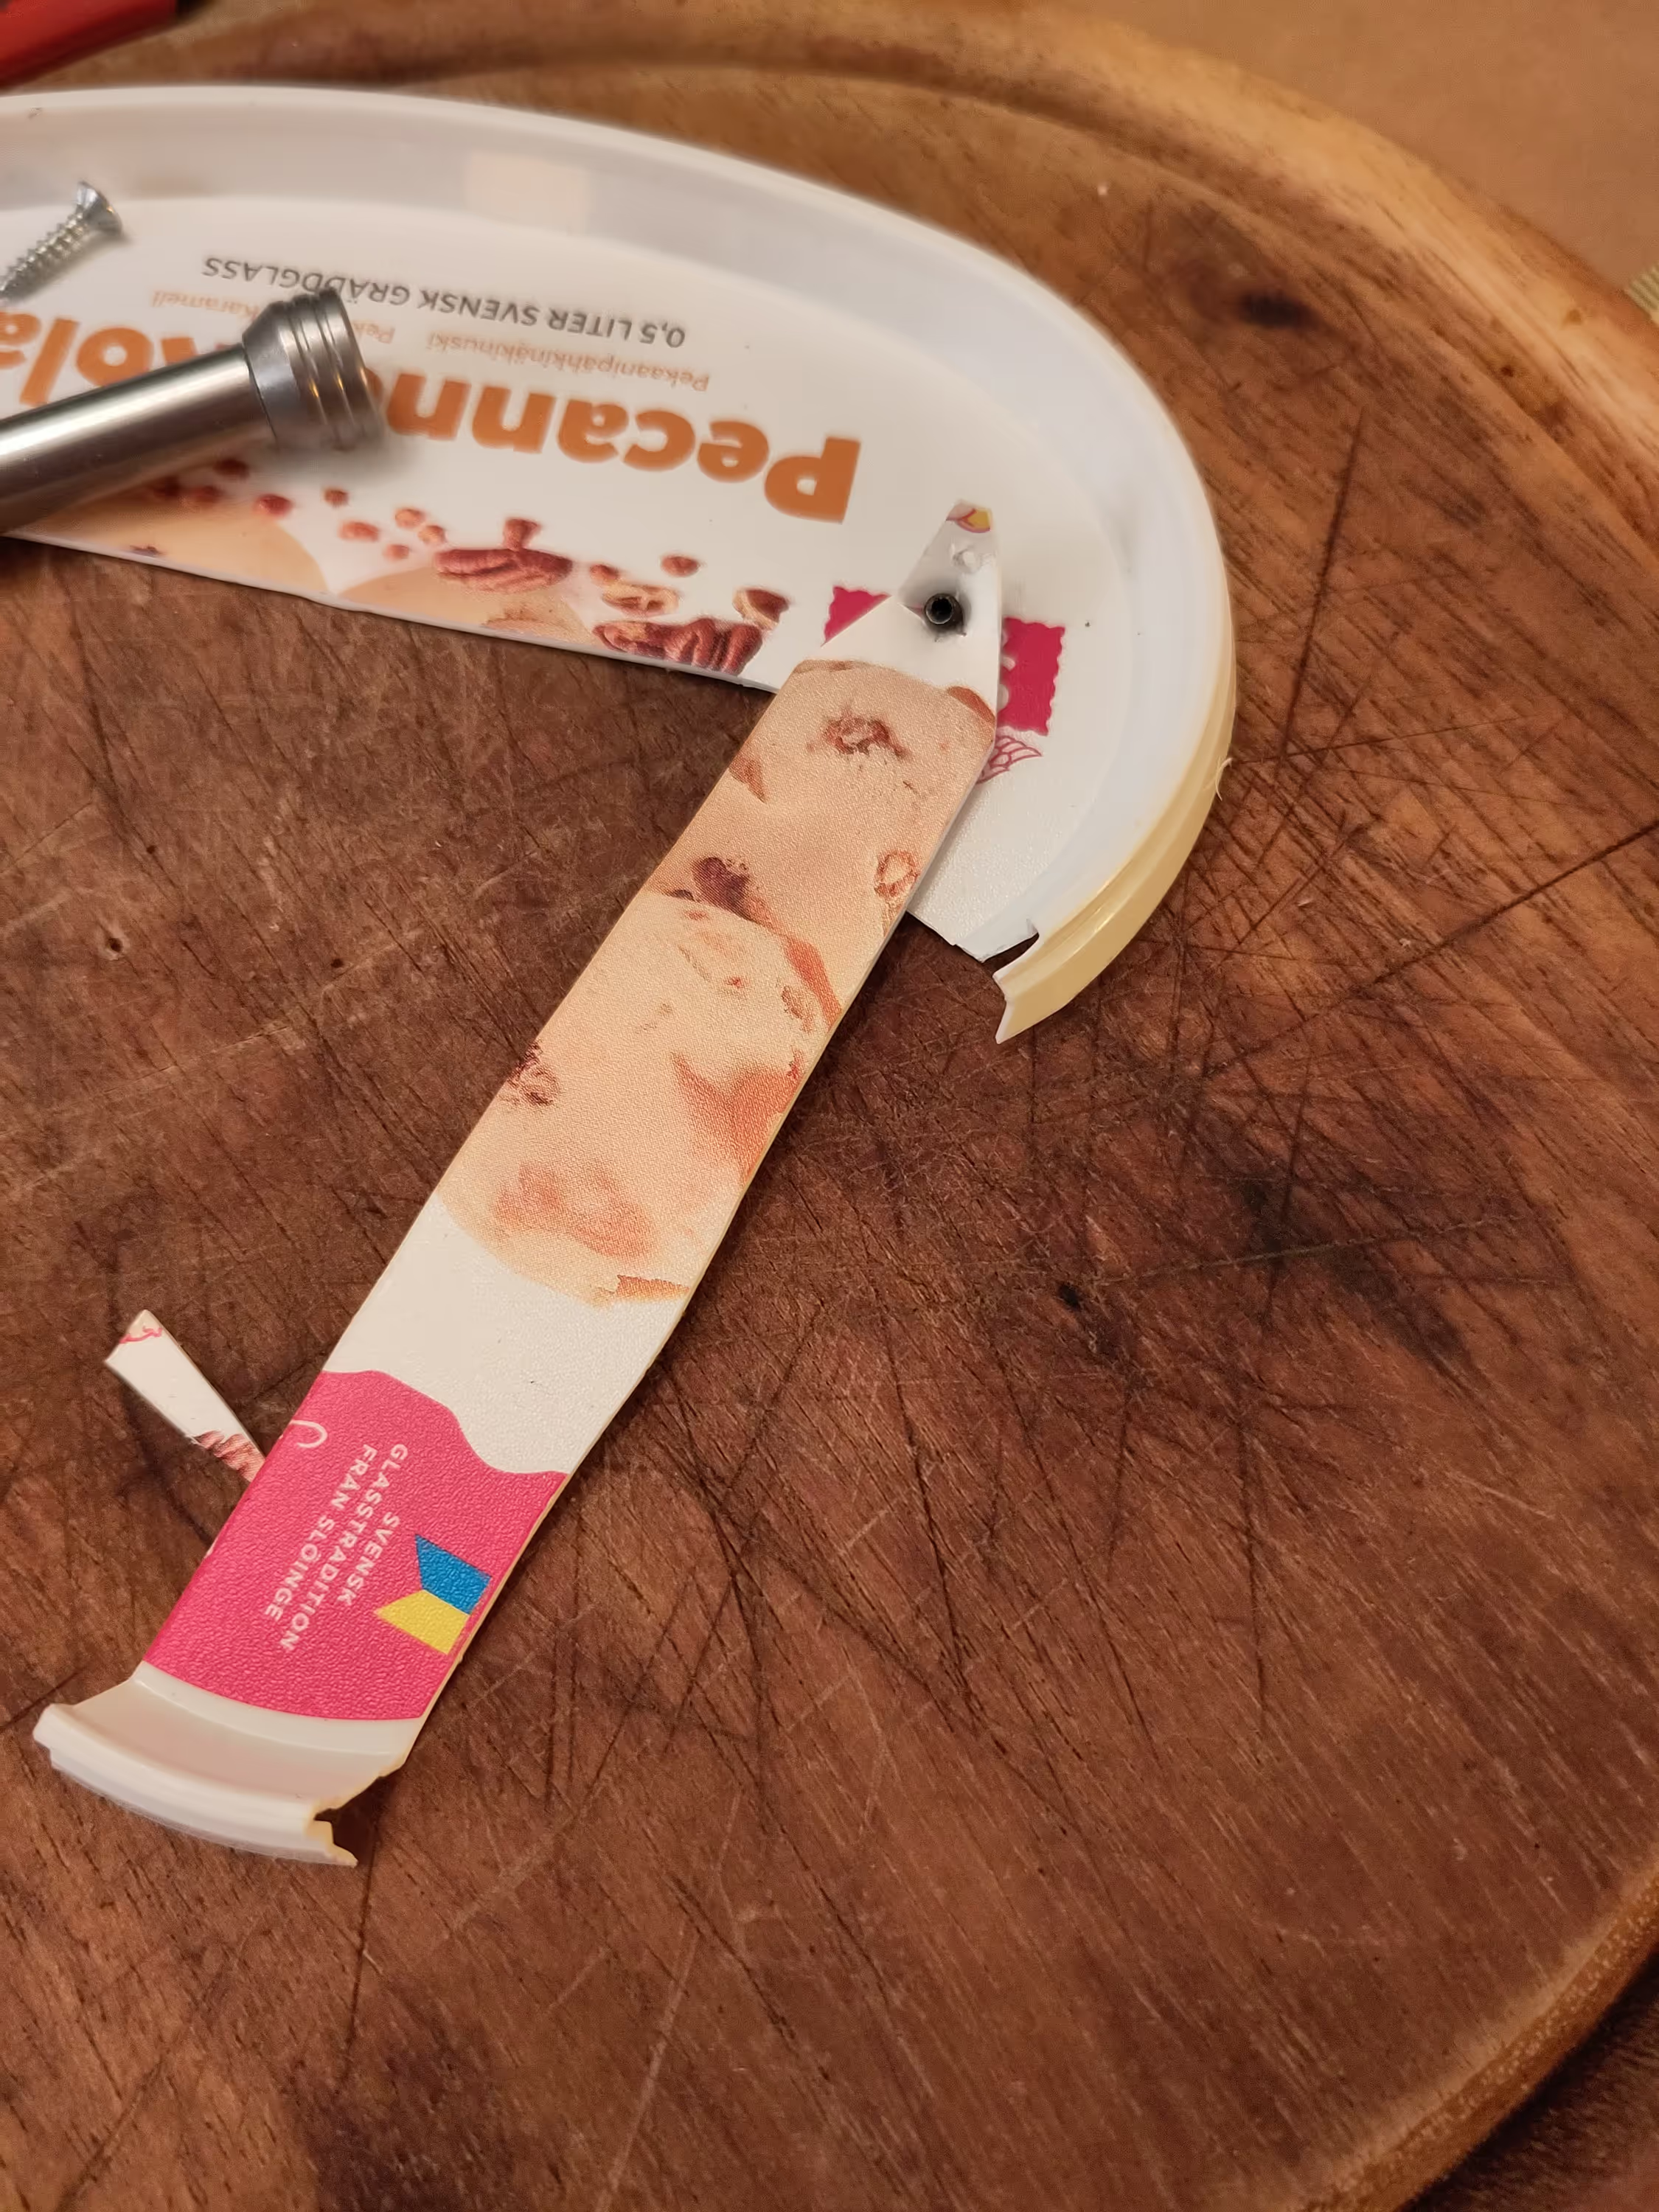
The small screw I dropped in, and an improvised tool so I could feed it back in place.
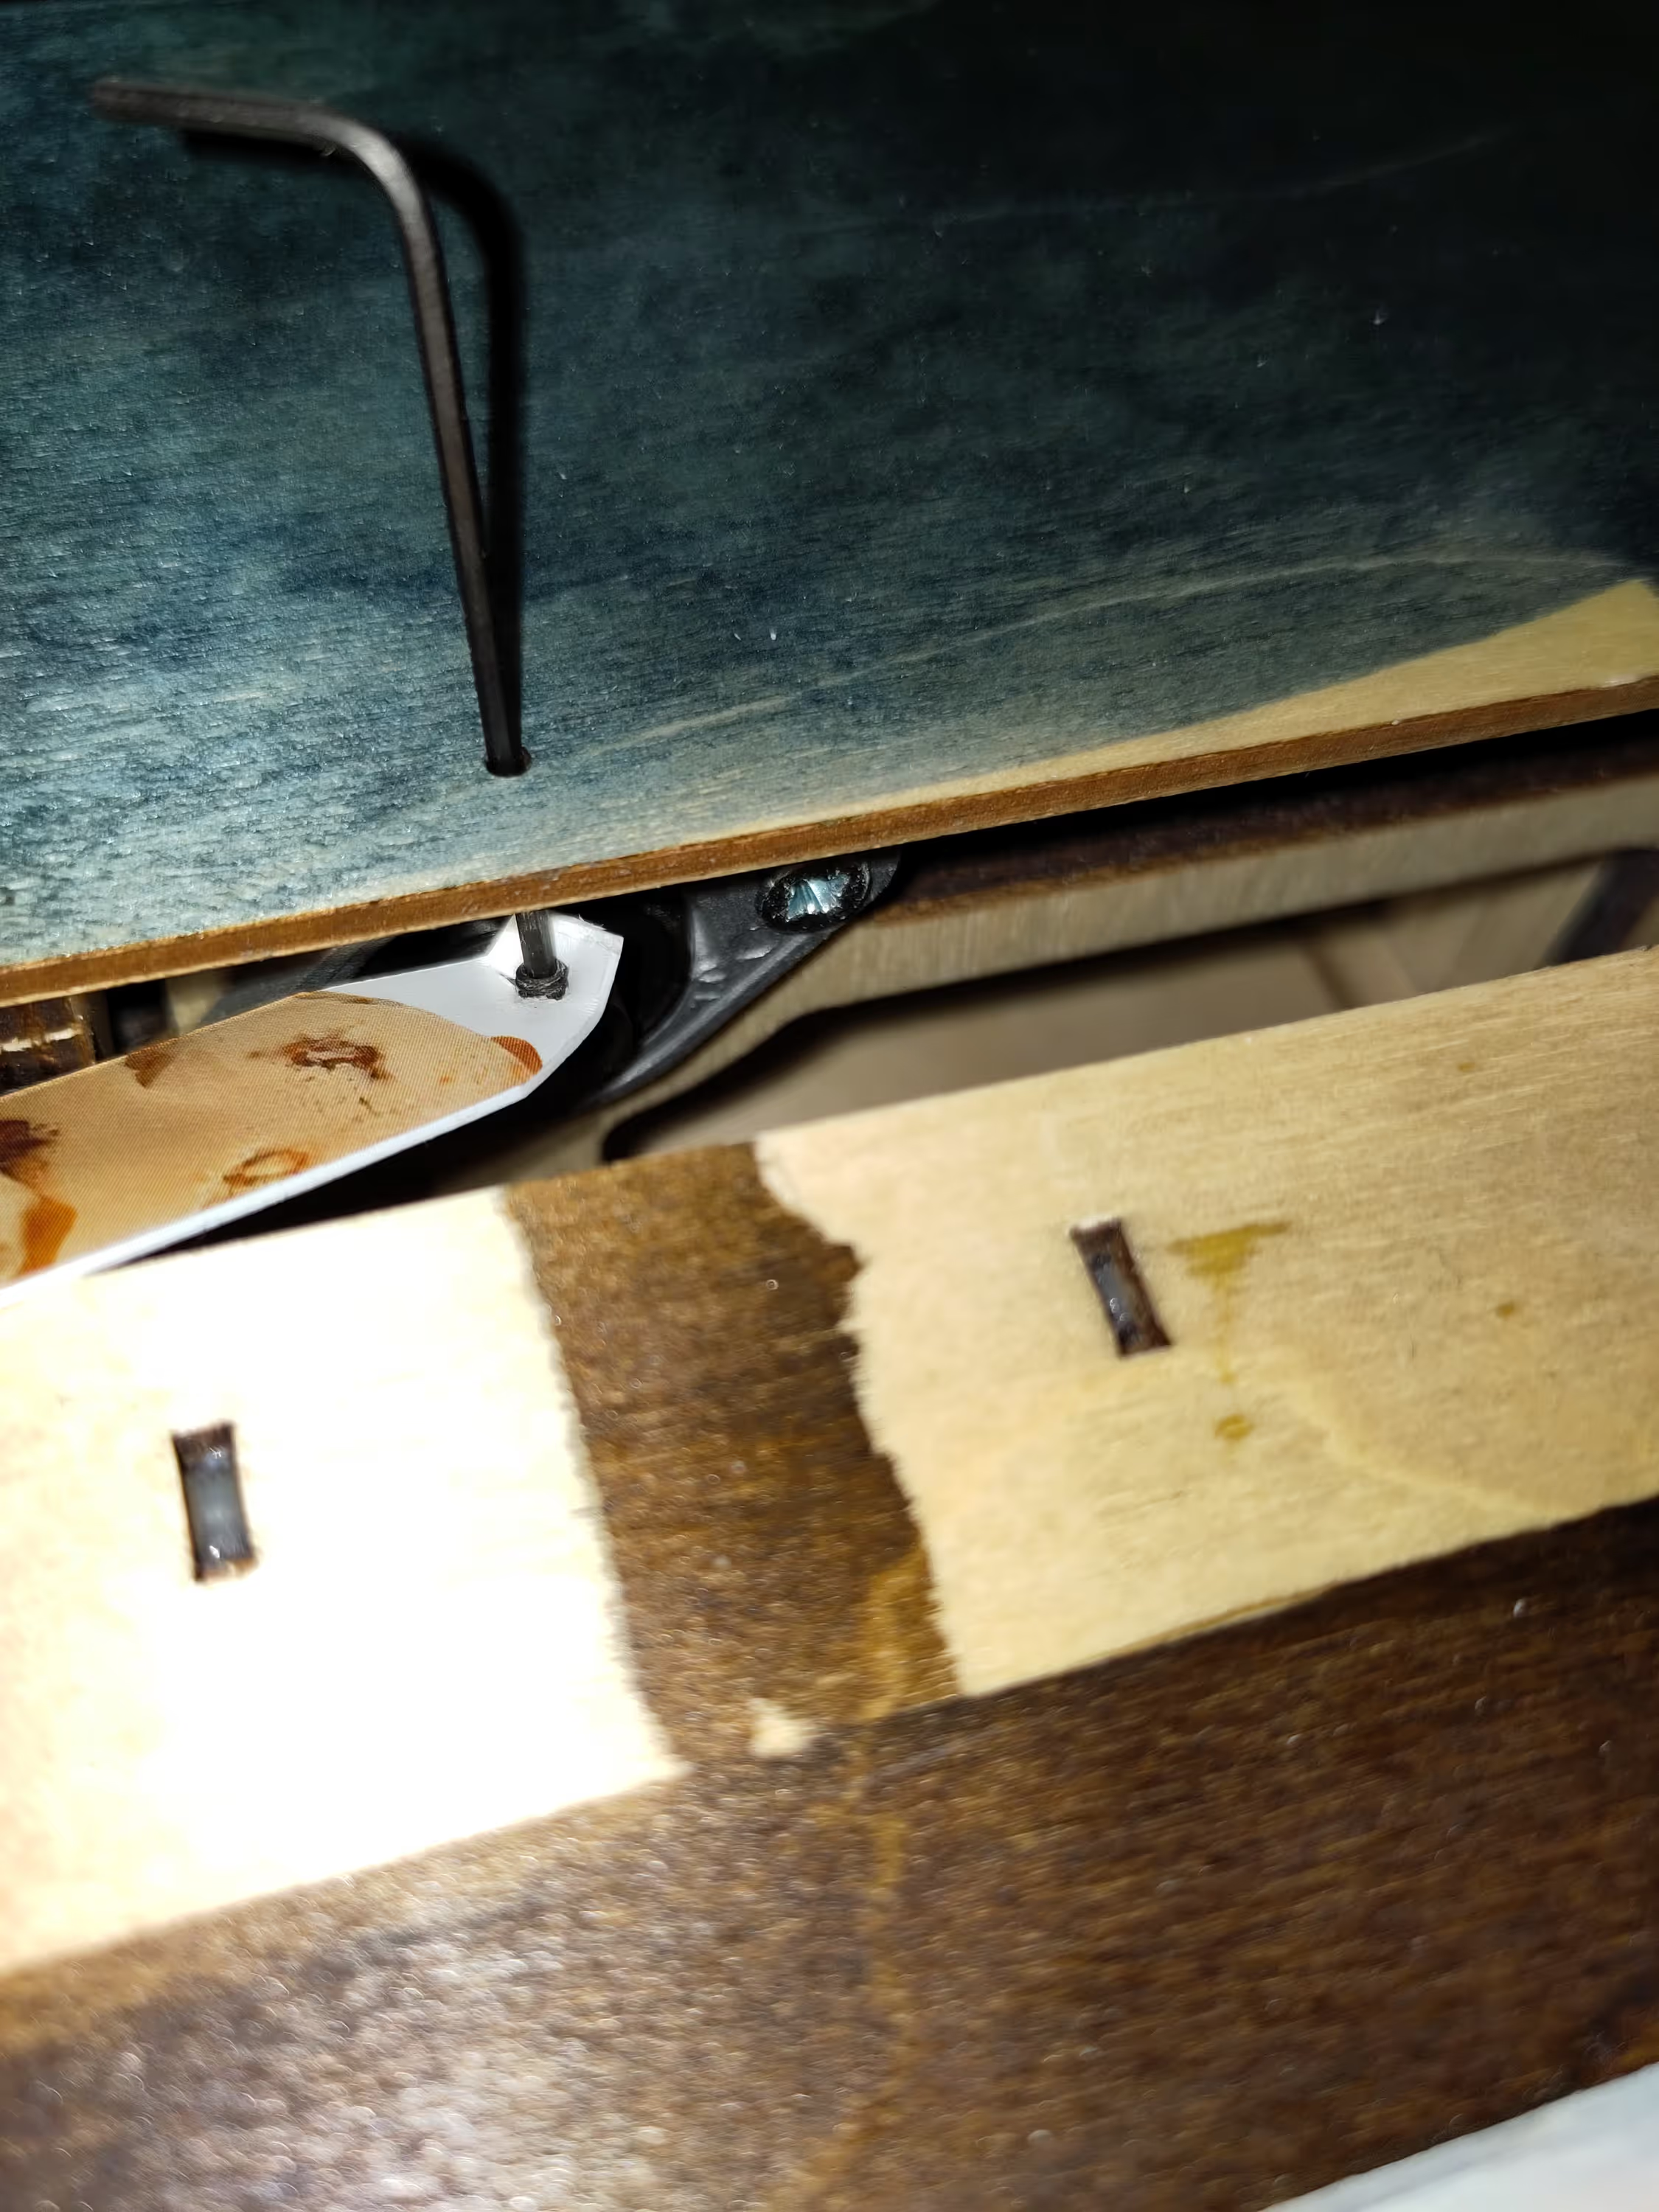
Putting it there and starting to screw it
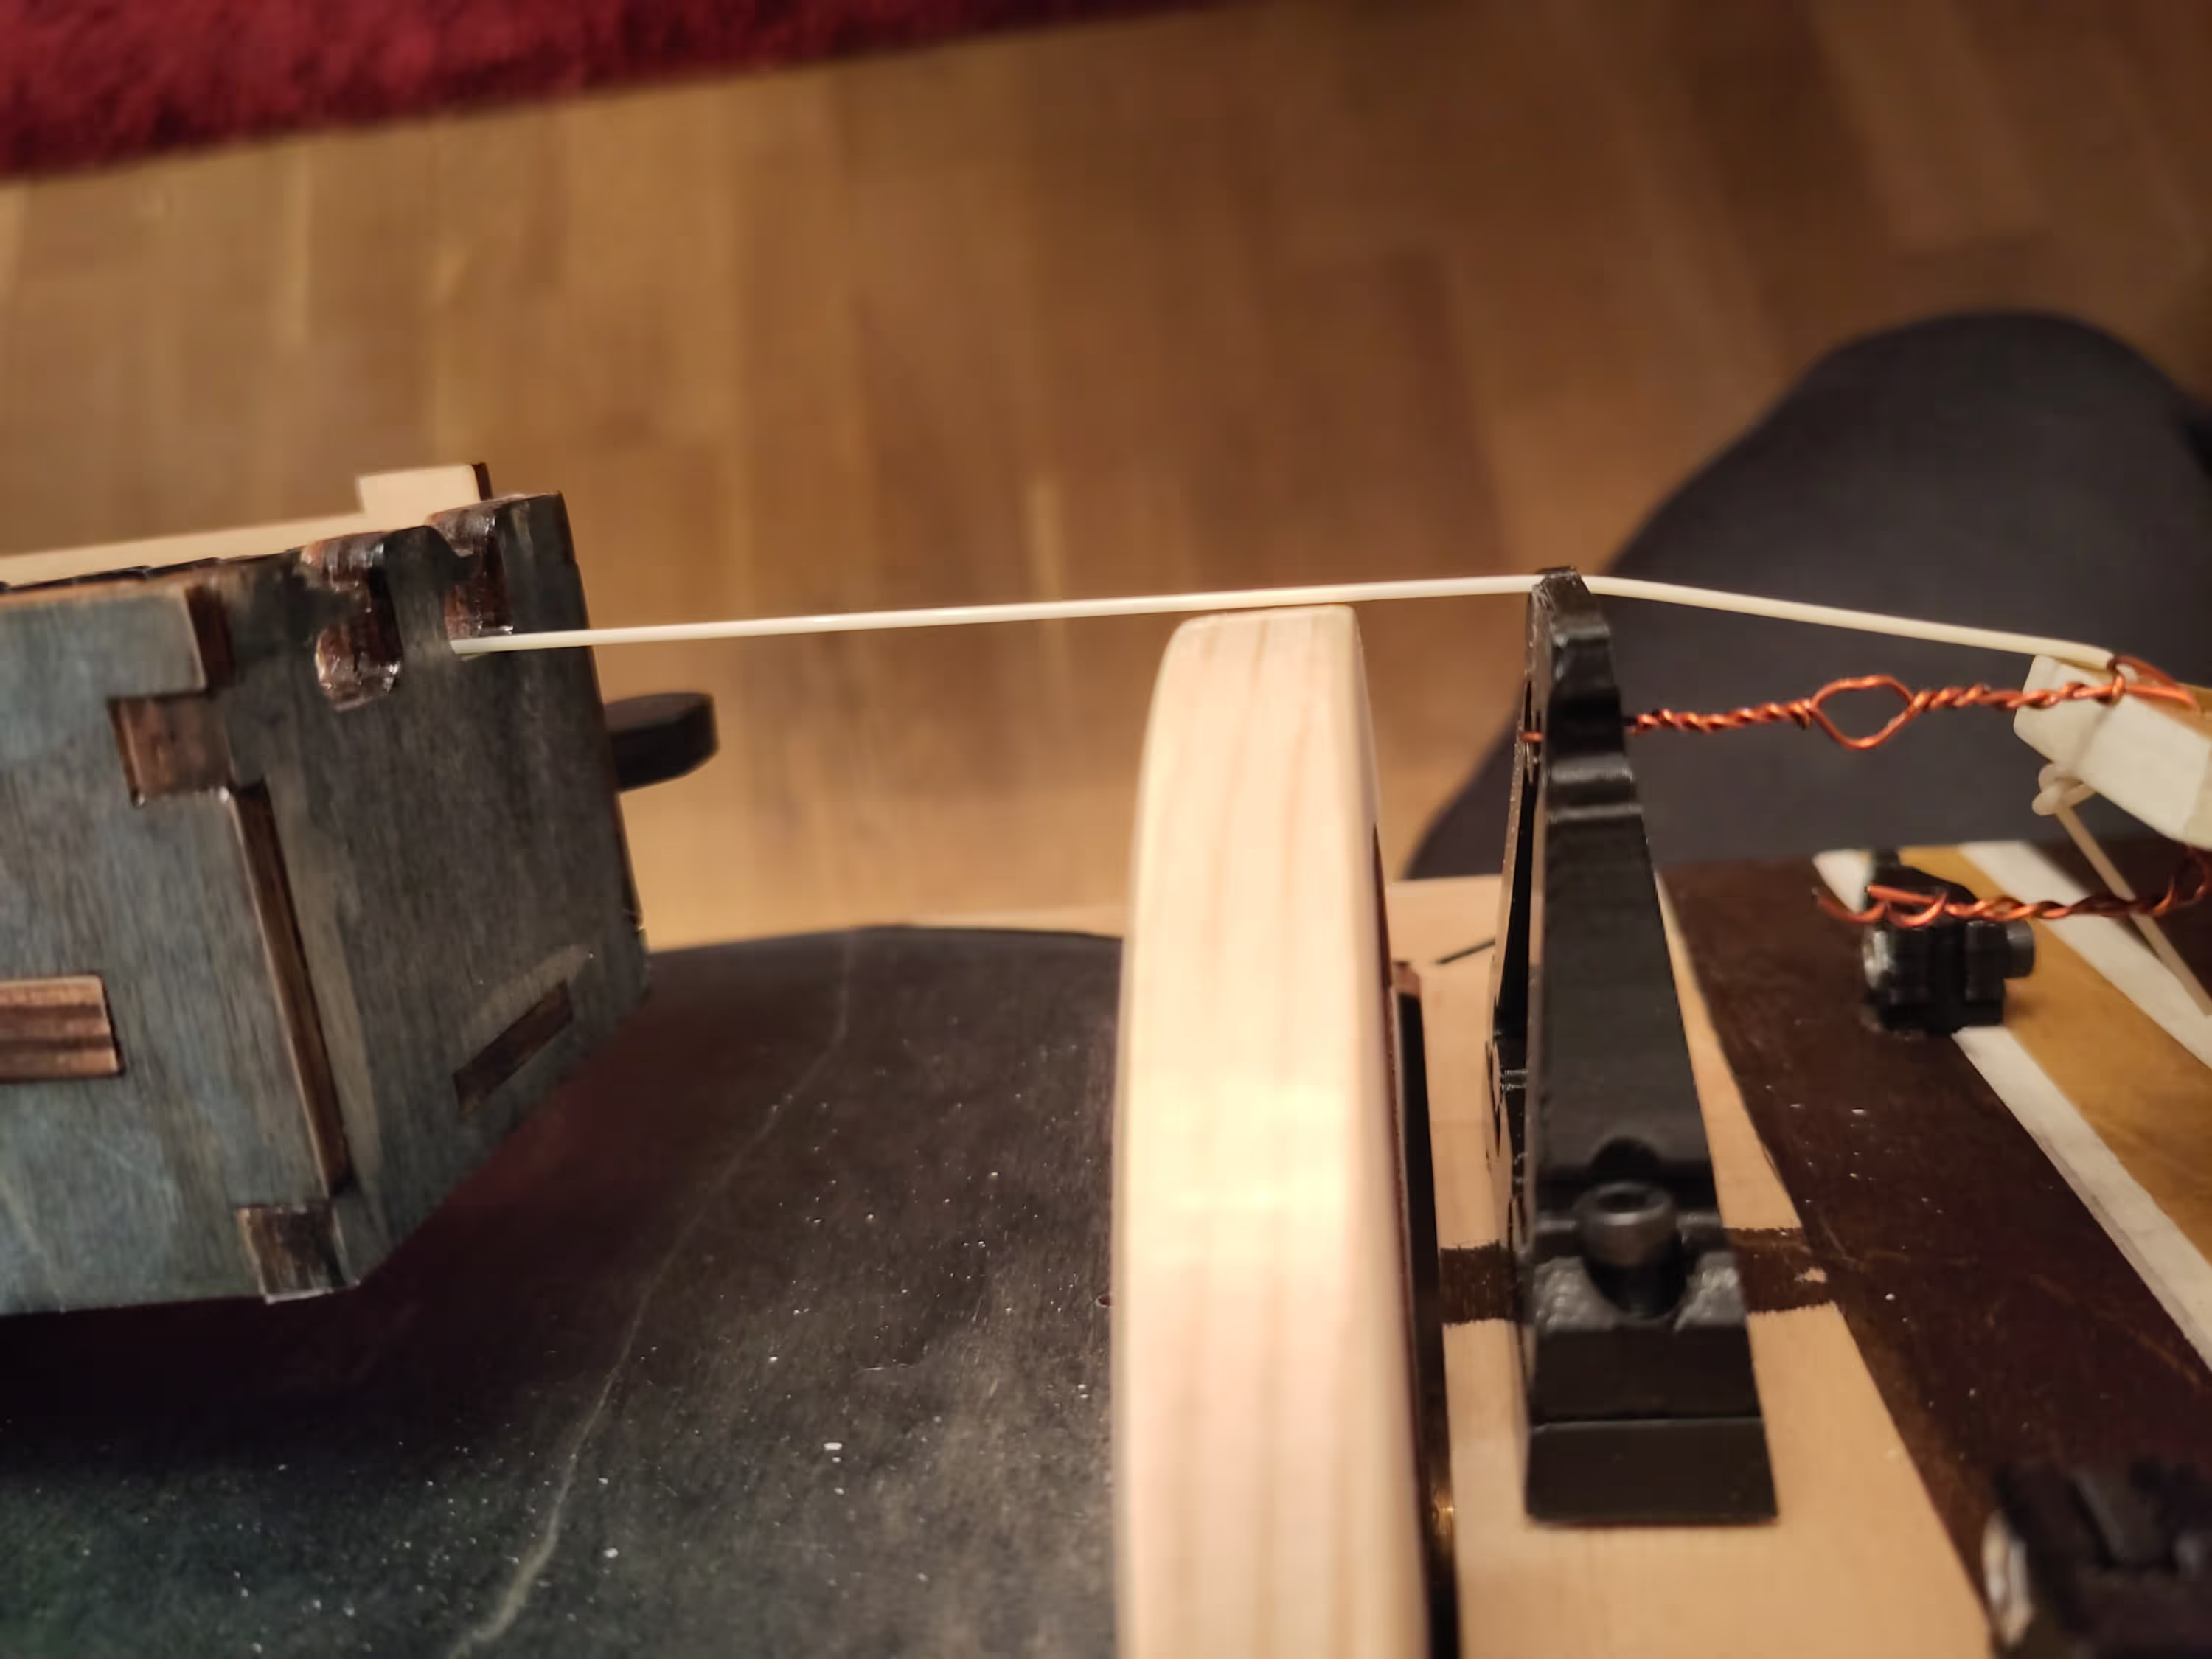
With the key-box not correctly set, the strings would touch the box slot instead of floating freely.
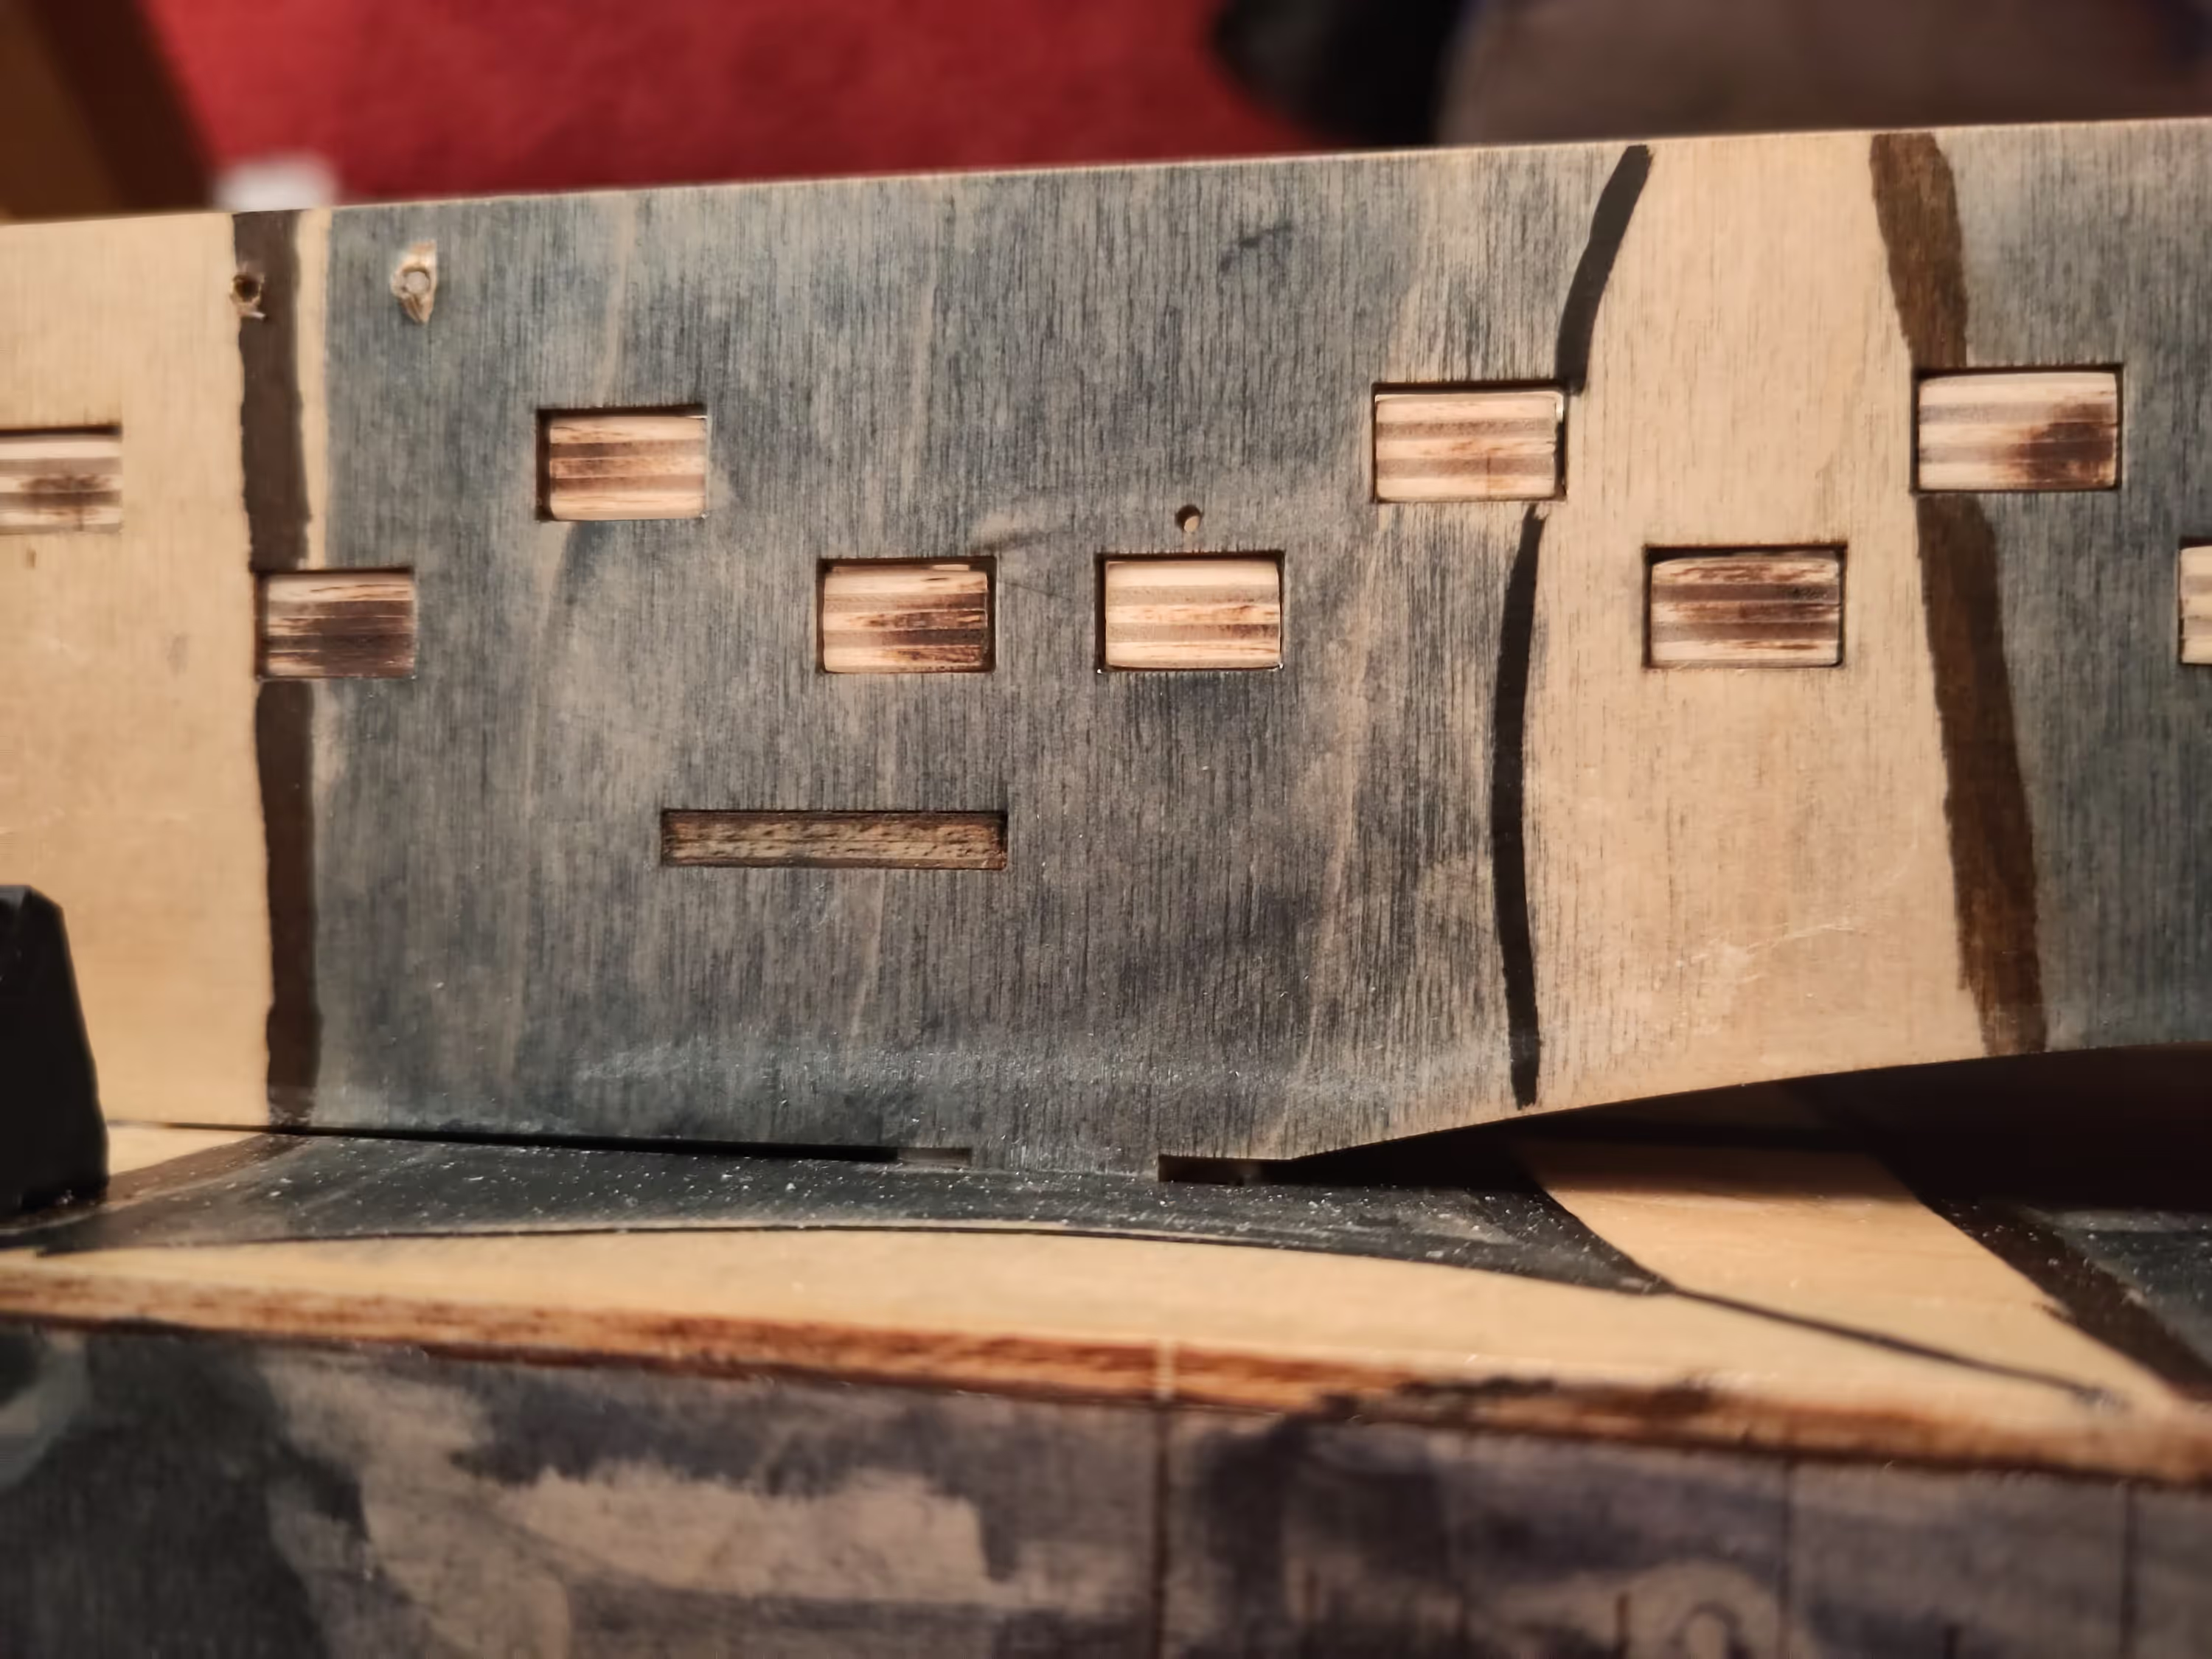
Here we can see the little gap between the base of the key-box and the body.
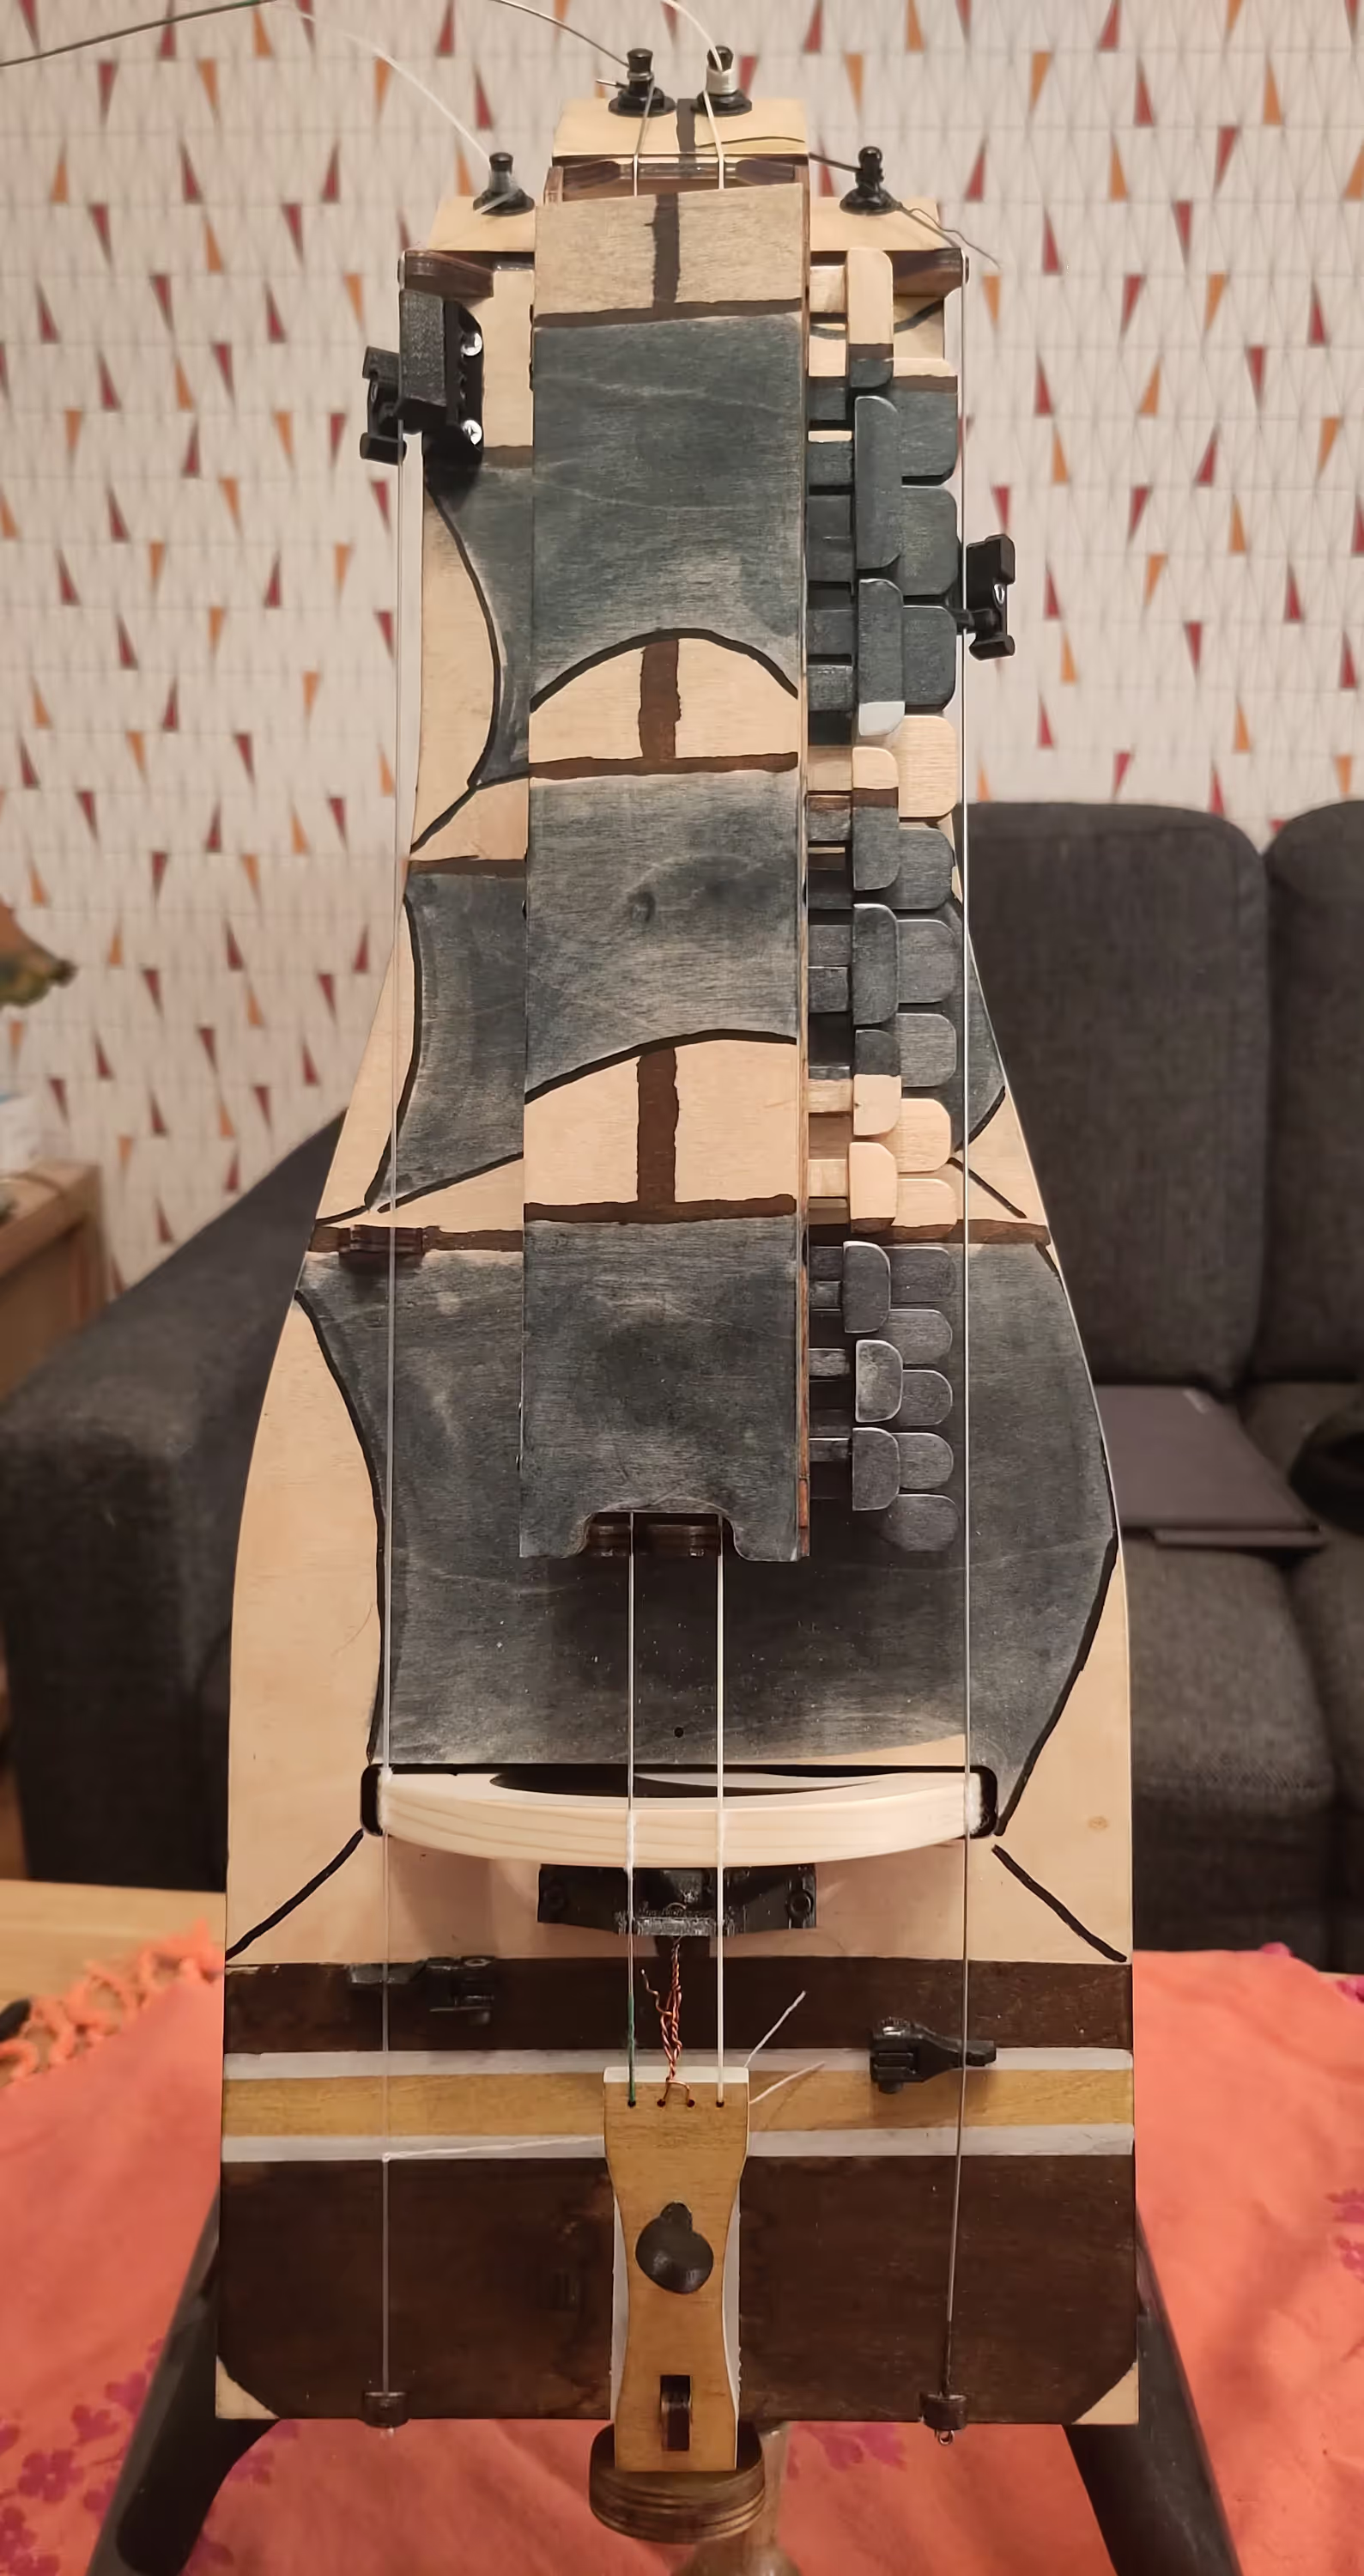
Fully stringed up and ready to be noisy!
It's going to be quite a process to fine tune everything: from the small bits that press on the string when a key is activated, to how to properly put cotton on the strings and how much, passing by how much tension should there be on the wheel. But still, build completed and welcome Gráinne!
P.S. : If you're curious about why "Gráinne", then I invite you to listen to this episode of You're dead to me.
With only the melodic string
With the drone and the trumpet but the trumpet wasn't buzzing yet.
Here the trumpet is buzzing a bit too much (it's almost constant).
